Do you know when to use caulk or grout? It's all about figuring out what's different as you go!
People use the words "grout" and "caulk" a lot while they're working on a bathroom or kitchen project. It's easy to think they're the same, but employing the wrong one can cause difficulties you'd rather not have. The key to having a clean, waterproof finish around your shower or countertops is knowing the difference.
You are in the proper place if you want to know if you should grout your tiles or how to put down a straight line of caulk. We have more than ten years of experience in house maintenance to help you. This article will assist you in understanding the difference between grout and caulk, show you how to use each one correctly, and address some common questions.
What's the Difference Between Caulk and Grout?
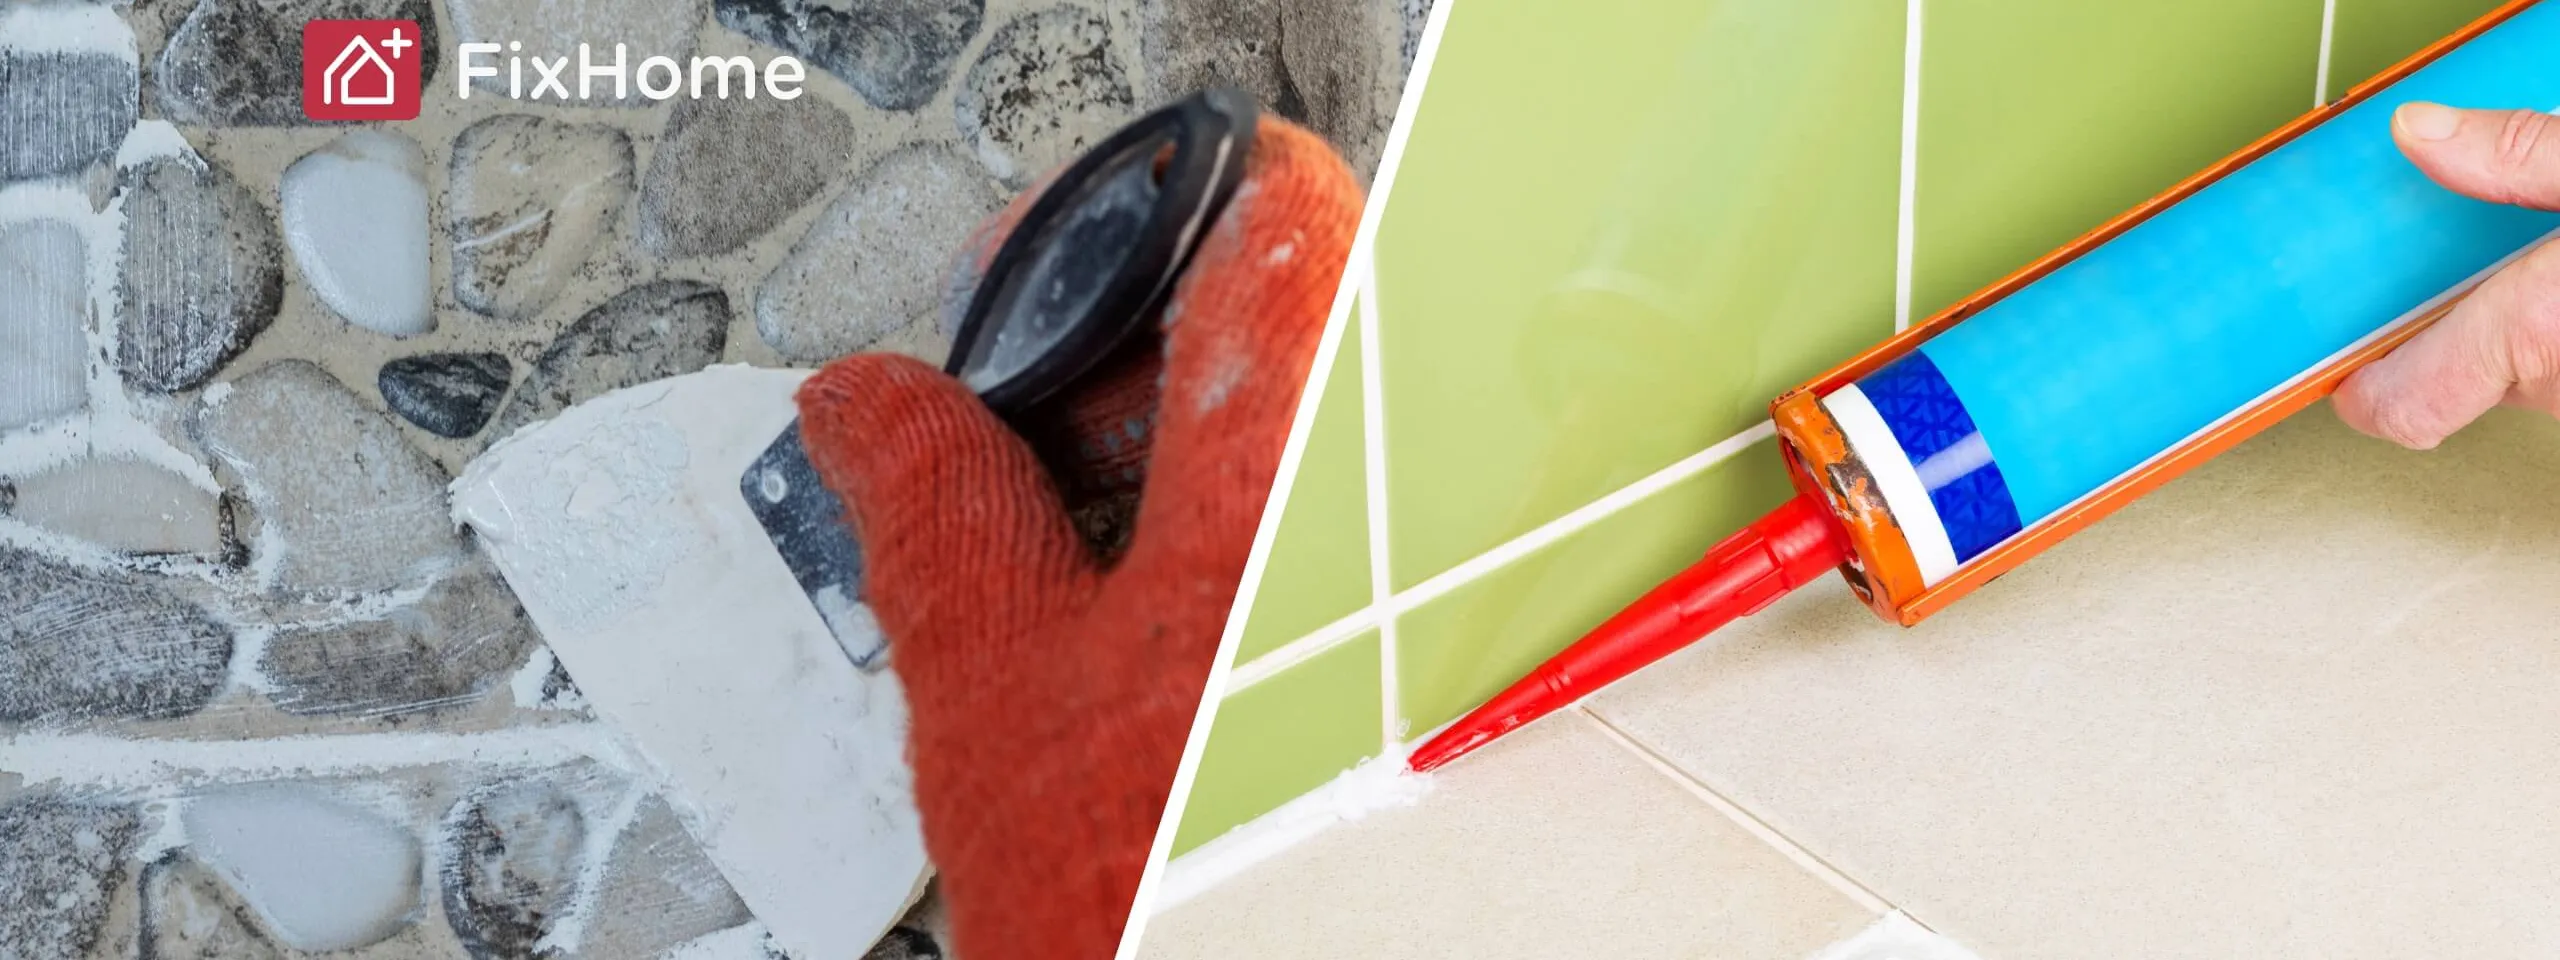
Both grout and caulk fill up gaps, but they do so for quite different reasons. It may seem like a tiny thing, but their jobs are very different.
You combine grout with water to make a powder that is like cement. Its duty is to fill in the gaps between tiles, keeping them in place and making the whole surface look finished. Think of it as the glue that holds everything together. But grout isn't particularly flexible, and it doesn't keep water out. Over time, this can cause cracks, especially in places where there is some movement. If the grout fails, water could get beneath the tiles and cause damage that needs a much bigger repair.
On the other hand, caulk is a sealant that comes in a tube and is flexible. It is meant to keep water out and is usually used on places where two surfaces meet, like the gap between your tile wall and your bathtub. Caulk can stretch and shrink with temperature changes and little changes in the house's structure since it is elastic. This ability to bend is very important for keeping a tight seal. People typically suggest using silicone caulk in bathrooms because it works well to keep mold and mildew from growing in wet places.
It's easy to decide when to employ each one. Grout is what you use to fill in the spaces between tiles on a flat surface. Caulk is used to keep water out of the corners and edges where tiles meet other surfaces.
Can You Do Caulking and Grouting Yourself?
Yes, most homeowners can do these things. Most of the time, it's easy to tell when it's time for a touch-up. If the caulk around your toilet is becoming brown or coming off, for instance, that seal is broken and needs to be replaced. If you detect cracked or missing grout between your floor tiles, water can also get underneath and cause problems. These problems are more than simply skin-deep; if you don't fix them, they could get worse and cost you more money.
DIY Grouting
Tools: If you have to take out old, broken grout, you will probably need a grout float, a sponge, a bucket, and maybe even a grout saw.
Materials: Choose the proper grout for the project. Unsanded grout is for lines that are less than 1/8 inch broad, and sanded grout is for lines that are more than 1/8 inch wide.
Steps:
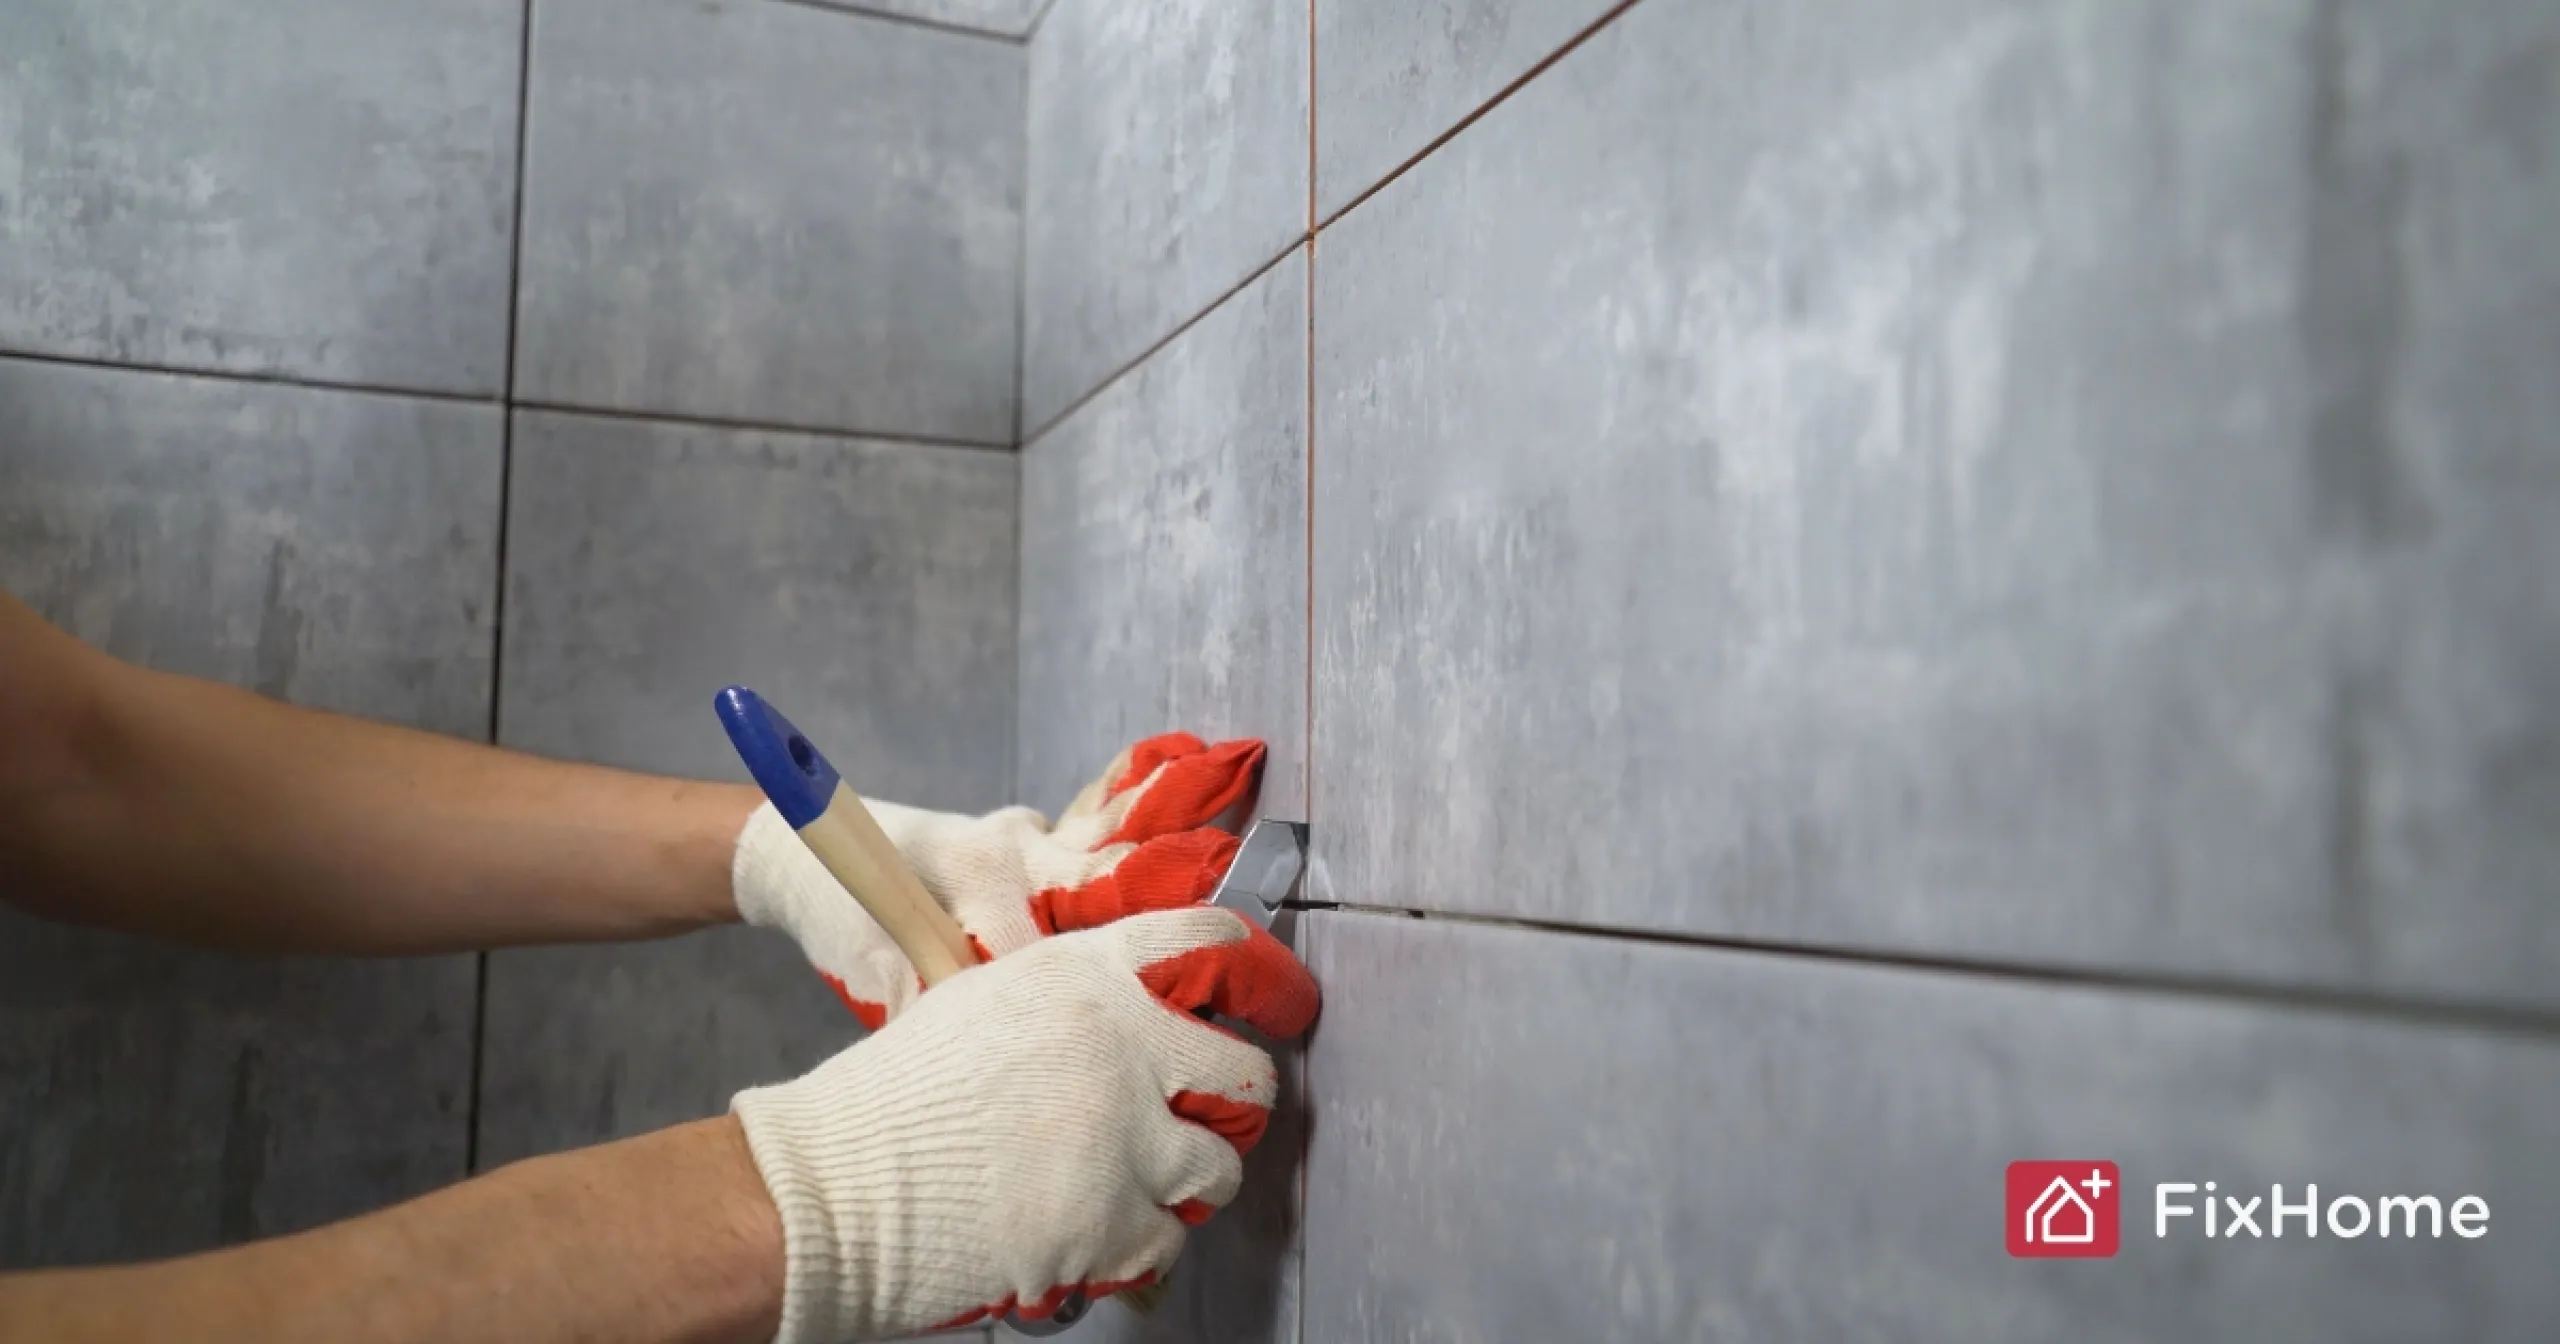
- First, clean the joints between the tiles. You have to scrape out the old grout first if it is cracked.
- Follow the directions on the packaging to mix your new grout until it has the proper consistency.
- Use a grout float to spread the grout evenly and push it firmly into the joints.
- Wipe off the extra grout from the tiles using a moist sponge. Be careful not to pull the new grout out of the joints.
- After it dries, put on a grout sealant to keep it from getting stains and water.
DIY Caulking
Tools: A caulking gun, a utility knife, a caulk removal tool, and a smoothing tool, or even just your finger, will come in handy.
Materials: Pick the right caulk. Silicone works best in places that get wet, like sinks and showers. Acrylic latex caulk works well in dry places.
Steps:
- Use a utility knife to cut away the old caulk. Then, make sure the surface is clean and dry.
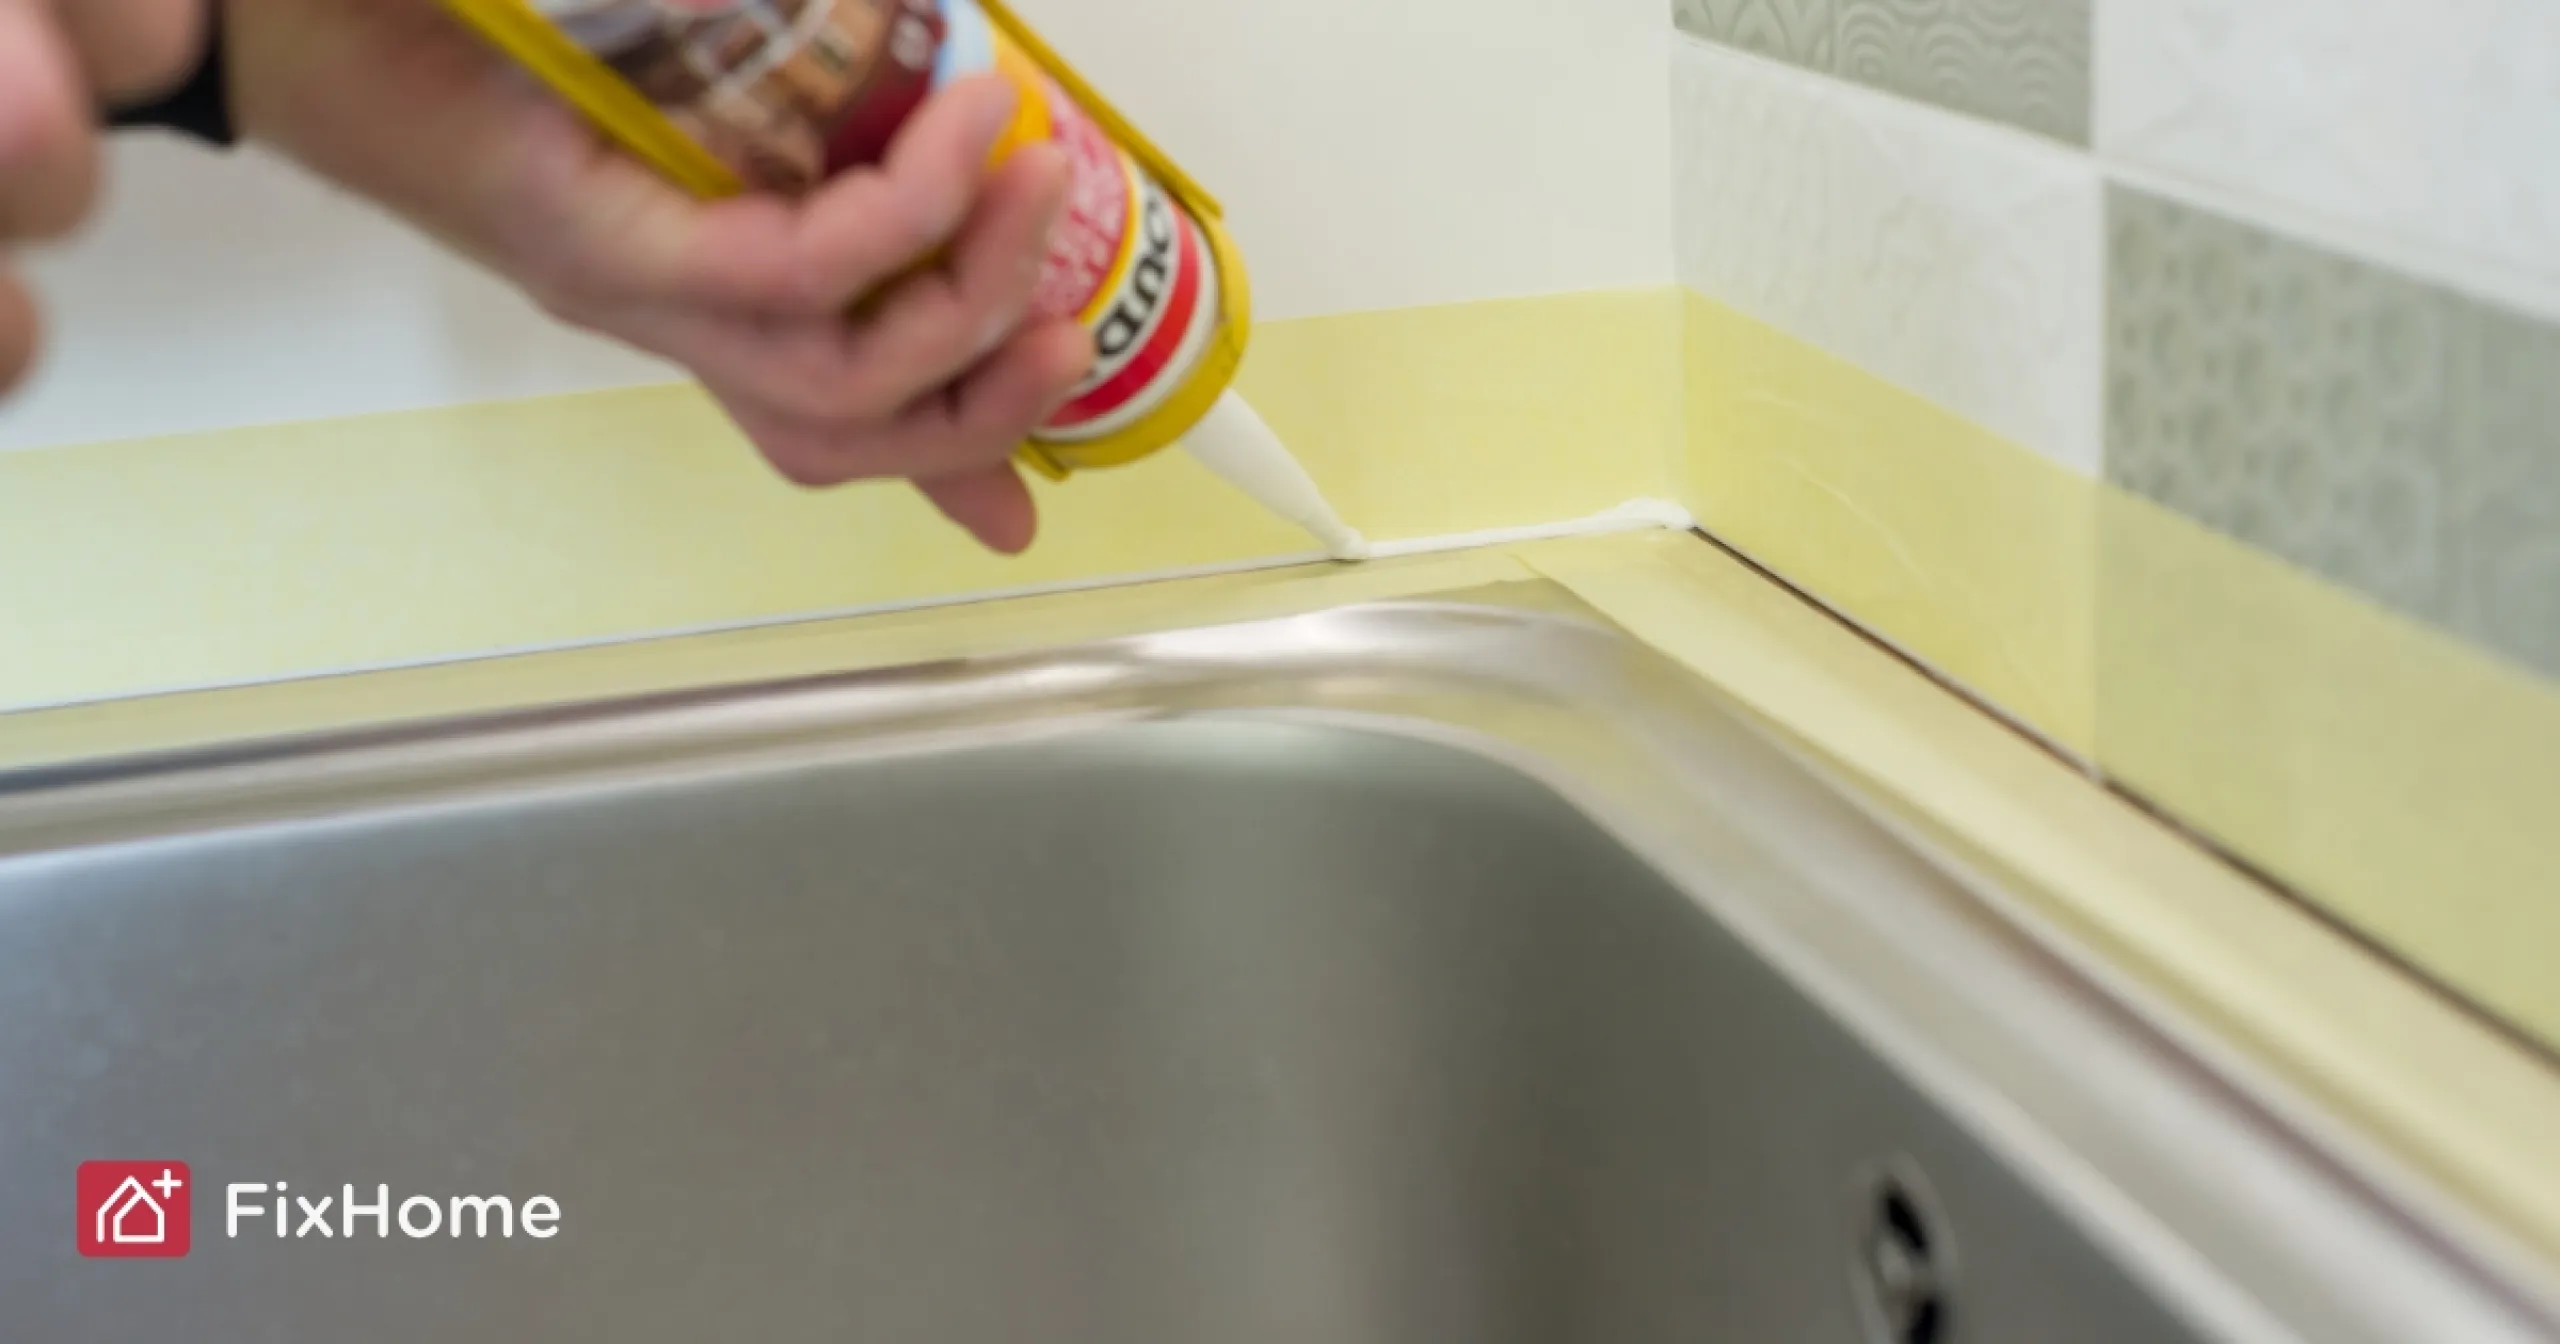
- Use a caulking gun to put a continuous line of new caulk along the seam.
- Use a tool or your finger to smooth down the line of caulk for a clean look.
- Don't get the caulk wet until the manufacturer says it's okay.
You may save money and feel good about yourself by doing these fixes yourself. But for bigger chores, like fixing drywall that got wet beneath the tile, it's usually better to call in an expert. Most simple caulking and grouting is easy to do yourself, but for bigger sections, you need to be more patient and prepare more to attain a professional-looking finish.
Should You Grout and Caulk at the Same Time?
Grout and caulk are typically used together, but they need to be put on in a certain order. You can't truly do them both at the same time. For a tiled space like a shower, here is the order:
Getting Ready: To start, clean the whole space. Get rid of any old caulk, loose debris, or glue. You should remedy any problems that are already there, including water damage, before you start.
Grouting:
- Use a rubber float to put grout into the spaces between the tiles.
- After you press it in, use a damp sponge to wipe off any extra on the tile surfaces.
- It normally takes at least 24 hours for the grout to fully cure. Make sure by looking at the product's instructions.
Caulking:
- After the grout has dried completely, put caulk in the corners and joints where the tiles meet the tub, floor, or walls.
- For a smooth bead, use a caulking gun, and then use your finger to make a tidy seal.
- Wait another 24 hours before putting water on the caulk.
If you follow these procedures, you'll get a finish that not only looks excellent but also keeps water out. You can also avoid having to pay for a small job or deal with bigger damages later on by using this method.

Wrapping Up
Grout fills the spaces between tiles, and caulk covers the edges and corners where movement happens. Use each where it makes sense, and you're less likely to run into leaks or loose tiles down the road. That's really the whole trick.
If your home is in the Northwest Chicago suburbs and this sounds like more work than you want to tackle, FixHome+ here to help. We handle grout and caulk jobs regularly, plus plenty of other home maintenance services throughout these areas.
More from our blog.
Discover more insightful and engaging content from our blog.