Key Takeaway:
- Prep the Area: Gather tools, clean the wall, and inspect the damage
- Repair the Surface: Fill holes or scratches with spackle, sand, and retexture if needed
- Paint the Wall: Prime the patched area, match the paint, and apply for a smooth, consistent finish.
Quick Navigation:
- Why It Pays to Know How to Touch Up and Paint Walls Yourself
- Step 1: Gather the Right Materials
- Step 2: Prepare the Wall Surface
- Step 3: Patch Minor Wall Damage
- Step 4: Tips to Recreate Texture (for Textured Walls)
- Step 5: Prime the Patched Area
- Step 6: Match and Prepare the Paint
- Step 7: Paint the Repaired Spot
- Step 8: Final Inspection and Cleanup
- Additional DIY Painting Tips
- Common Questions (F.A.Q.s)
Why It Pays to Know How to Touch Up and Paint Walls Yourself
Over time, it’s totally normal for walls to pick up scratches, nail holes, dents, and scuffs. Even in the tidiest home, these little flaws can make a space feel a bit tired or unfinished.
The good news? In most cases, you don’t need to hire a contractor to get your walls looking fresh again. With a few basic tools and simple steps, DIY wall painting, touch-ups, and even texture repairs are manageable. If you repaint those problem spots carefully, the results can blend in without repainting the entire wall.
In this beginner-friendly guide to touch-up painting, we’ll walk you through how to:
- Get your wall prepped and ready for repair,
- Tackle small damage like holes and dents,
- Prime and paint for a flawless finish.
Not only will this save you some cash, but it’ll also give you a boost of confidence when it comes to basic home maintenance. Even if you’ve never done touch-up painting before, this guide makes it super easy to follow along.
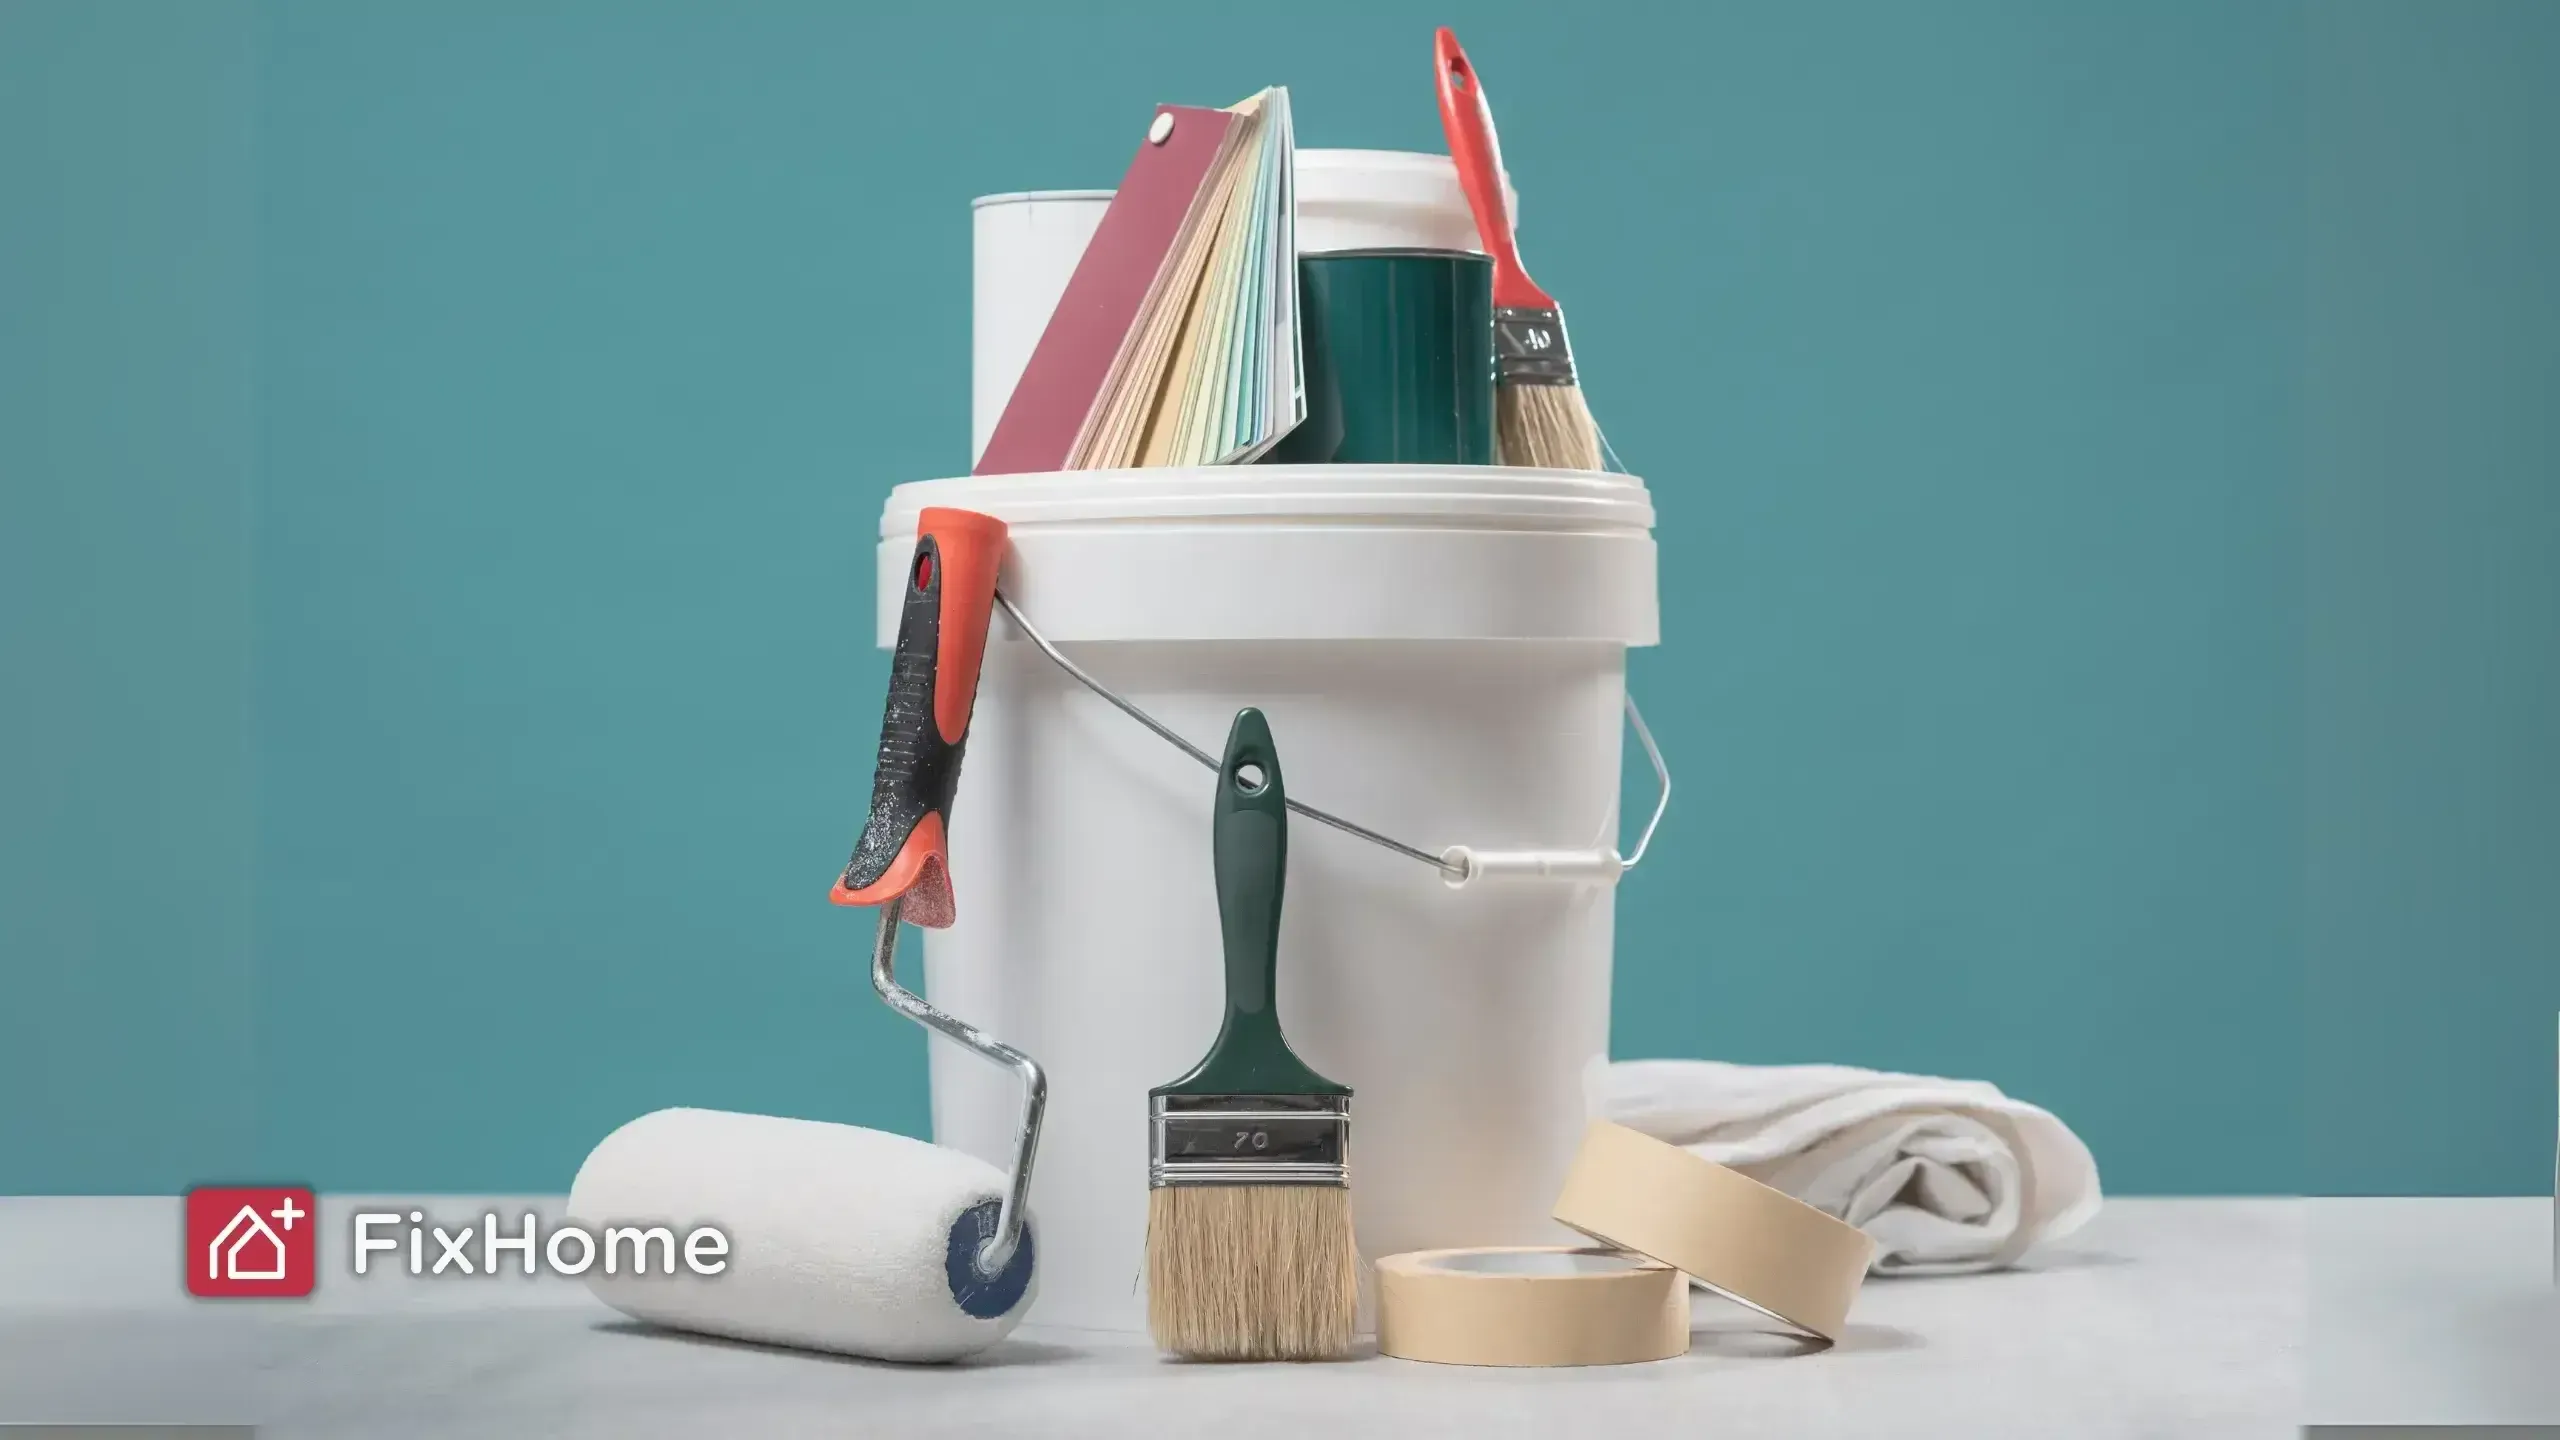
Step 1: Gather the Right Tools & Materials
Before you begin any wall repair project, it's important to have the correct tools on hand. Here's what you'll need for touch-ups and painting:
For All Wall Types:
- Spackle or premixed wall filler (a pink-to-white formula helps track drying)
- 3 or 4-inch putty knife
- Sanding block (medium/fine grit; 120-grit or finer)
- Matching interior wall paint
- Small can of primer
- Stirring stick and a sturdy mixing container
- Paintbrush and mini roller (3/8-inch nap or thicker)
- Plastic or metal paint tray (use it for loading paint evenly onto a roller)
- Clean rag
Additional for Textured Walls:
- Spray-on wall texture (for orange peel or knockdown finishes)
- Sand-texture paint or texture additive (for sand-textured walls)
- Cardboard scrap (for spray texture testing)
- Stippling brush or sponge (for blending hand-applied textures, if needed)
Optional tools:
- Masking tape (to protect trim, outlets, or baseboards)
- Face mask (for sanding or using spray texture)
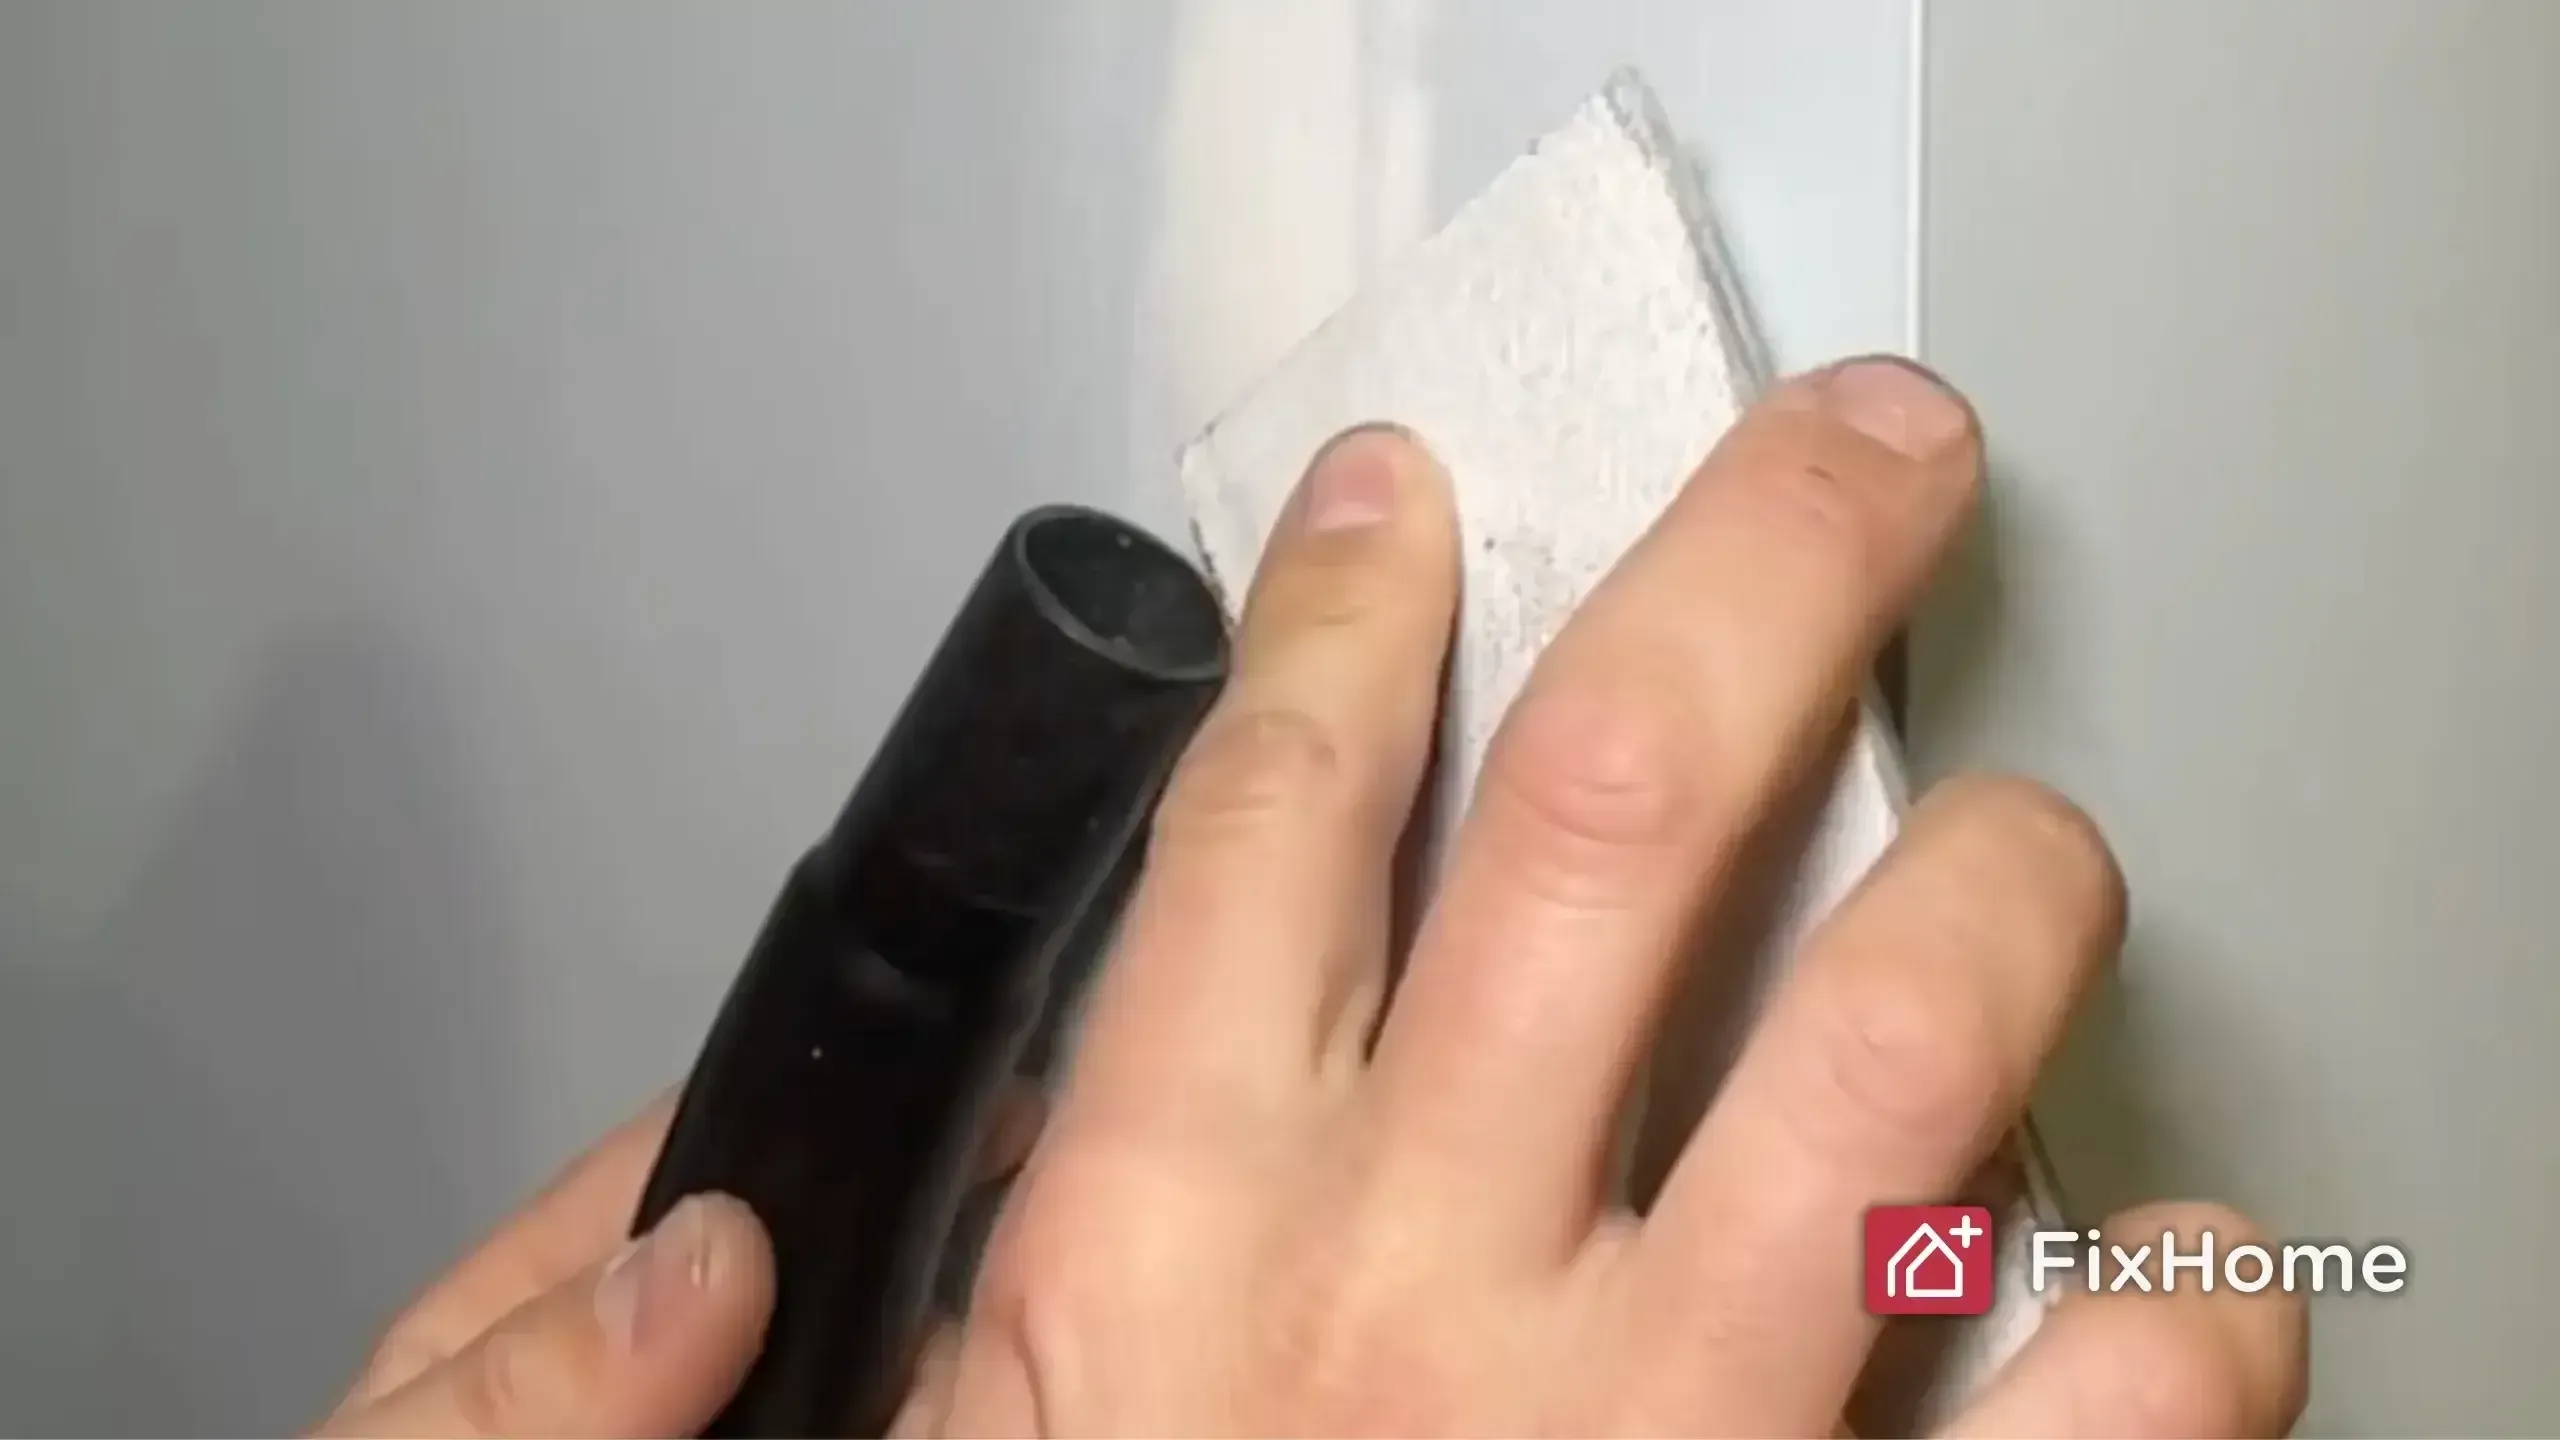
- Vacuum (this is optional, but if you’re a handy DIYer, it’s great for catching dust while sanding).
Step 2: Prepare the Wall Surface
Proper preparation for touch-up paint works helps ensure a clean, lasting finish.
- Clean the wall: Use a damp rag to remove dust, smudges, or grease. Let the surface dry completely before moving on.
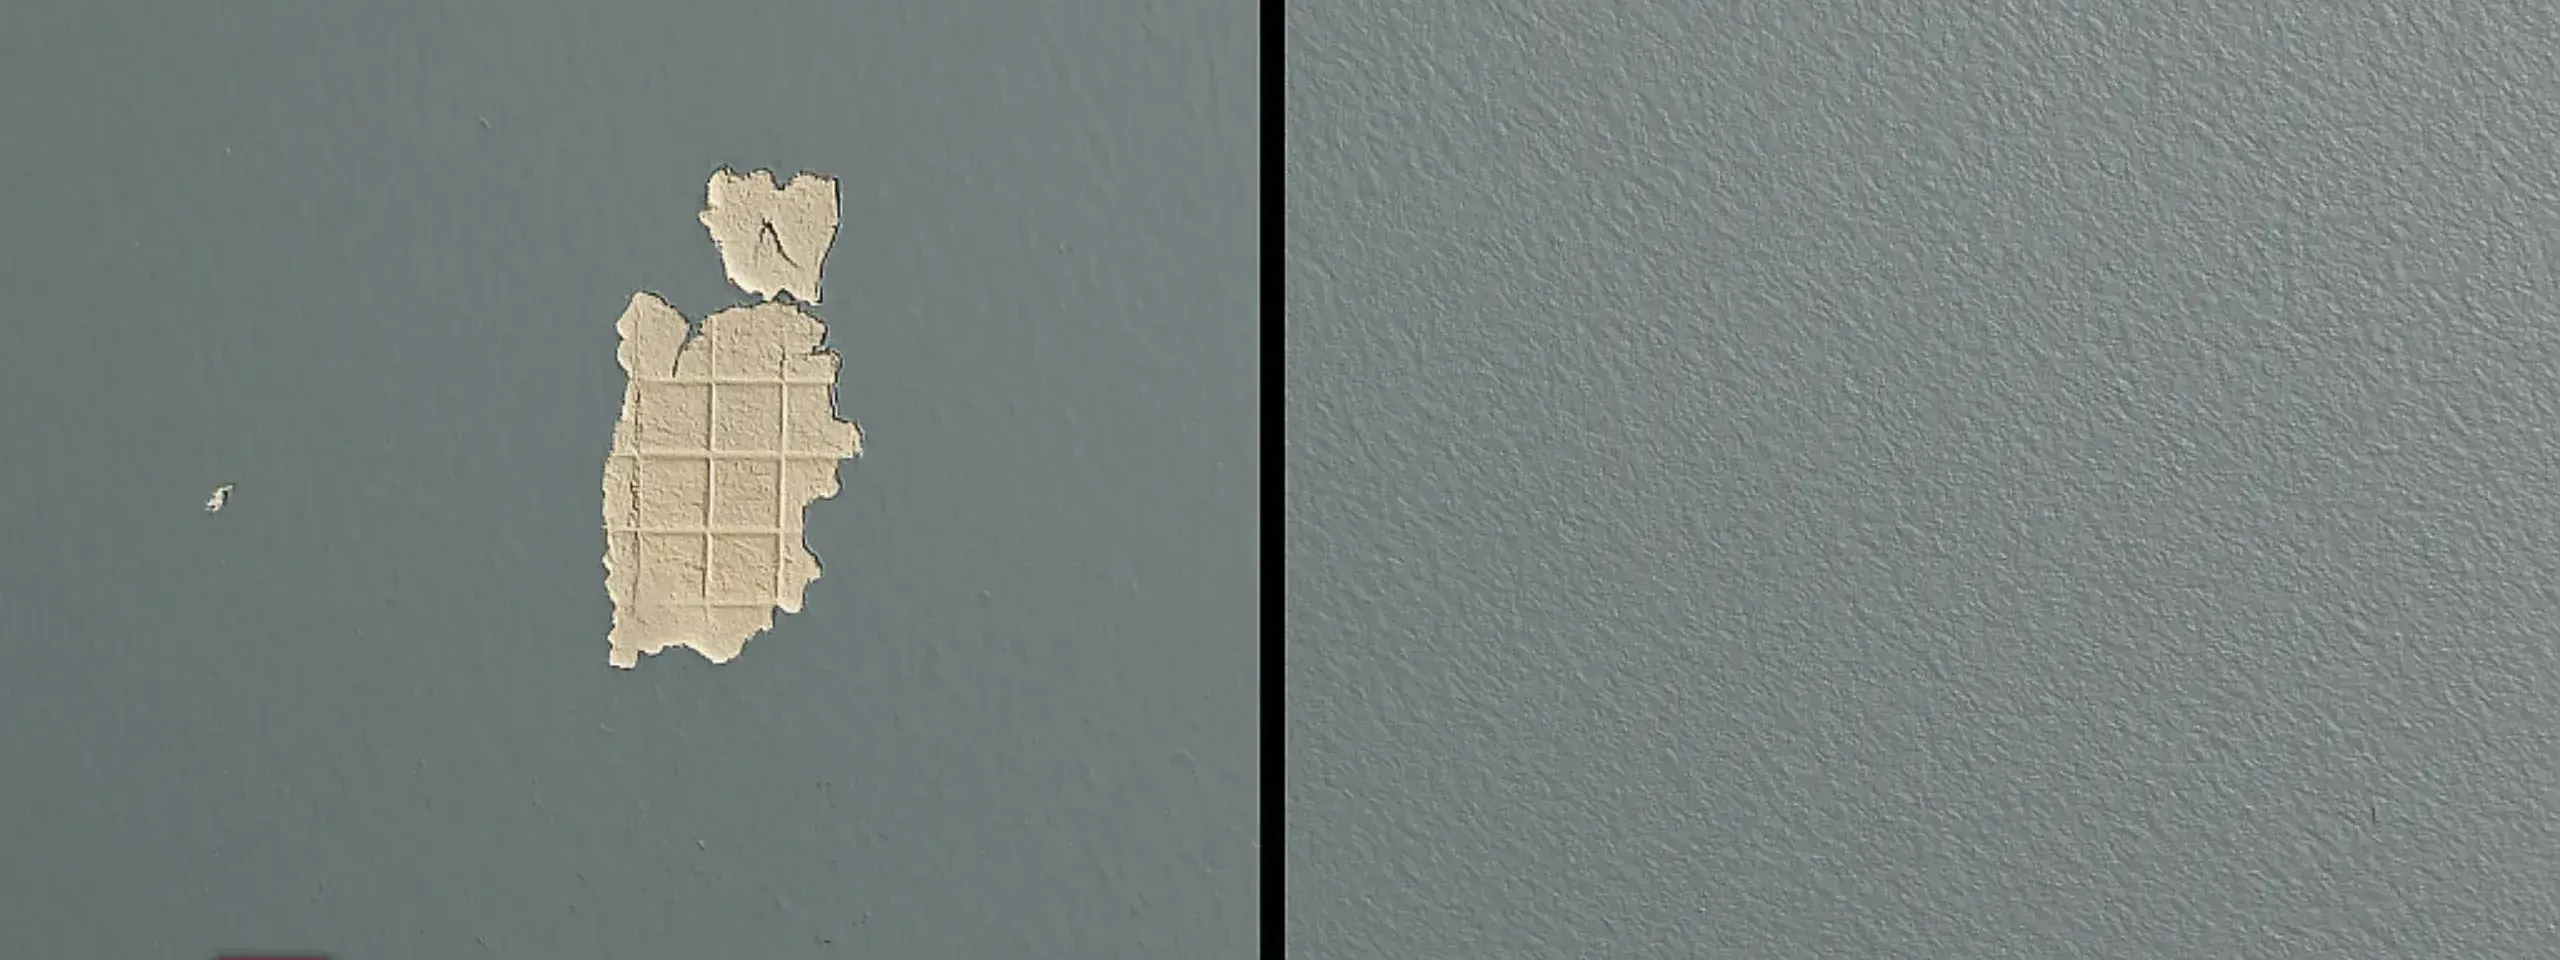
- Inspect the area: Identify chips, cracks, or other imperfections. Remove any flaking paint or loose debris using a putty knife or your hand.
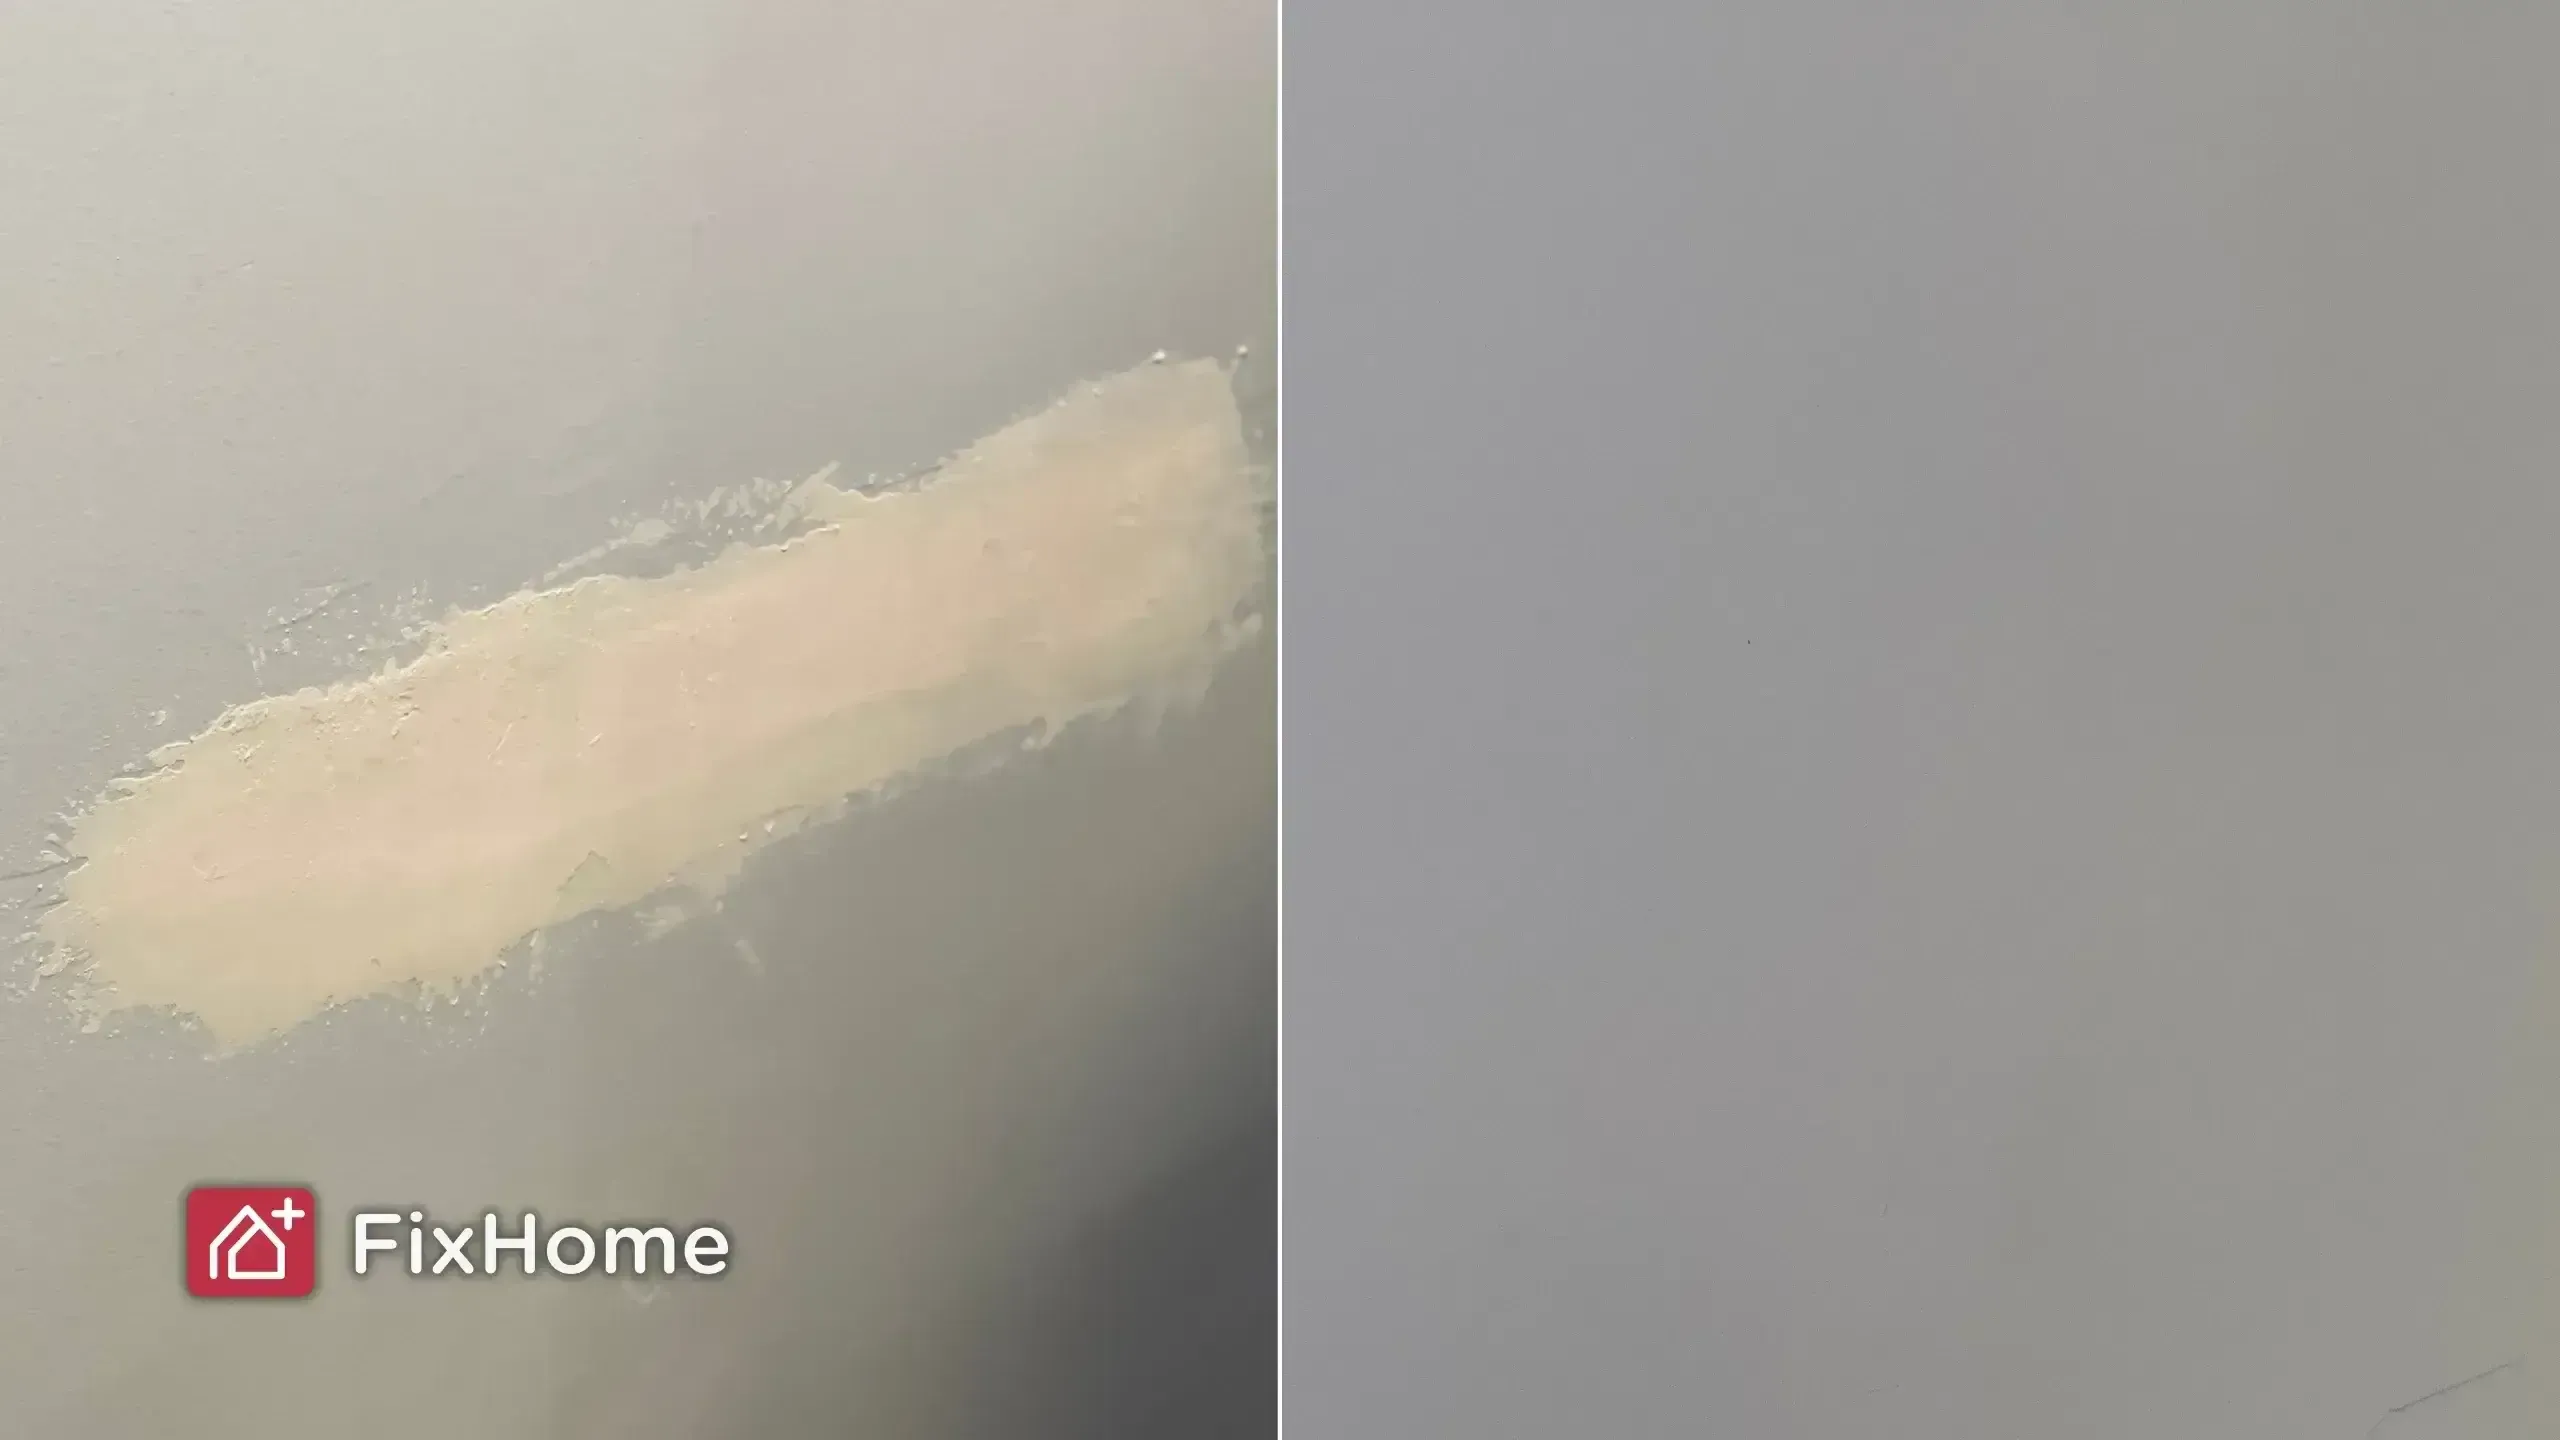
Step 3: Patch Minor Wall Damage
Repairing damage correctly is essential for seamless paint blending.
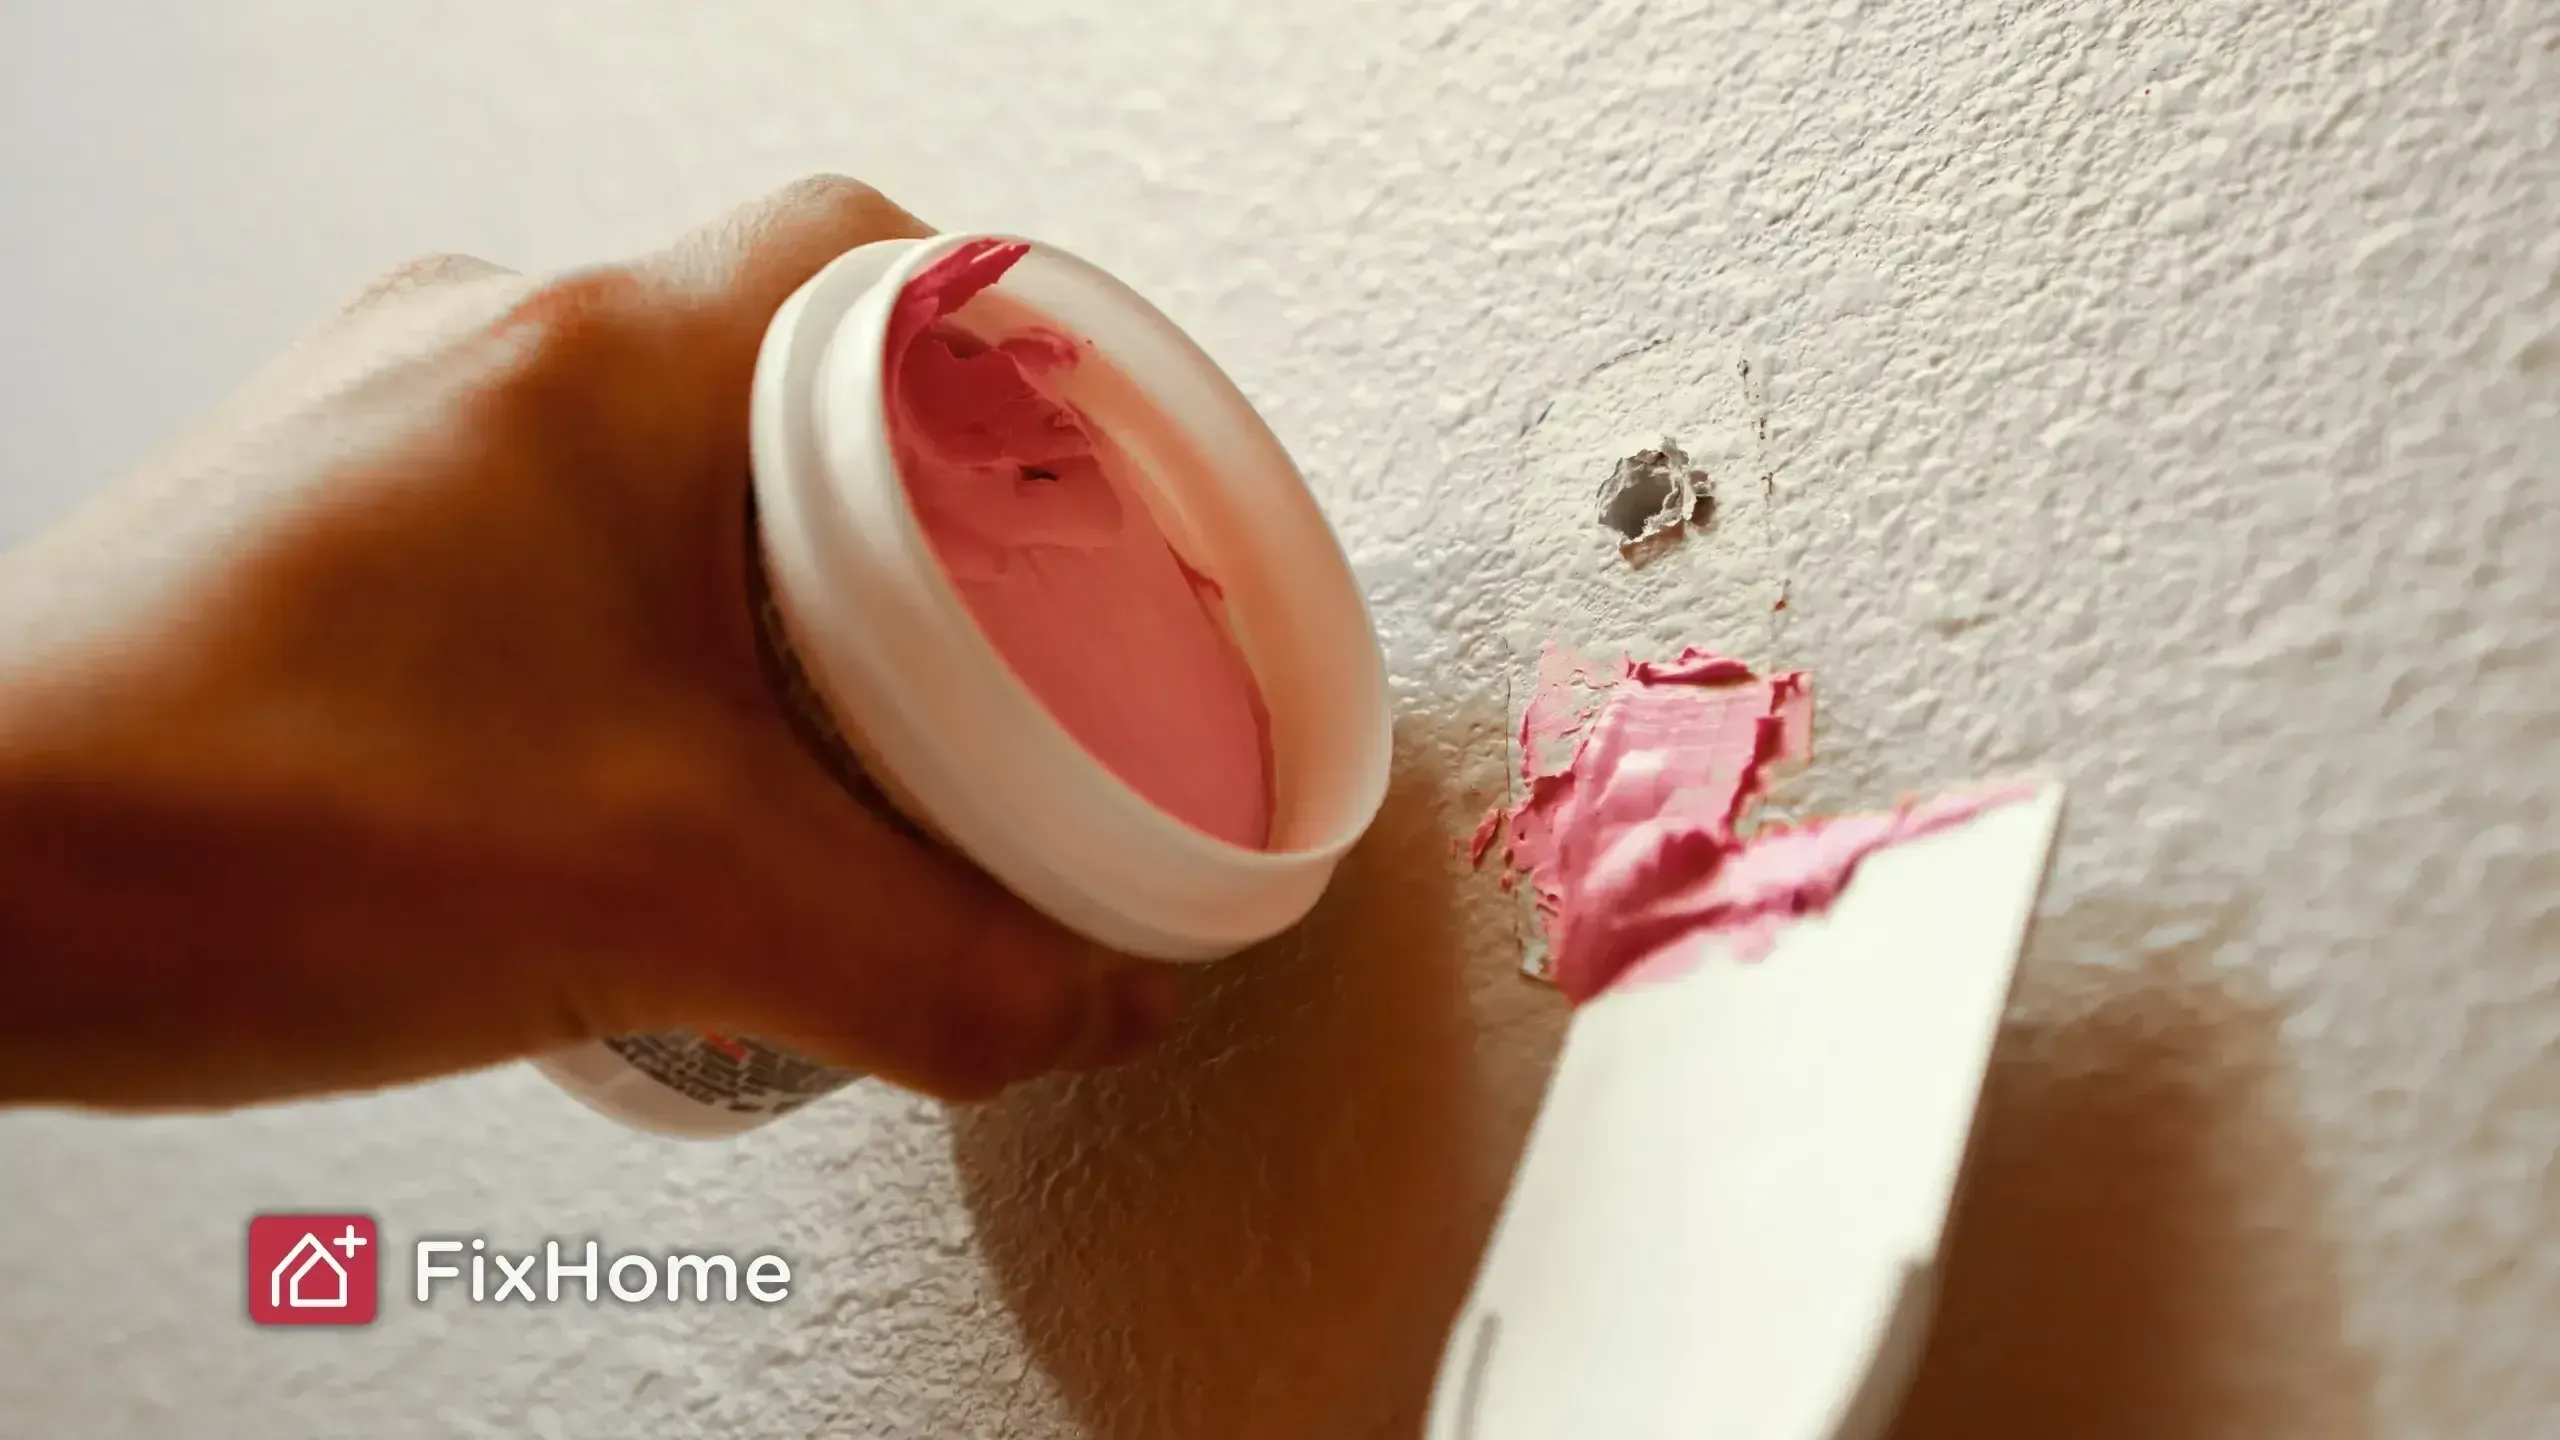
Mix the spackle: If you're using a powder-based filler, mix with water until smooth. Premixed spackle is ready to use. If you have another spackle type, then:
Apply spackle:
- Spread a small amount over the damaged area using your putty knife.
- Extend about 1 inch past the damaged spot for better blending.
- Work in thin layers to avoid bubbles or excess buildup.

Dry and sand:
- Allow the filler to dry completely. Pink-to-white spackling changes color when ready.
- Lightly sand with a medium/fine sanding block to level the patch with the surrounding surface.
Tips for success:
- For deeper holes or wider damage, apply spackle in layers, letting each dry before adding the next.
- Use a drywall repair patch for any holes larger than one inch across.
- To reduce dust during sanding, use a vacuum cleaner.
Step 4: Tips to Recreate Texture (for Textured Walls)
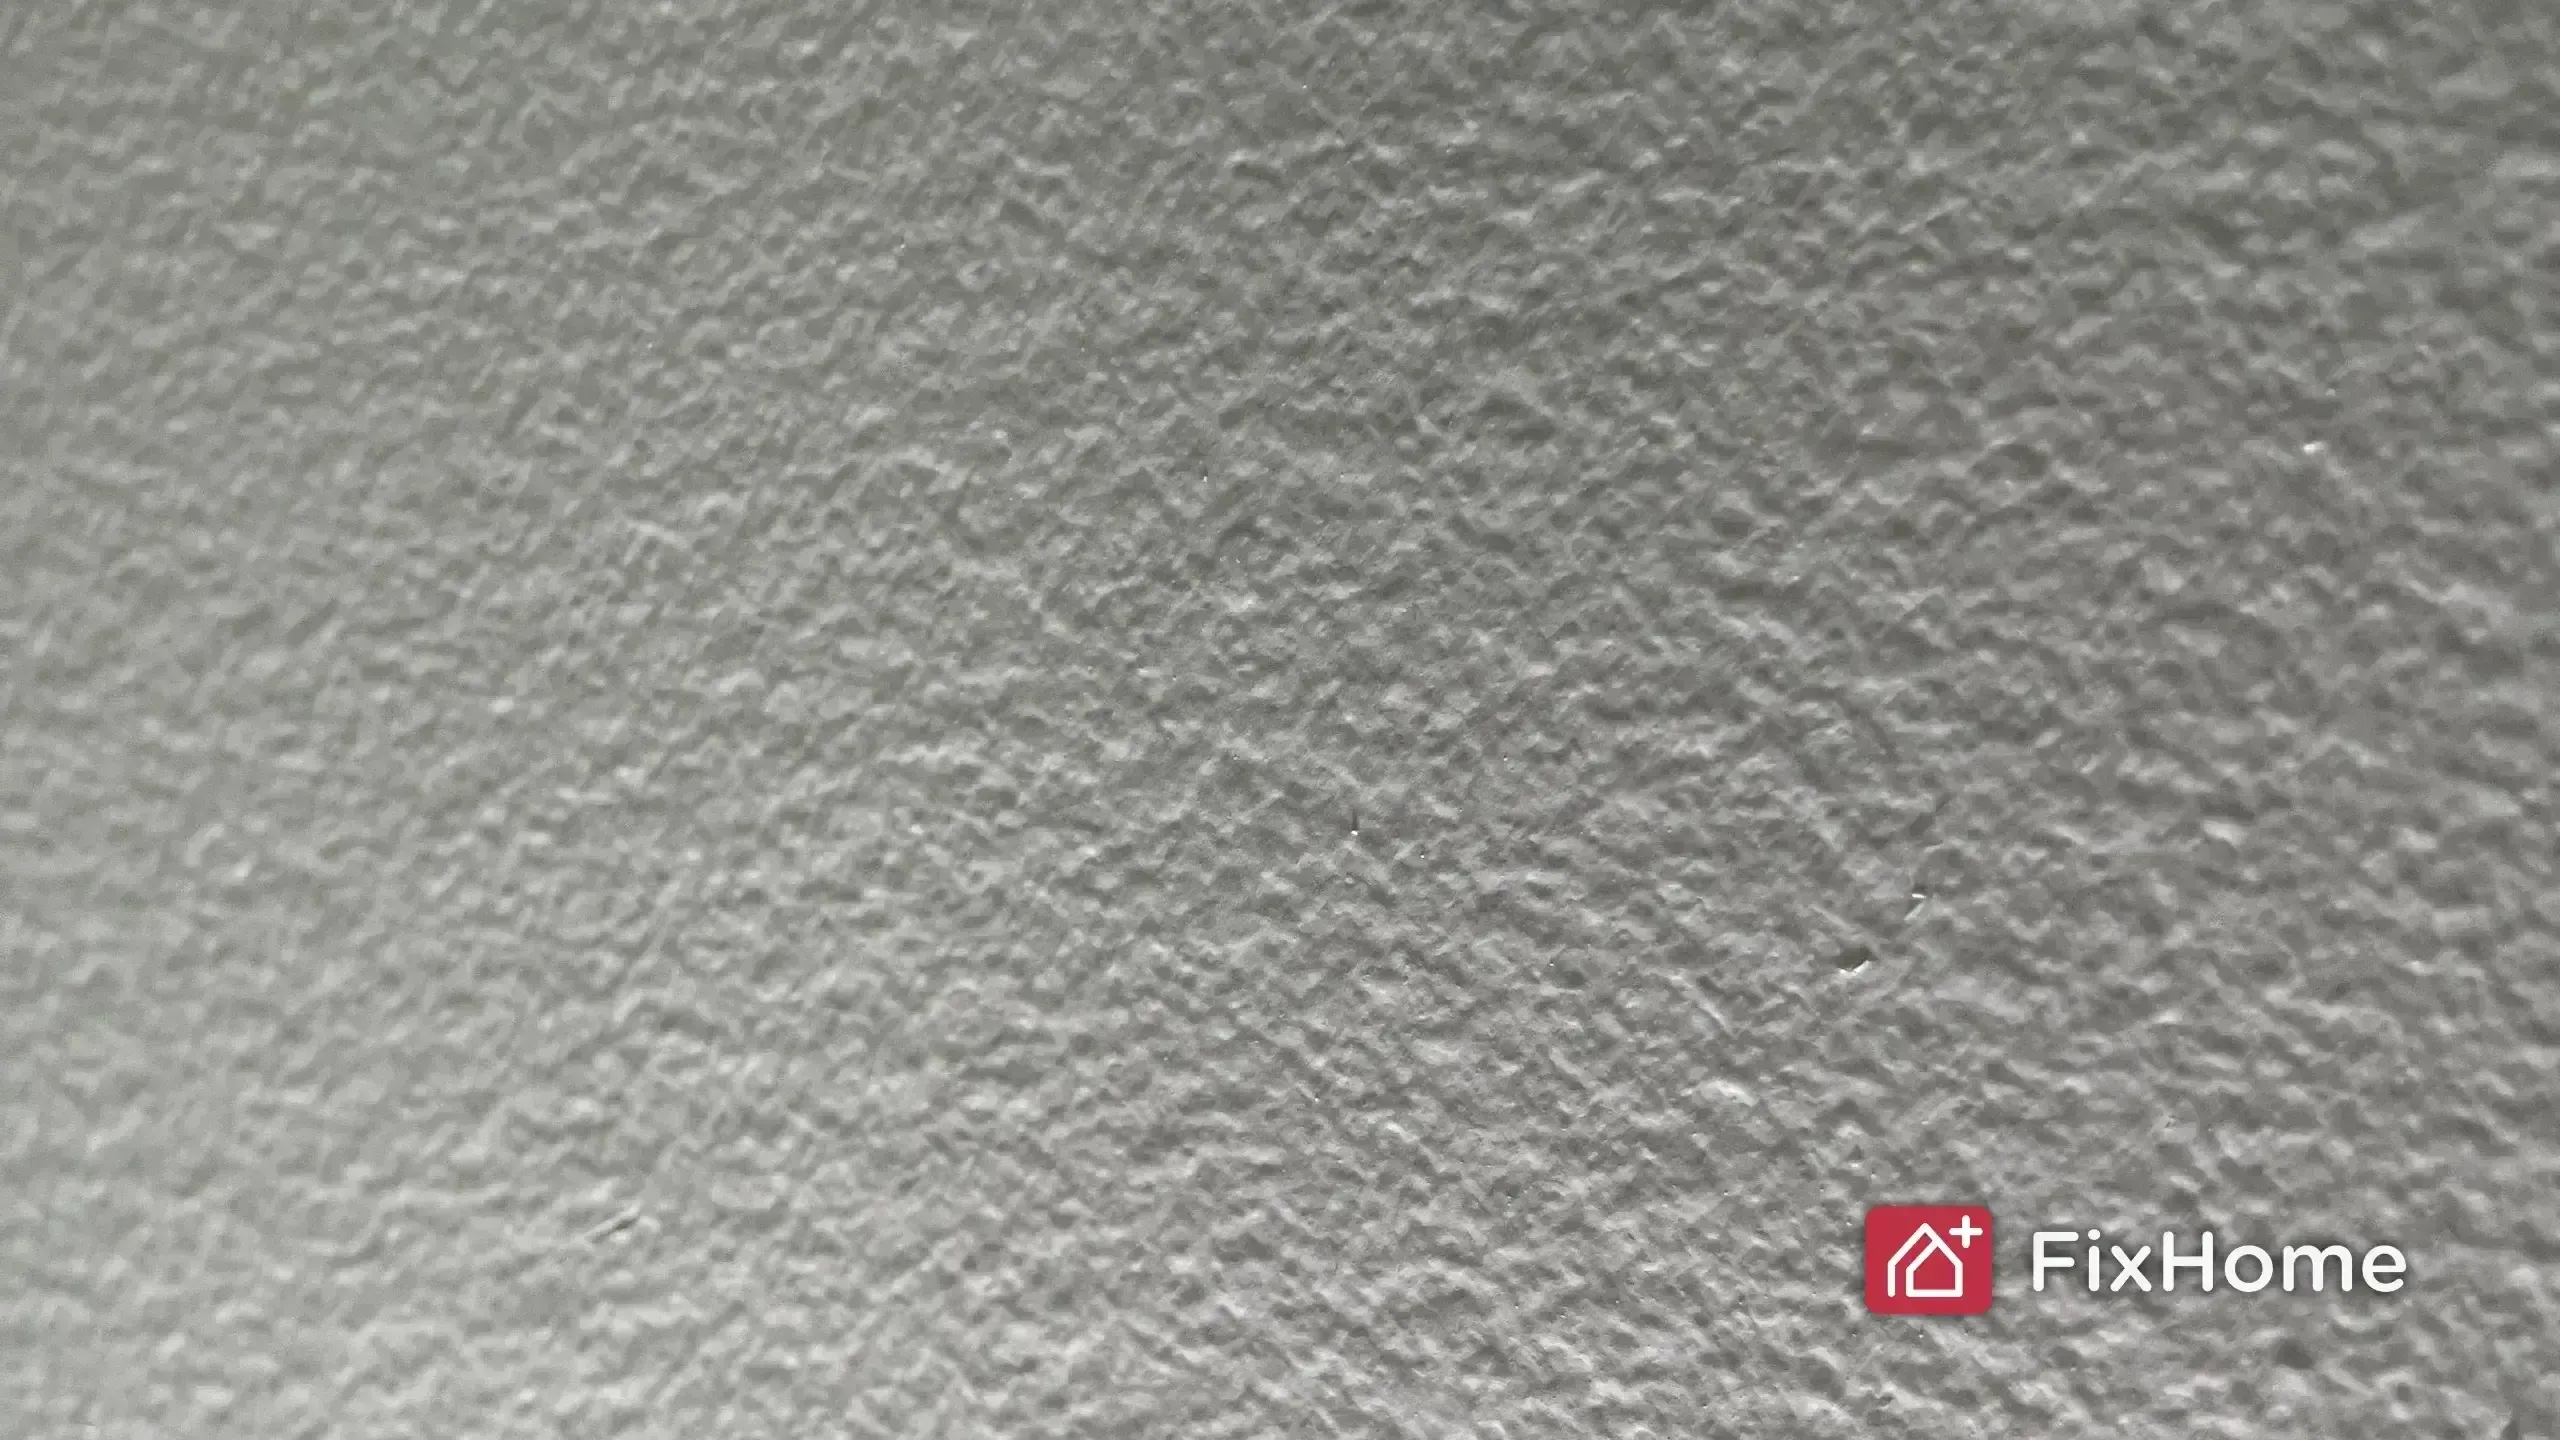
For homes with textured walls, blending in patched areas requires this additional step. Properly matching the wall texture before painting helps the repaired area blend in and prevents visible patch outlines. Common wall texture types include:
- Orange peel – a light, splattered texture with a slightly bumpy finish
- Knockdown – a flattened texture created by spraying and then dragging a knife across the surface
- Sand – a fine, gritty surface made by adding sand to paint or compound
- Popcorn – a thick, raised texture (typically found on ceilings)
- Hand-applied textures – such as skip trowel or slap brush, with irregular or swirled patterns
Apply spray-on texture (for orange peel or knockdown):
Shake the can thoroughly before use. Hold it 6–12 inches away from the wall and apply in short, even bursts. Some cans allow you to adjust the spray output (fine, medium, or coarse). If available, select the setting that best matches your wall texture. Always test on a piece of cardboard to check the spray pattern and consistency before applying it to the wall.
Blend the texture:
For knockdown texture, allow the spray to set briefly—typically 30 seconds to a few minutes—then gently flatten it with a clean putty knife. For irregular or hand-applied textures, you can use stippling or dabbing motions with a brush or sponge to mimic the surrounding pattern.
For sand-textured walls:
Do not use spray-on texture. Instead, mix a small amount of sand-texture additive into your primer or paint, or use pre-mixed sand-texture paint. Apply the mixture with a roller (⅜-inch nap or thicker), adjusting pressure and layering as needed to match the existing grain and density.
Dry and lightly sand:
Once the texture is fully dry, feather the edges with fine-grit sandpaper (such as 220) using minimal pressure—just enough to soften the transition without removing the texture. For very small or well-blended patches, especially on rough or sand-textured walls, sanding may not be necessary.
Step 5: Prime the Patched Area
Primer helps prevent uneven paint absorption and ensures long-lasting coverage.

- Use a small foam brush or mini roller to apply primer over the repaired section.
- Let it dry fully before applying the paint. Skipping this step can result in blotchy or mismatched finishes.
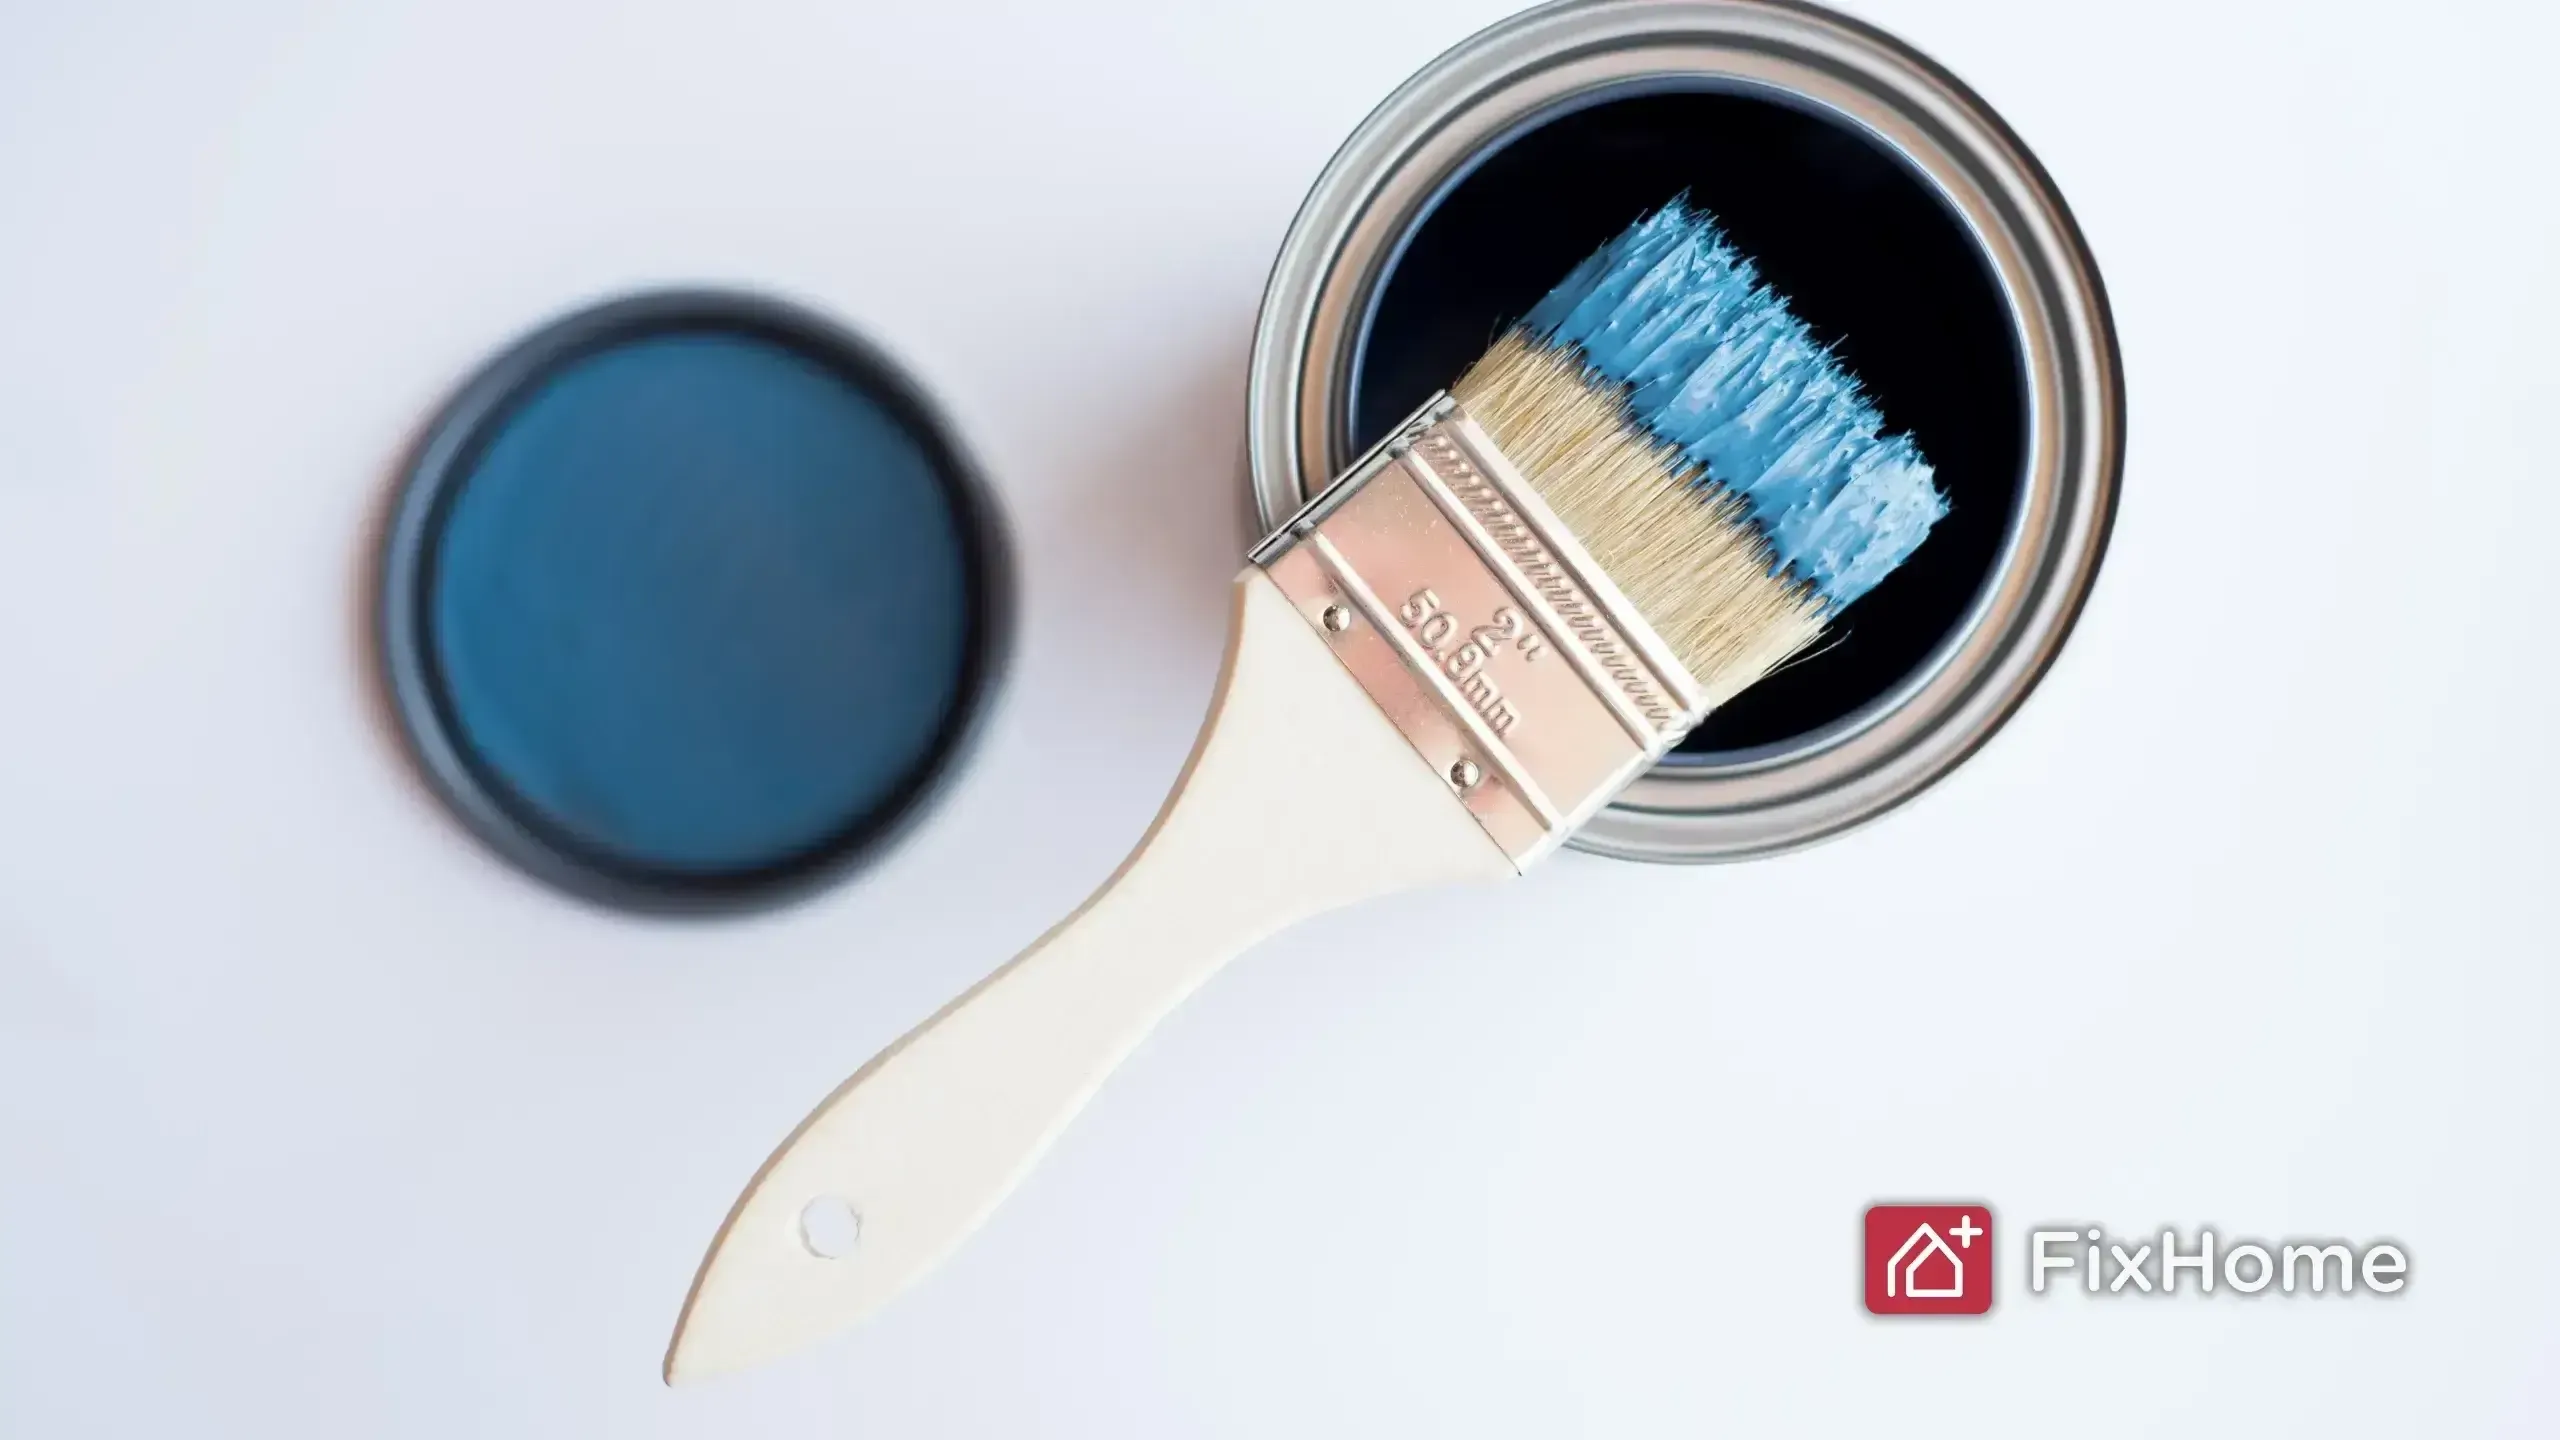
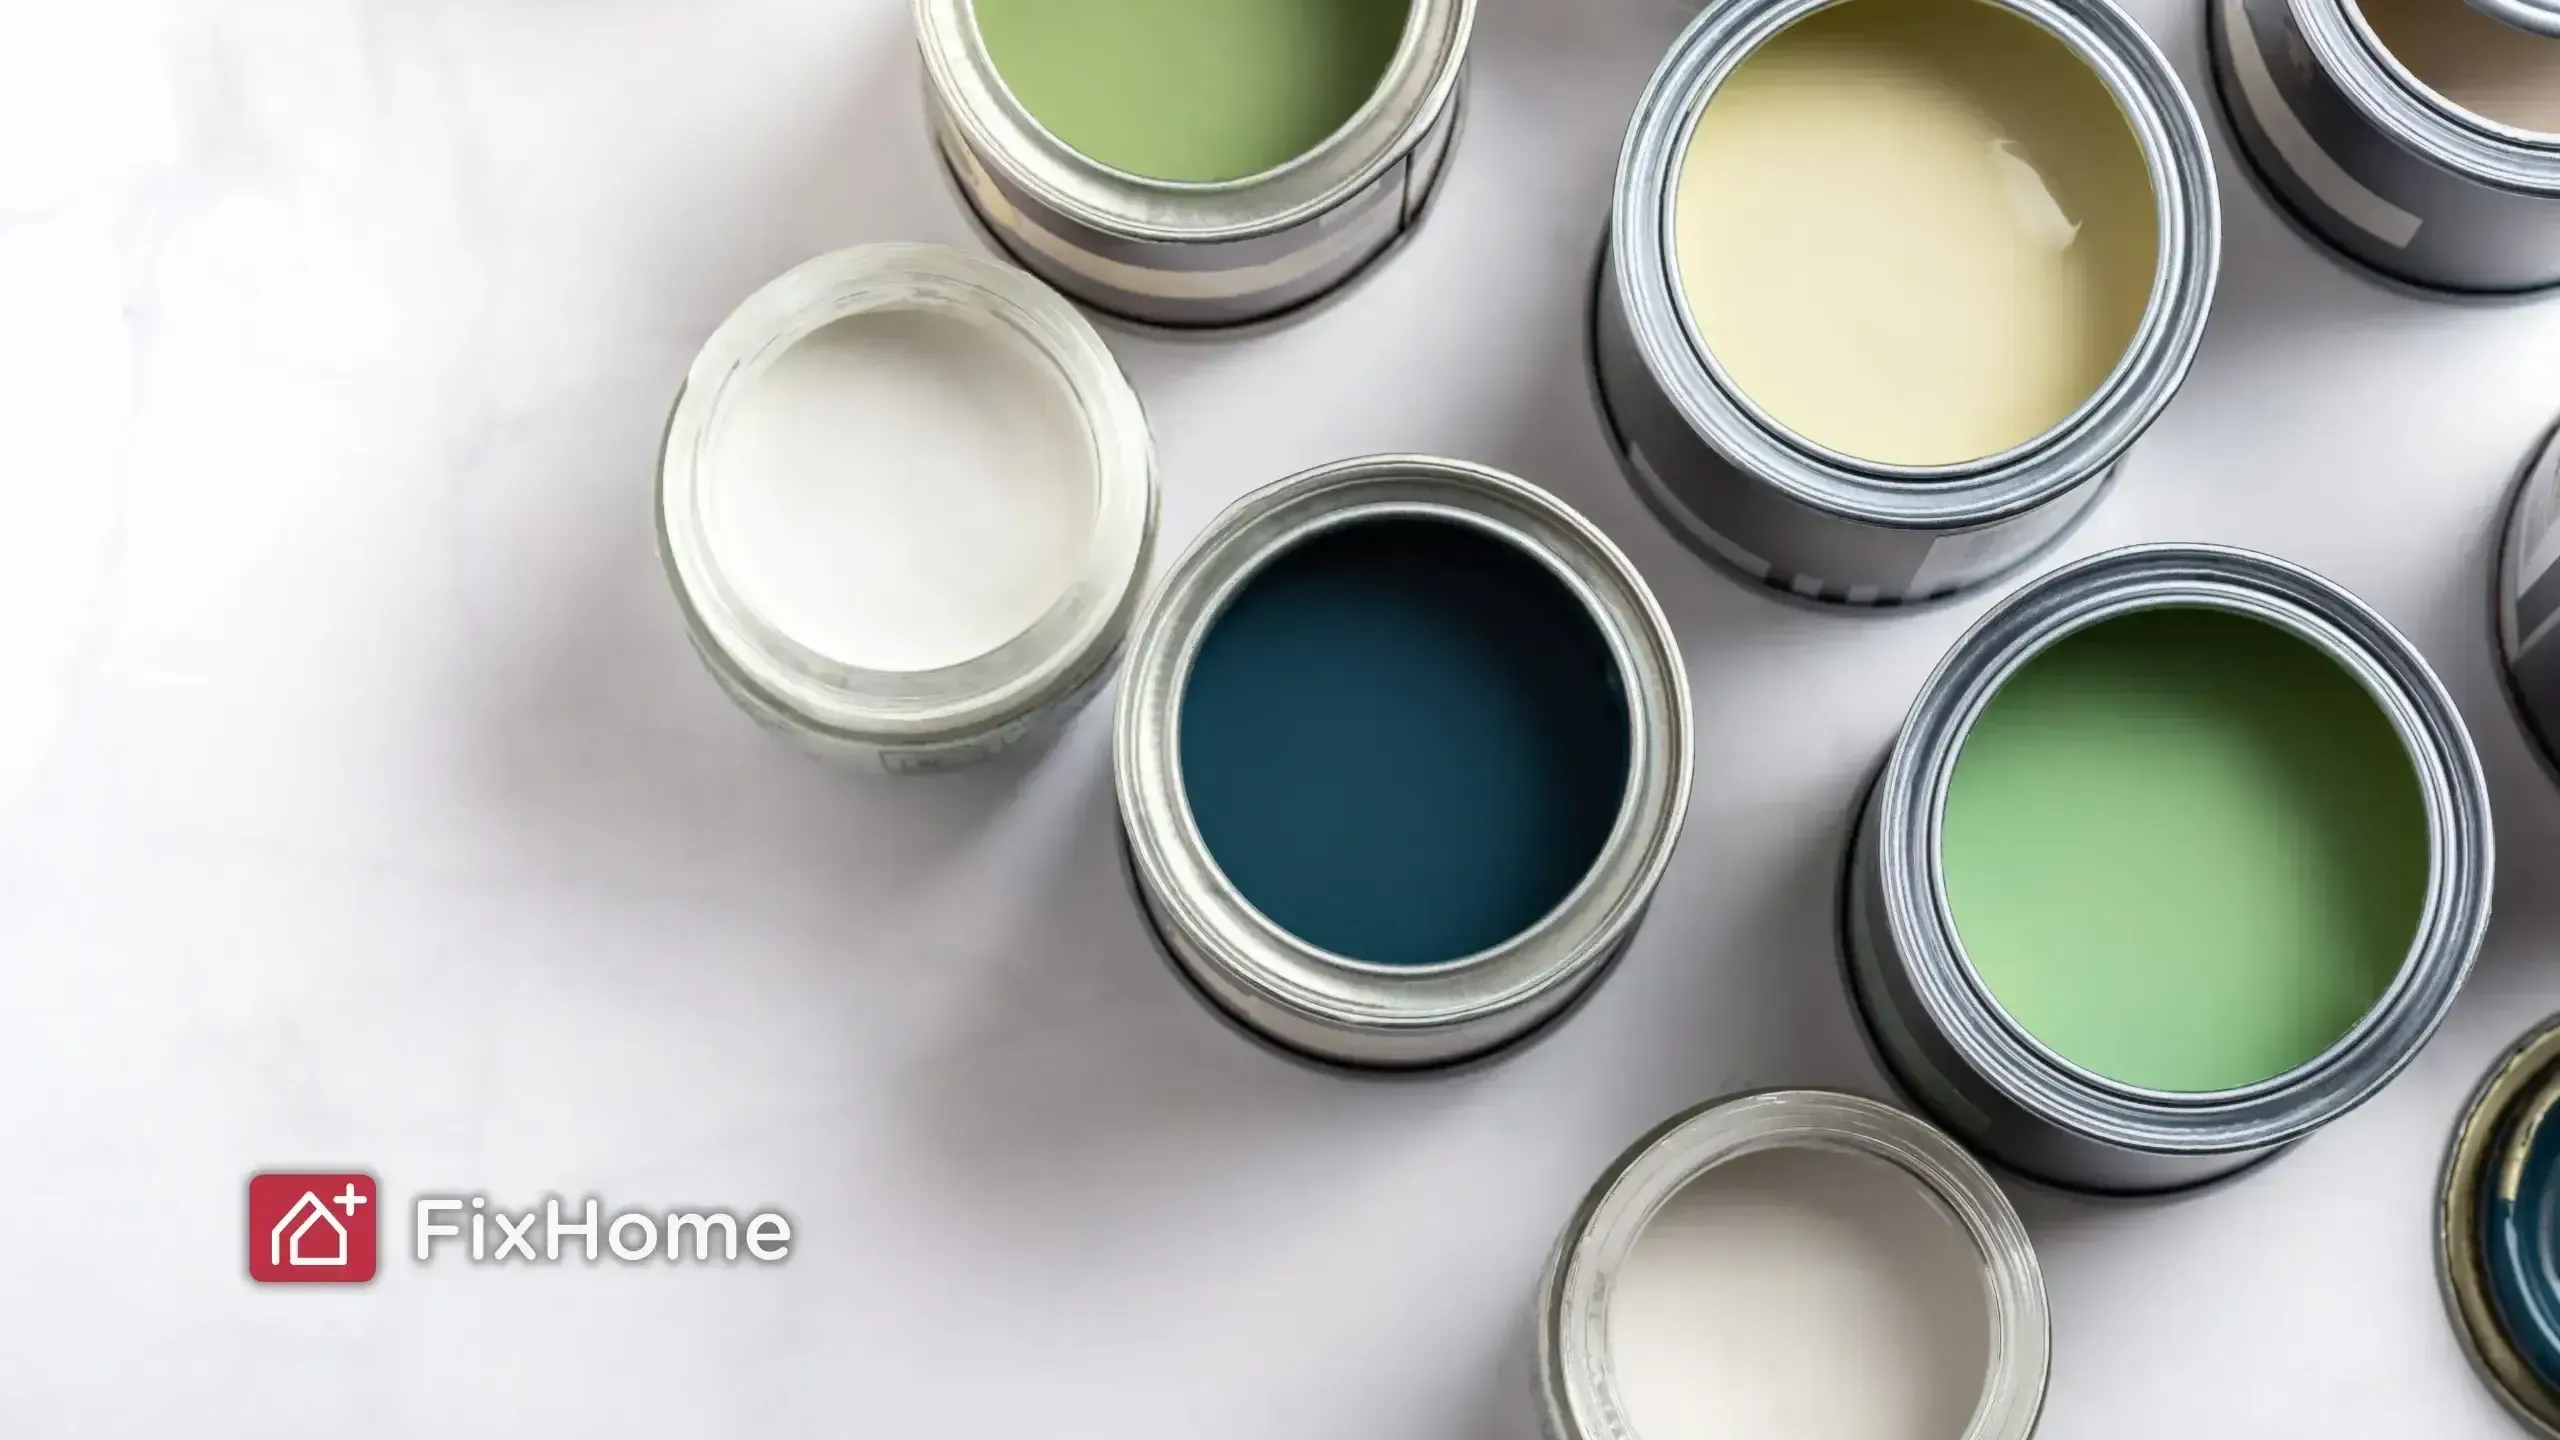
Step 6: Match and Prepare the Paint Color
Getting the color and finish right is key to invisible touch-ups.
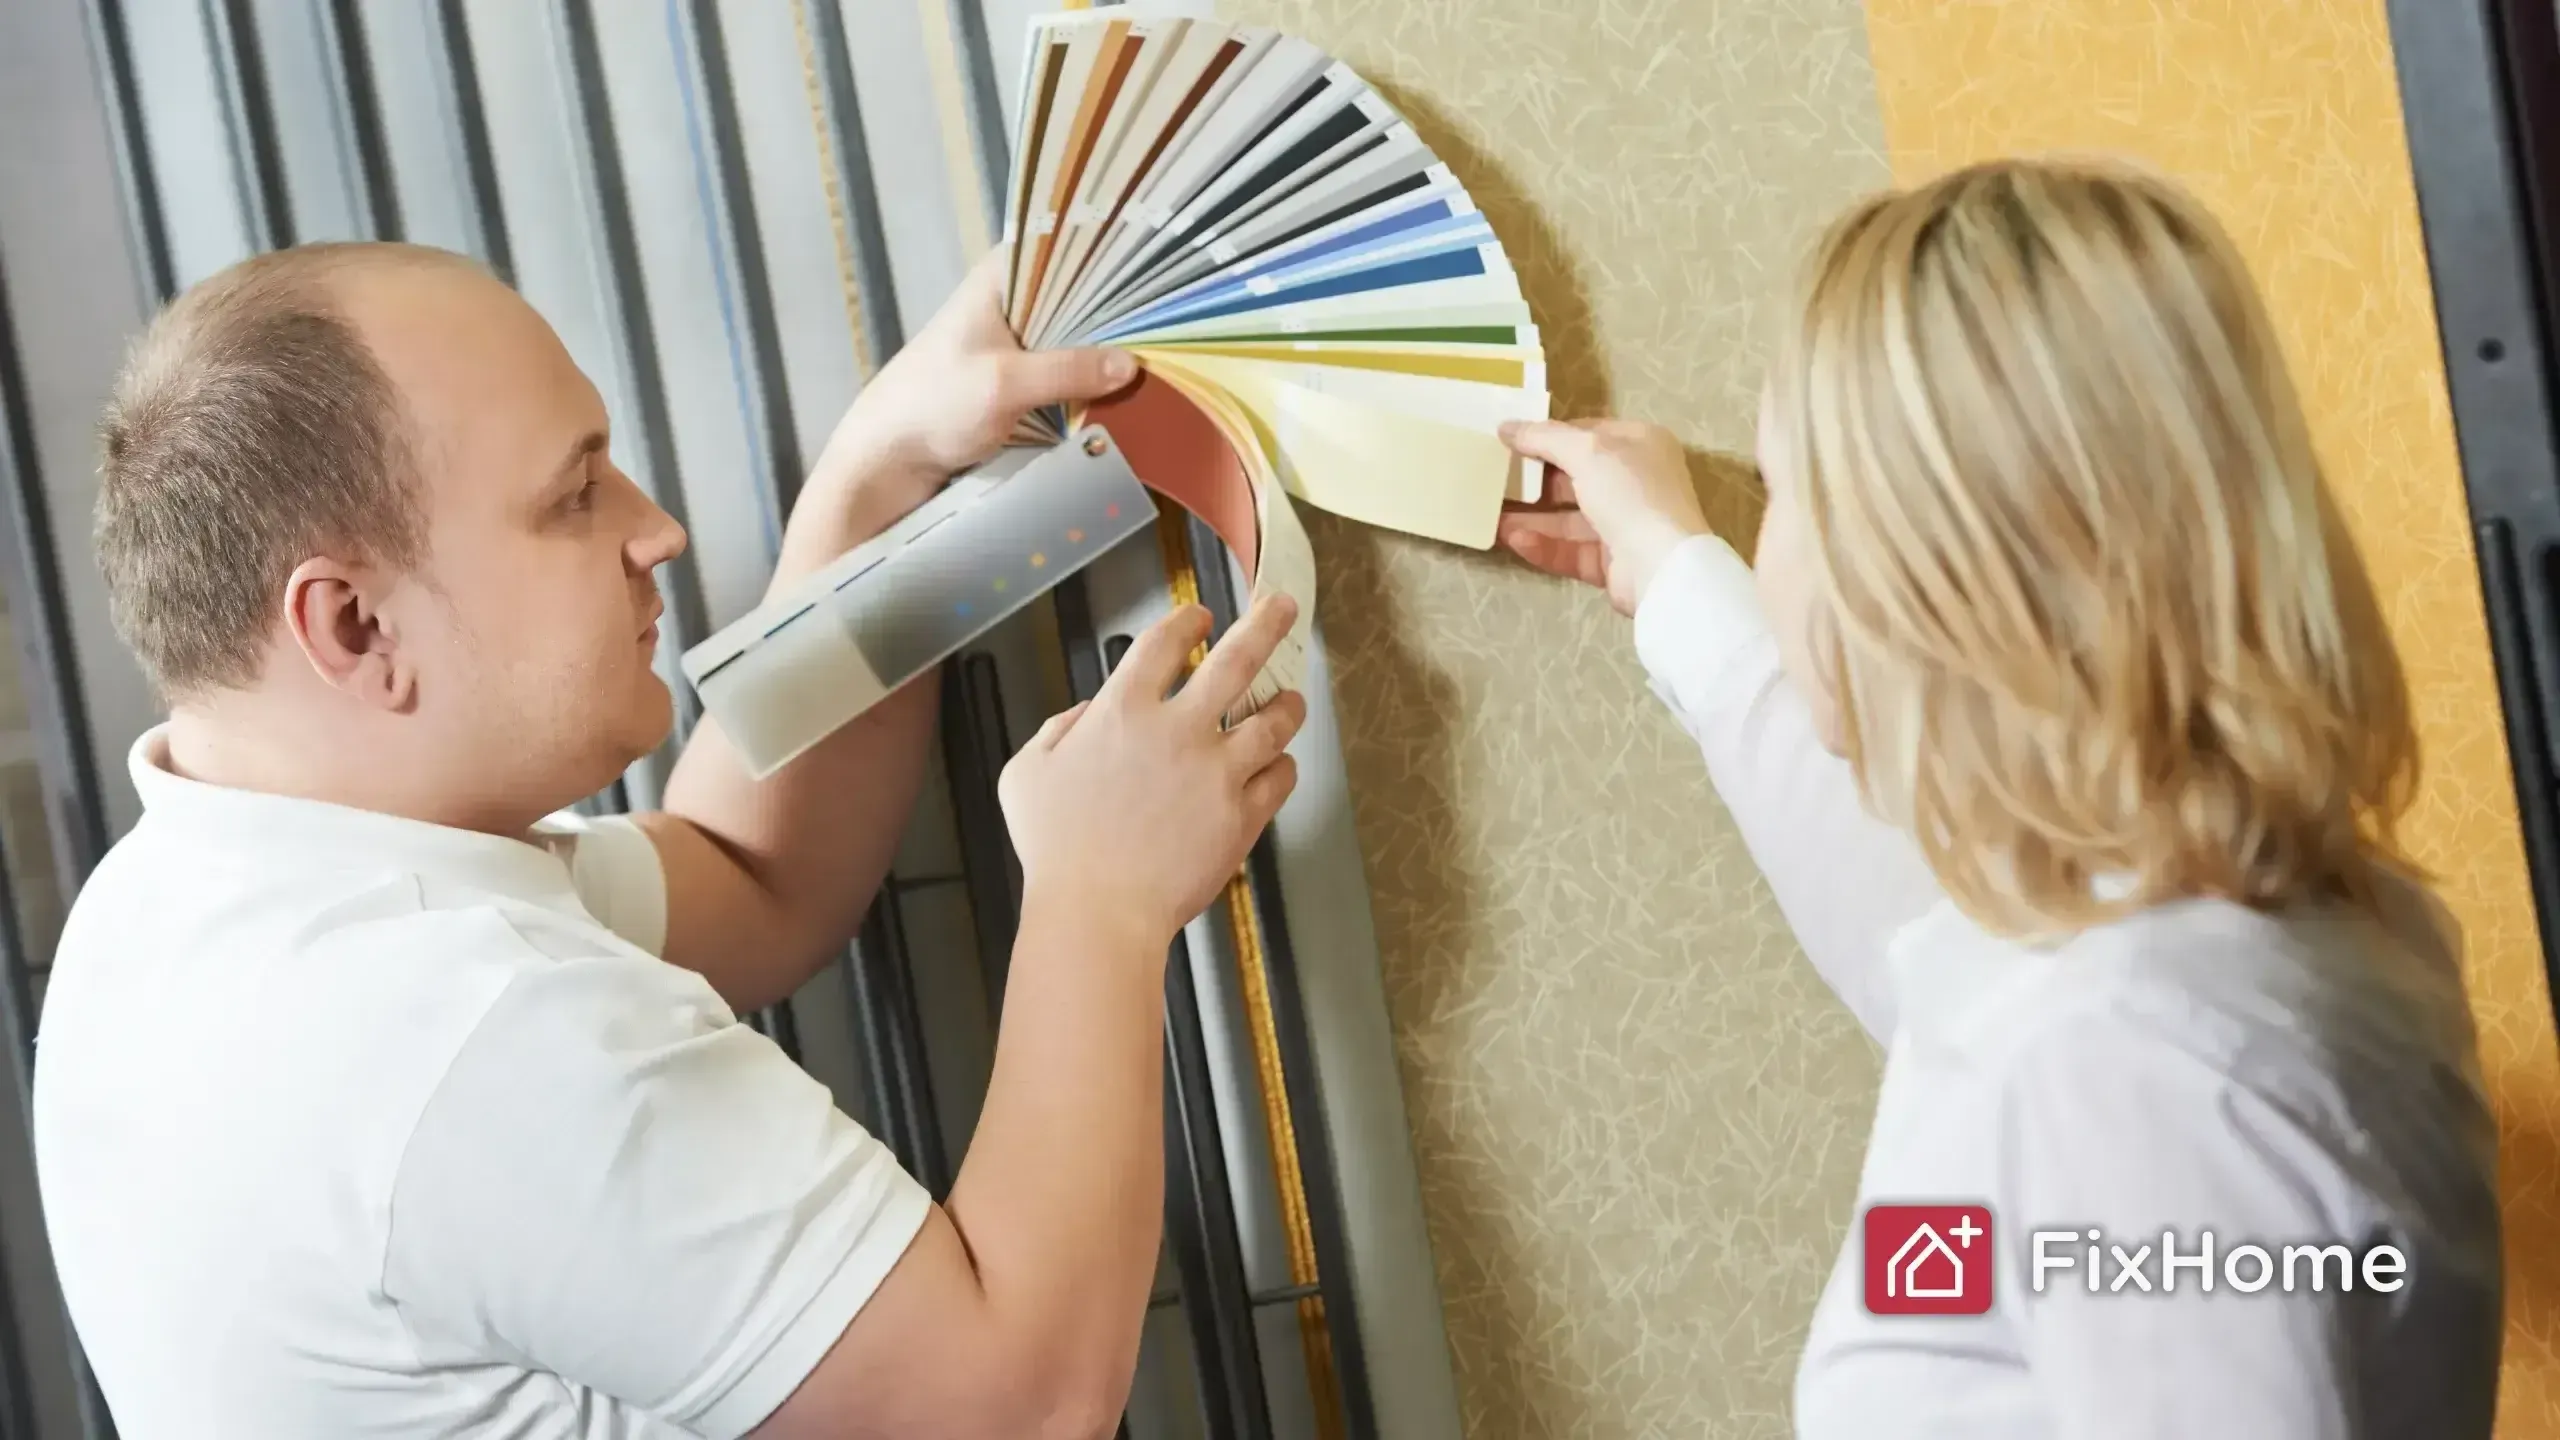
- Match the paint: If you don’t have the same paint (leftover from the whole wall paint job), take a small chip from an inconspicuous part of the wall to a hardware store for color matching.
- Stir thoroughly: Use a stirring stick to ensure pigments are evenly mixed before painting.
Pro Tips: Always test the paint in a hidden spot to confirm the color and sheen match before applying it to the patched area.
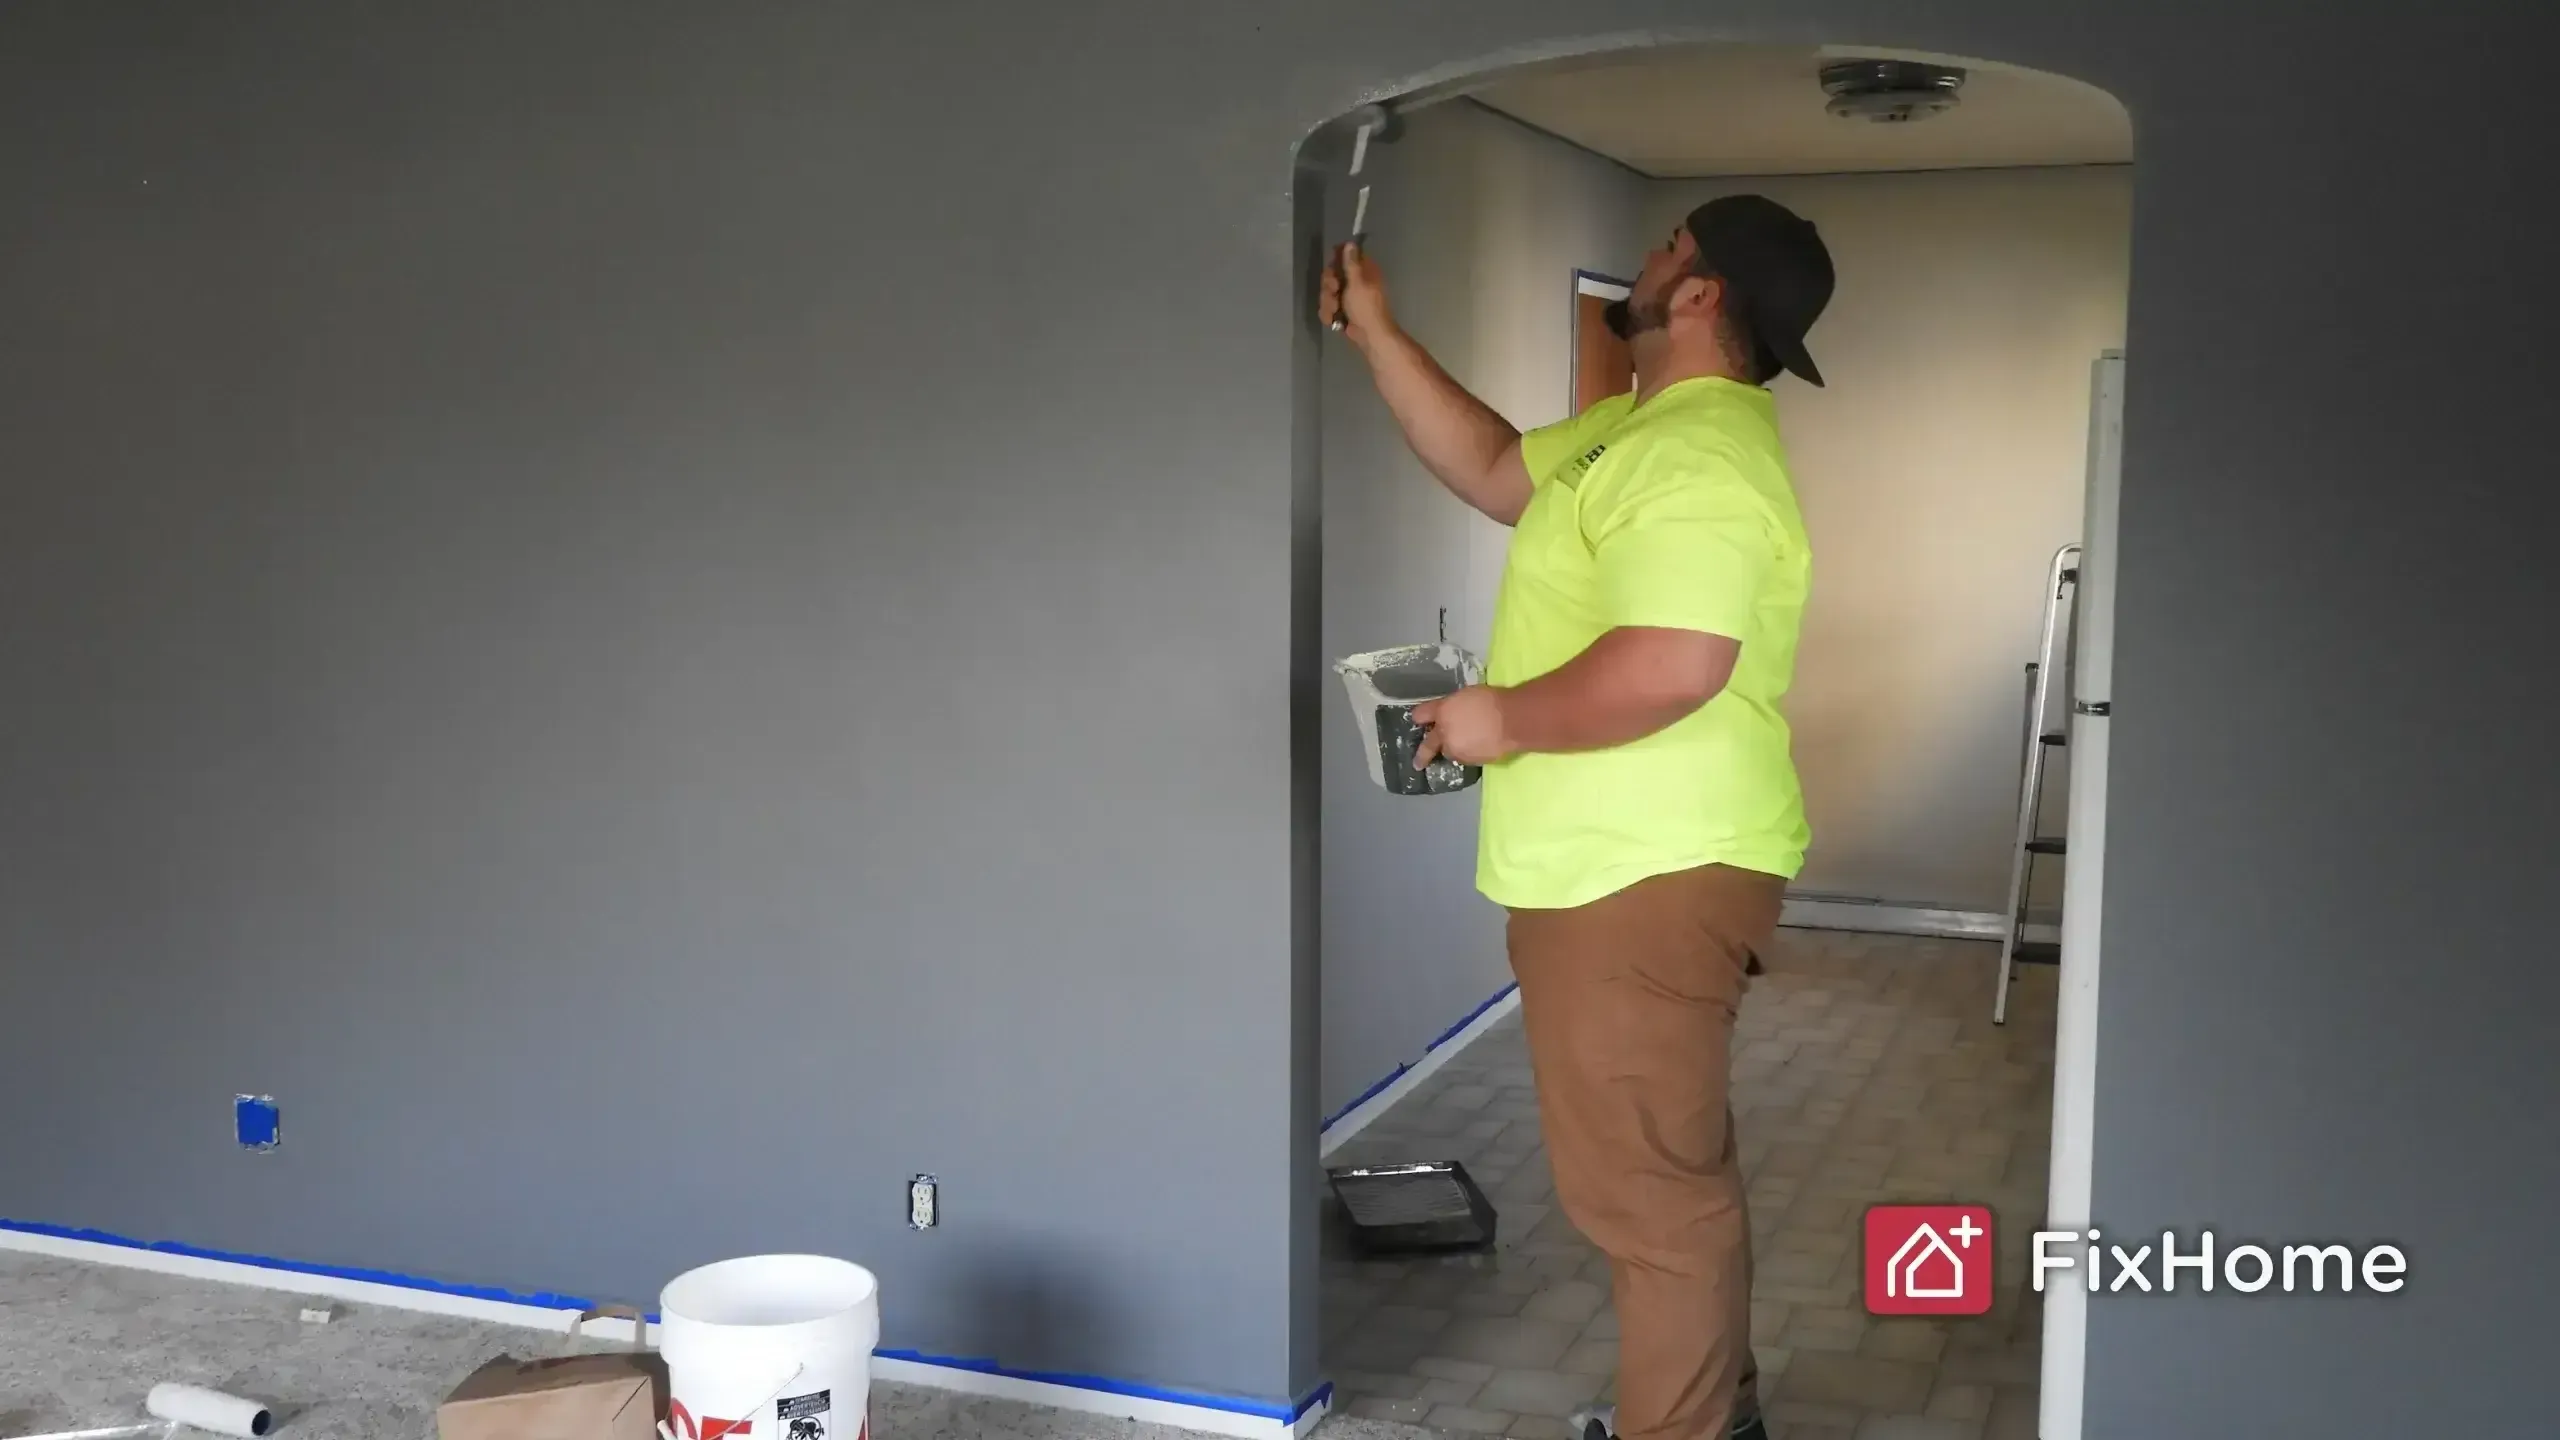
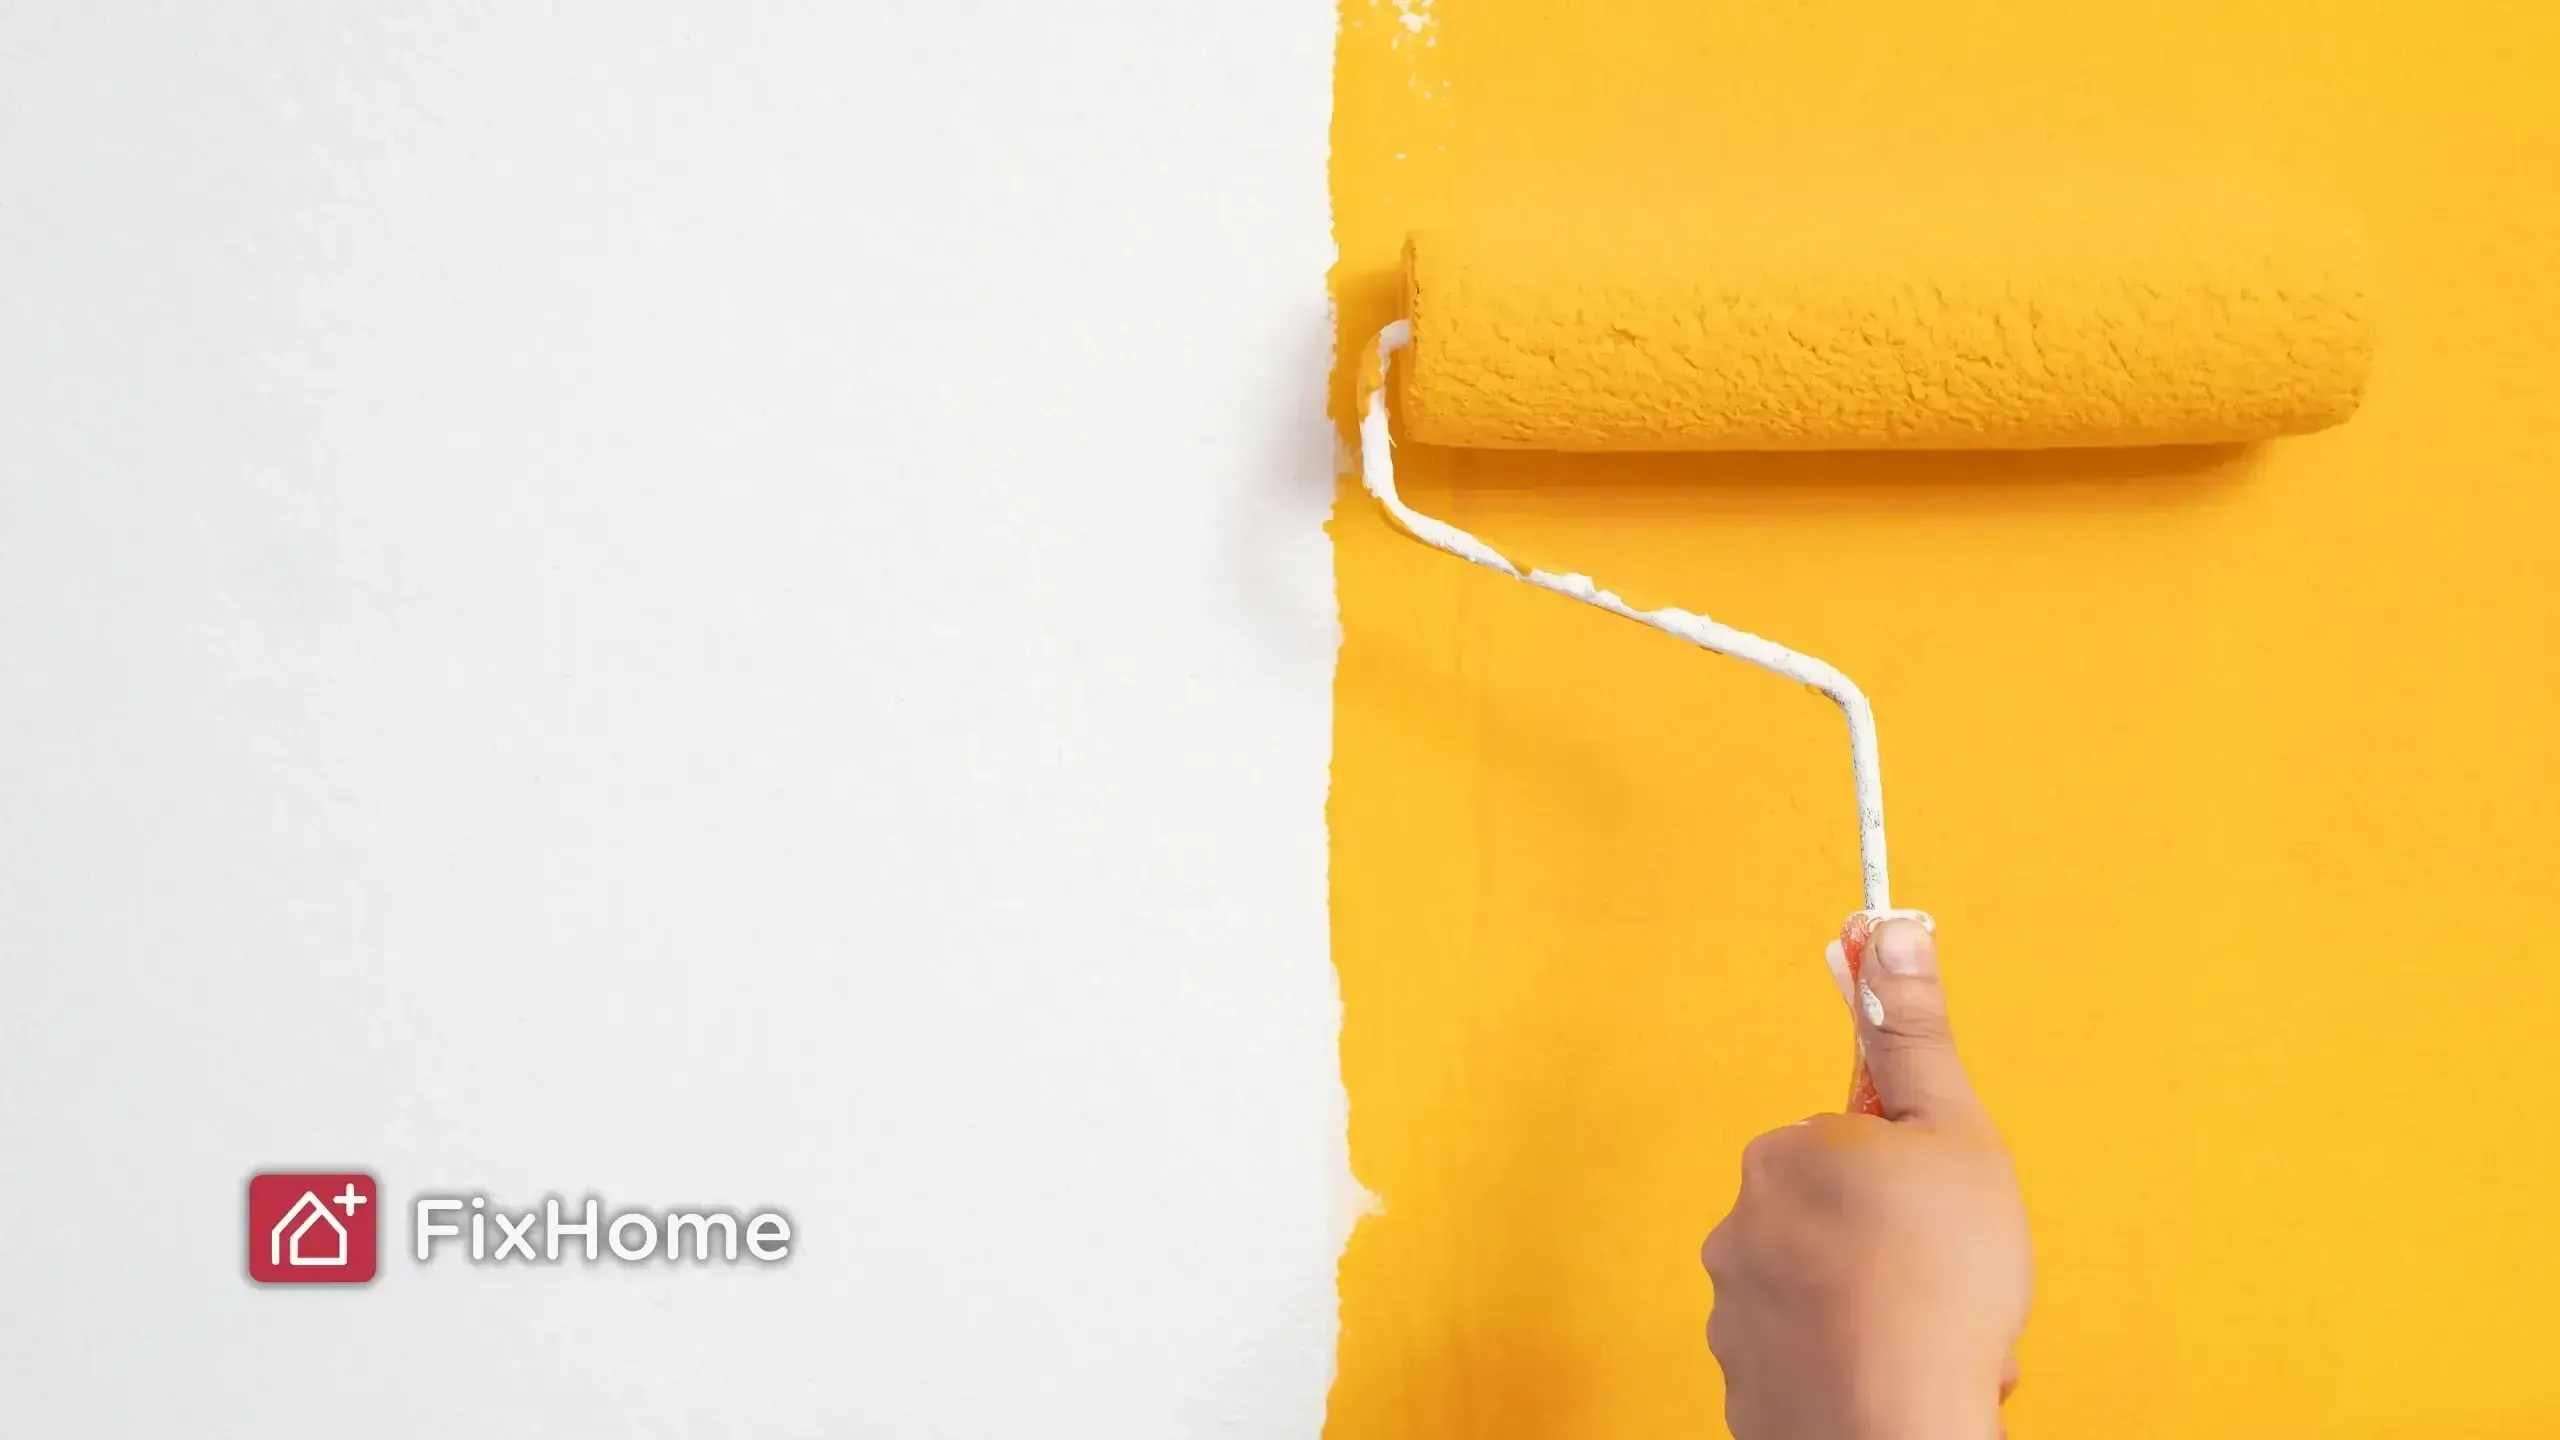
Step 7: Paint the Repaired Spot
Painting the wall correctly ensures the patch blends with the surrounding area.
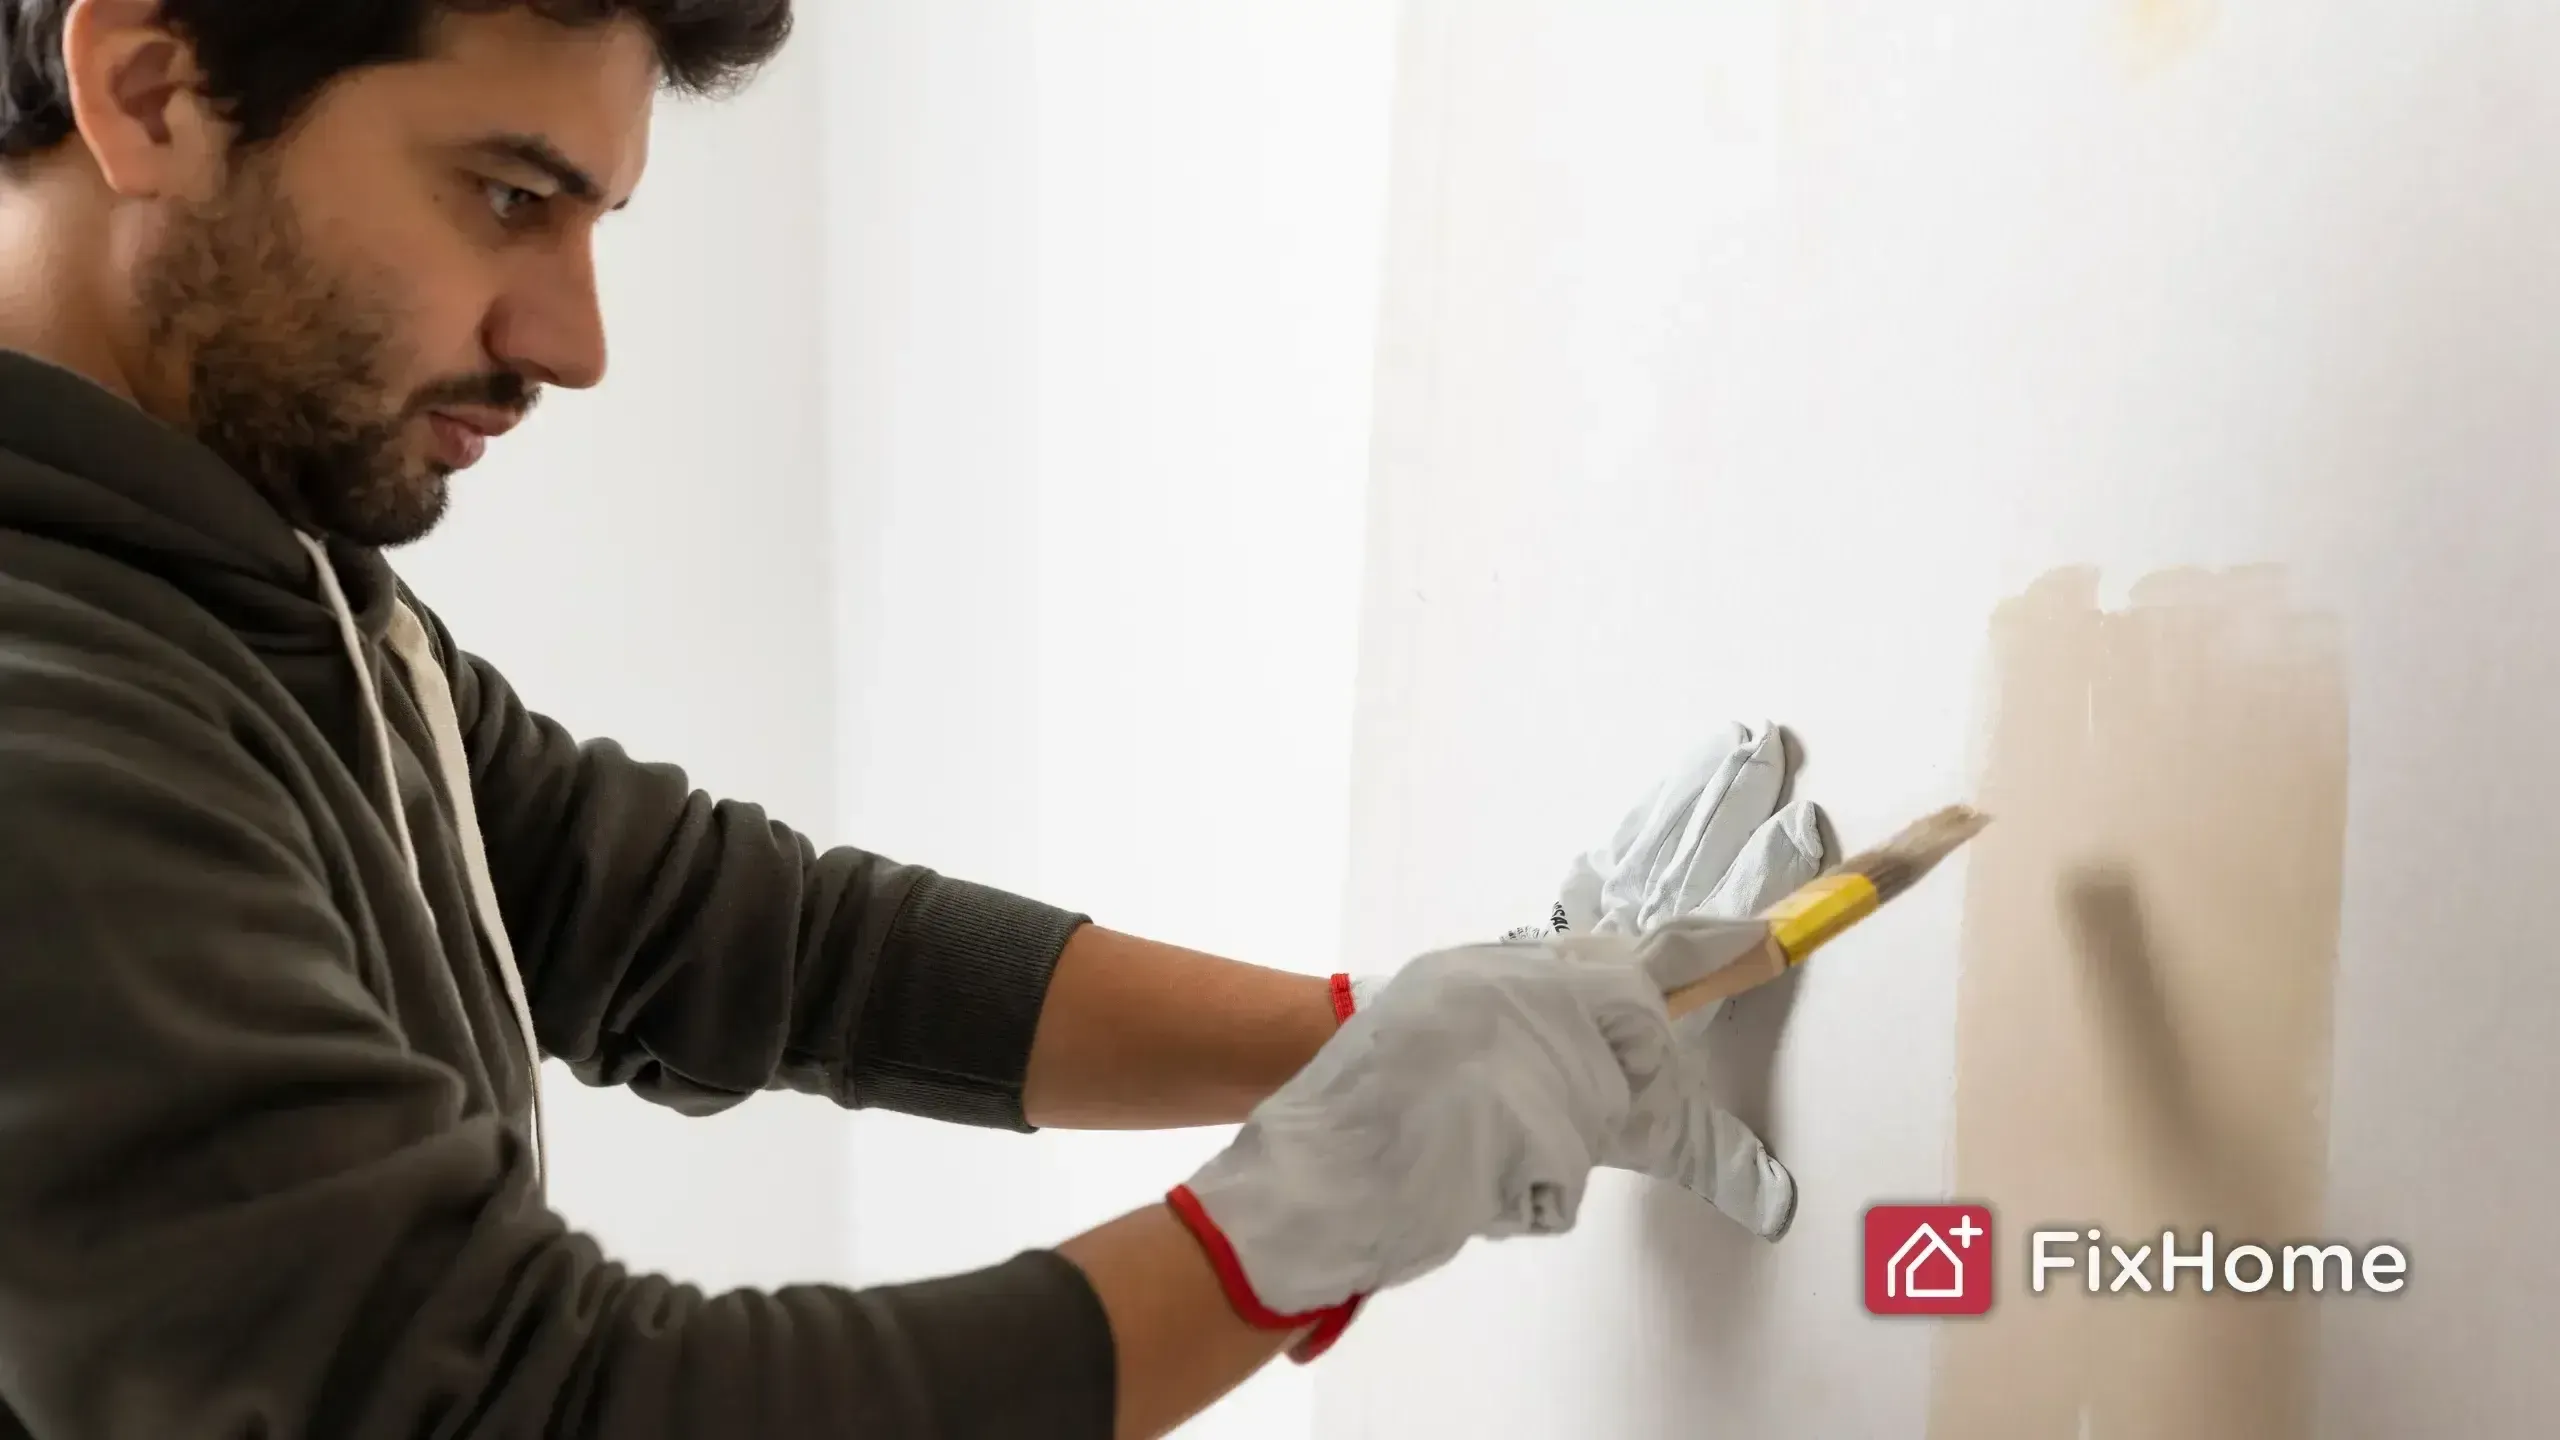
- Apply the paint: Use a small brush or mini roller. Start in the center of the repair and feather the edges outward to blend.
- Texture match: For textured walls, use light stippling with a brush or roller to recreate the surface finish.
Let the first coat dry completely. Apply a second coat if needed for full, even coverage.
Step 8: Final Inspection and Cleanup
- After the paint dries, check the touched-up area in good lighting to confirm that it blends well with the wall
- Clean your tools thoroughly and store any leftover paint in a tightly sealed can for future touch-ups.
Additional DIY Painting Tips
- Avoid painting on overly humid days, as it can delay drying time.
- Use masking tape to protect nearby surfaces.
- Work in small sections and keep your strokes smooth for even application.
- Don’t rush—allow each layer to dry before moving on for best results.
With a little effort and the right tools, you can easily fix small wall flaws yourself—no need to hire a pro! This simple guide is perfect for homeowners and DIYers who want to handle common wall touch-ups with confidence. By the way, painting skills in household chores come with practice. Save this article, so you don’t lose it when you need it!
If you live in the North Shore or northwest suburbs of Chicago, the FixHome+ subscription makes home maintenance easier. With regular handyman visits at a fixed price, you won’t have to handle household repairs yourself.
F.A.Q.s
For best results, use a lightweight wall spackle designed for interior use. A “pink-to-white” drying formula helps you know exactly when it’s ready to sand.
Carefully peel off a small paint chip from an inconspicuous area and take it to your local paint or hardware store. They can scan and mix a nearly identical match in both color and sheen.
That depends on the paint and wall color, but most minor touch-ups need 1 to 2 coats. Always let the first coat dry completely before adding another.
If edges are visible, try lightly sanding and repainting the area, feathering the paint outward. Uneven lighting or sheen mismatches can also make patches more noticeable — always test in good lighting first.
More from our blog.
Discover more insightful and engaging content from our blog.