At the core of home improvement lies a simple, yet crucial detail – the doorknob. It’s a feature often overlooked in the grand scheme of interior design, yet its functionality is paramount. How often have you entered or exited your home without a second thought about that small yet hardworking device?
Today, we're unlocking the secrets of the doorknob world with a comprehensive guide to replacing and installing this staple of home utility. Whether you’re a bonafide DIY enthusiast or a hesitant amateur, navigating the complexities of doorknobs doesn’t have to be a mystery. After all, a certain satisfaction comes with a home project completed on your terms, not to mention the savings from not hiring a handyman.
Reasons To Replace A Doorknob
Before we get into the nitty-gritty of knobby knowledge, it’s important to understand the 'why' behind DIY doorknob replacement. There’s a multitude of reasons ranging from aesthetic to practical:
- Worn-Out Handles: Over time, doorknobs can break or simply wear down due to constant use, or the appearance of the door handles becomes worse because their protective coating becomes worn
- Home Renovation: A new doorknob can freshen up the look of a room as part of a broader renovation effort.
- Functionality and Safety: Difficulty opening or closing a door could be a serious safety concern in an emergency.
Before You Start
Please, take a good, hard look at your door. What’s its material? Wood, metal, or something else? This will dictate the kind of installation you’ll be dealing with. Replacing a doorknob is a fairly straightforward process, but In preparation for the endeavor, gather your tools:
- Screwdriver: A Phillips head screwdriver is typically used for removing or installing door knobs. Some door knobs might require a flathead screwdriver instead.
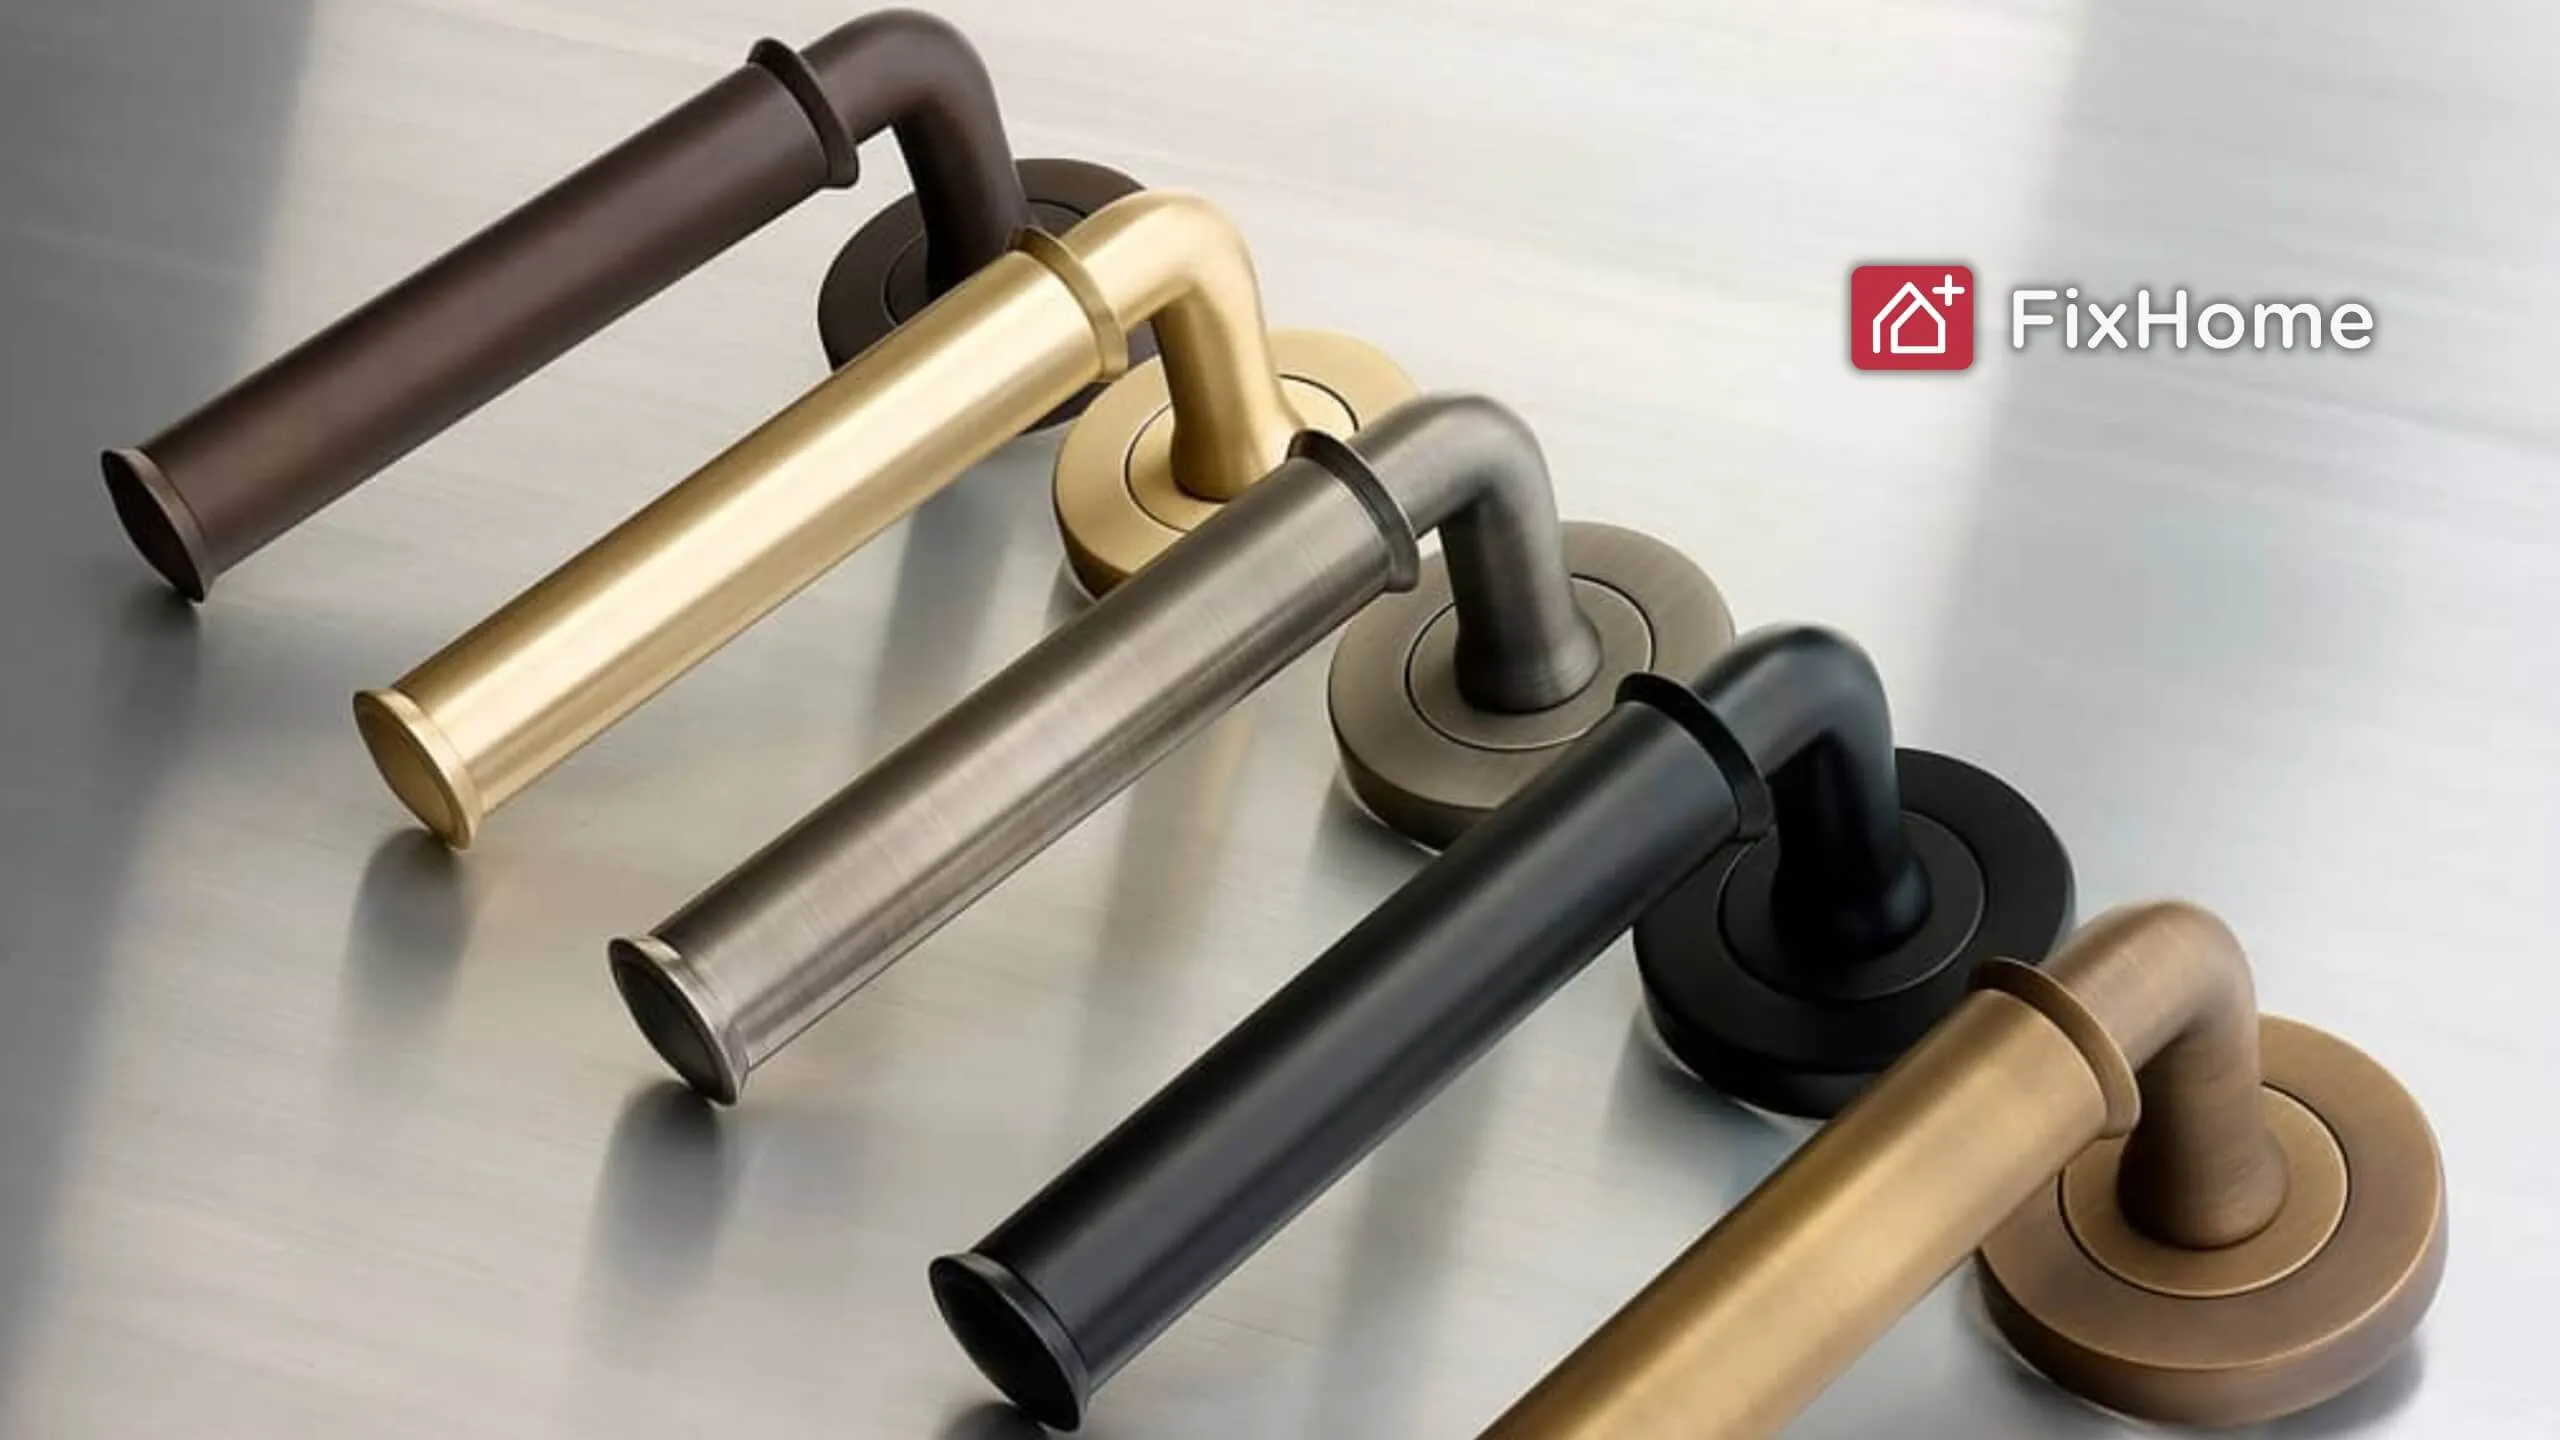
- New Doorknob: Of course, you'll need a new doorknob to replace the old one. Make sure it is the right size, type, and style for your door.
- Small Hammer: This can be helpful in case you need to tap any stubborn components into place, but use it carefully to avoid damaging anything.
- Chisel: If your new doorknob does not fit perfectly into the existing hole, a chisel can be used to adjust the size of the hole or latch plate indent.
- Pencil: For marking any necessary adjustments before making them
- Tape Measure: To ensure that your new knob fits correctly and to measure the correct placement for the latch if required.
- Drill (optional): In some cases, especially with new doors, you might need a drill to create new holes for the doorknob and latch.
Remember to follow the installation instructions that come with your new doorknob, as the exact steps can vary slightly depending on the specific model.
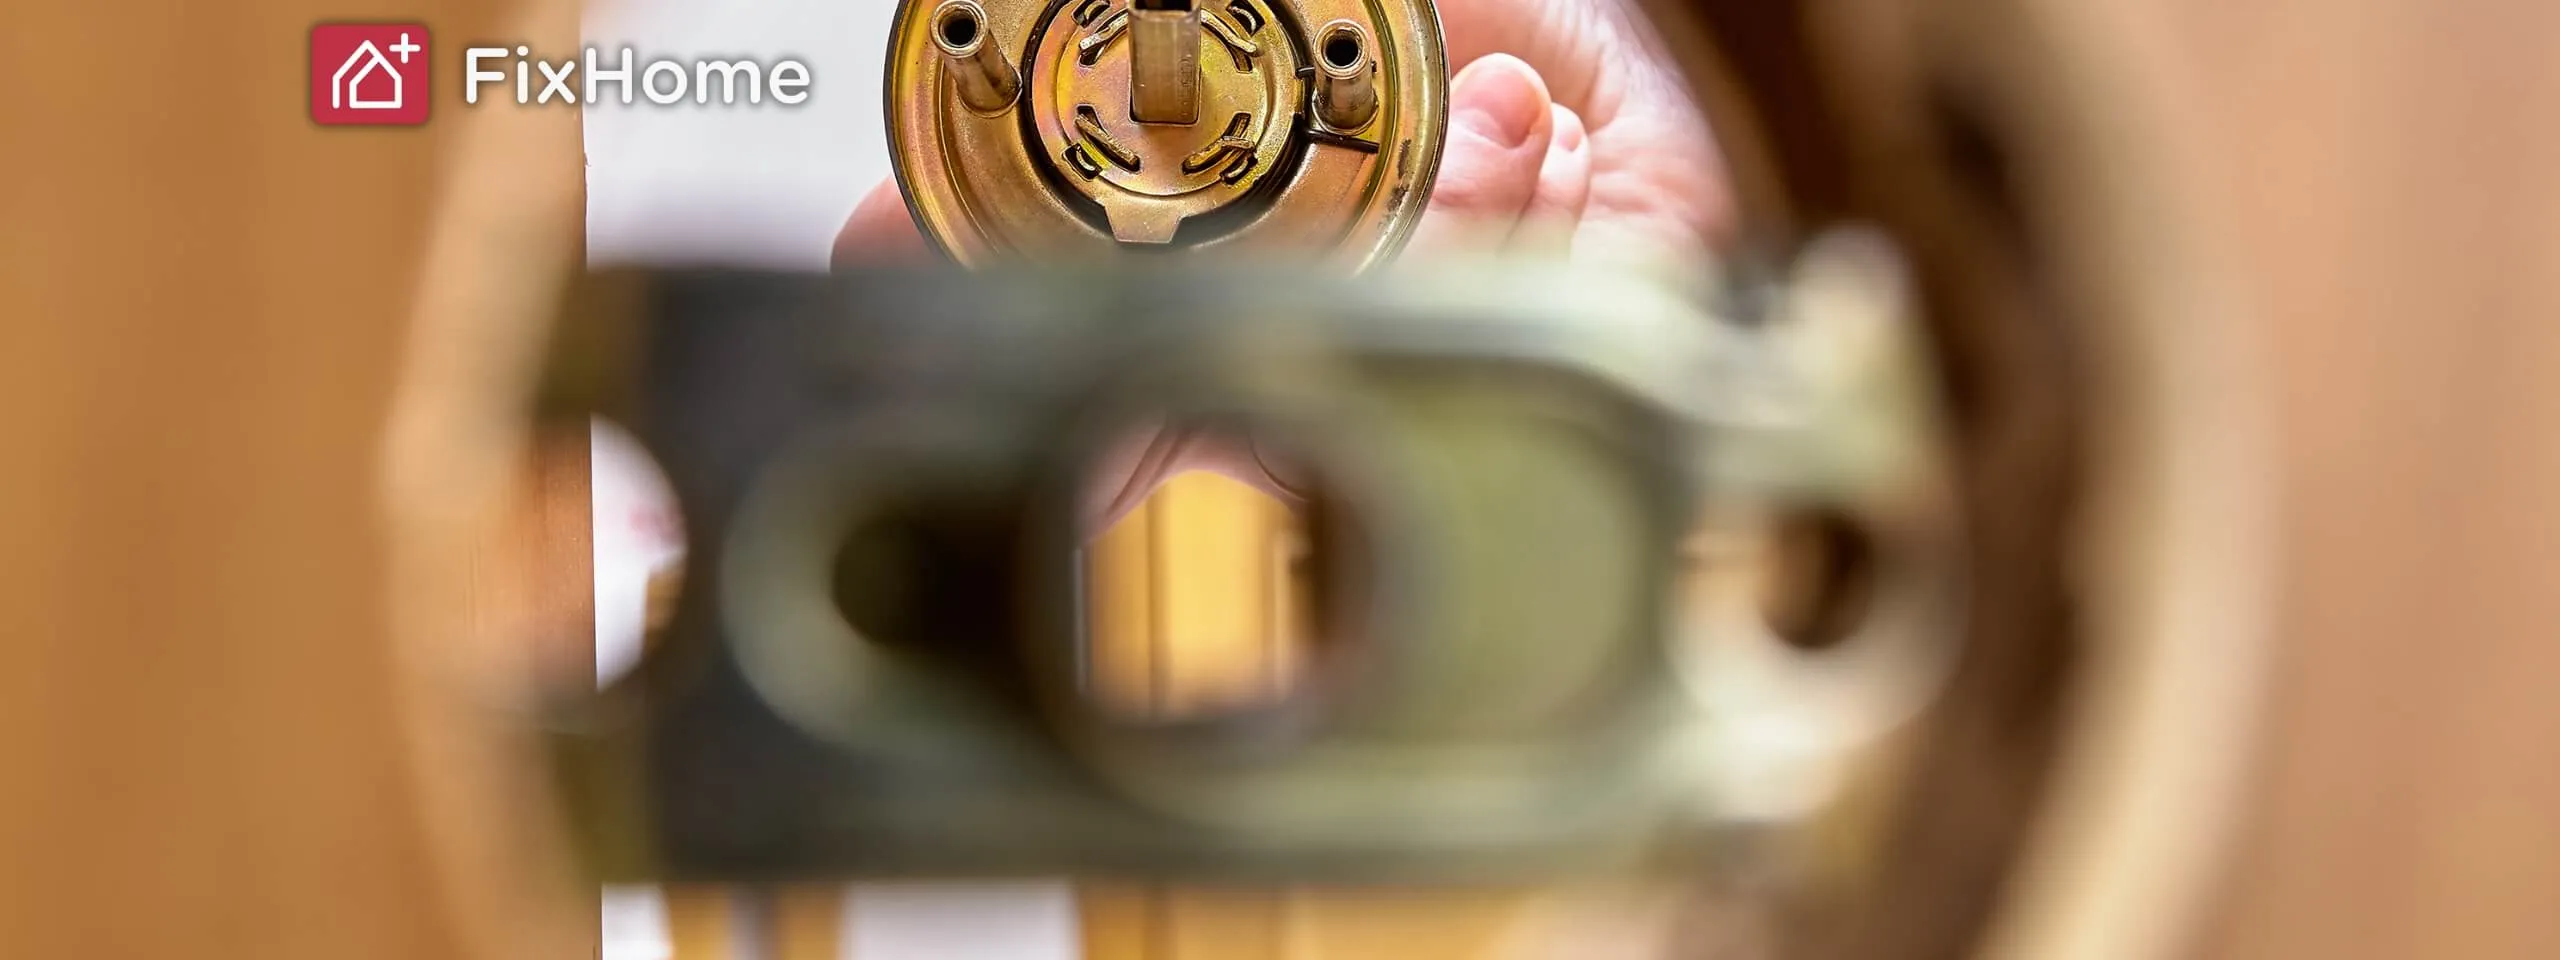
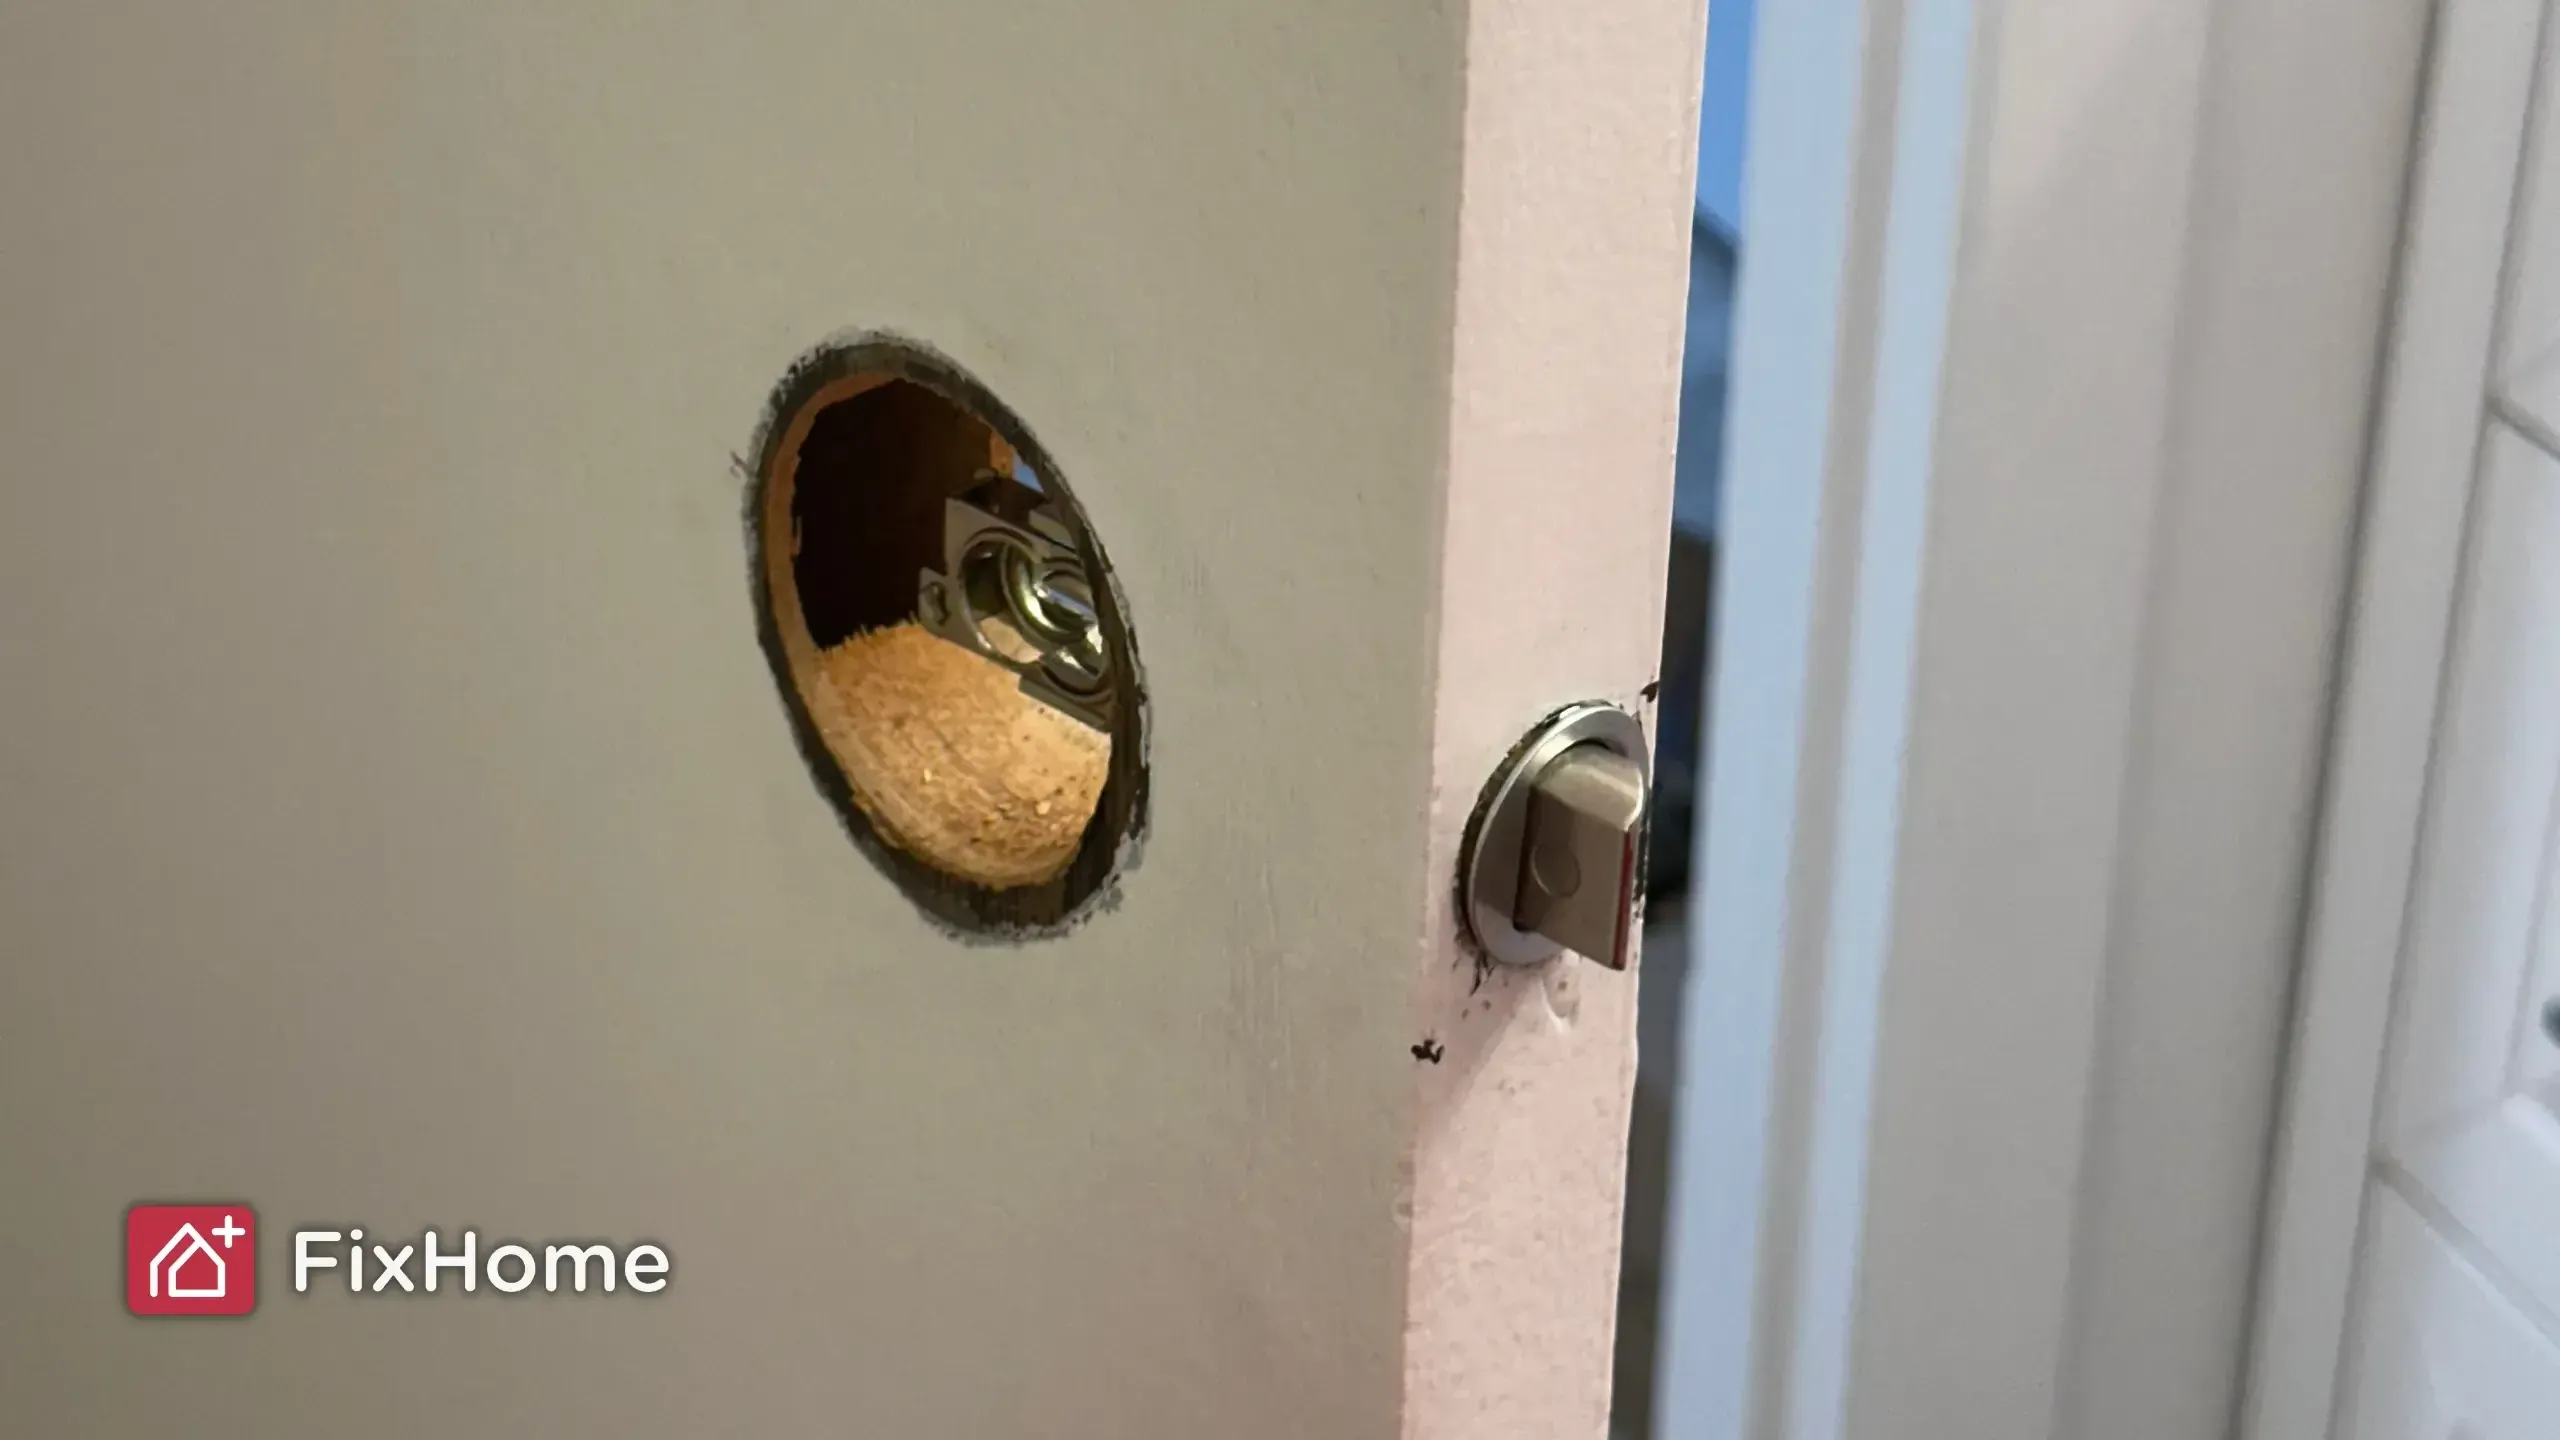
Removing the Old Doorknob
The first step in your transformation is, of course, deconstruction. Start by unscrewing the faceplate and removing it. Then, unscrew the screws that hold the two doorknobs together. This may require a bit of elbow grease, especially if they’ve been there a while.
Once the knobs are out, locate and unscrew the latch plate on the edge of the door, followed by the latch mechanism itself. Gently wiggle and pull – the mechanism should come free. Be sure to pay attention to the way everything is set up so you can reverse-engineer it for the new knob installation.
Installing a New Doorknob
Now comes the best part – bringing something new into your home. Place the new latch bolt into the cavity in the door’s edge, making sure the slanted side faces the direction the door closes. Position the knob spindle into the latch bolt, then attach the doorknobs to each side. Depending on the model, you might need to tighten a set screw to keep the knob in place. Remember instructions for specifics.
Testing and Adjustments
With the new doorknob in place, it’s time for a test run. The turning should be smooth and the latch should align perfectly with the strike plate. Once you’re satisfied, tighten all screws and set screws firmly to keep everything in place.
Be sure to test the doorknob from both sides for complete functionality. If needed, adjust the position of the strike plate so the latch aligns perfectly – you don’t want any wiggle room that burglars could exploit. Check the alignment of knobs and latches with the strike plate on the door frame – everything should be level and secure.
Additional Tips
- Handle with Care: If you have a more intricate doorknob, handle it with care to avoid damaging any delicate parts.
- The Right Fit: Measure twice and cut once, as the adage goes. Ensuring that everything fits is key to a smooth installation.
- Safety First: Work in a well-lit area and take your time. This is not the sort of project to rush through, especially when it comes to tightening screws and ensuring a secure handle.
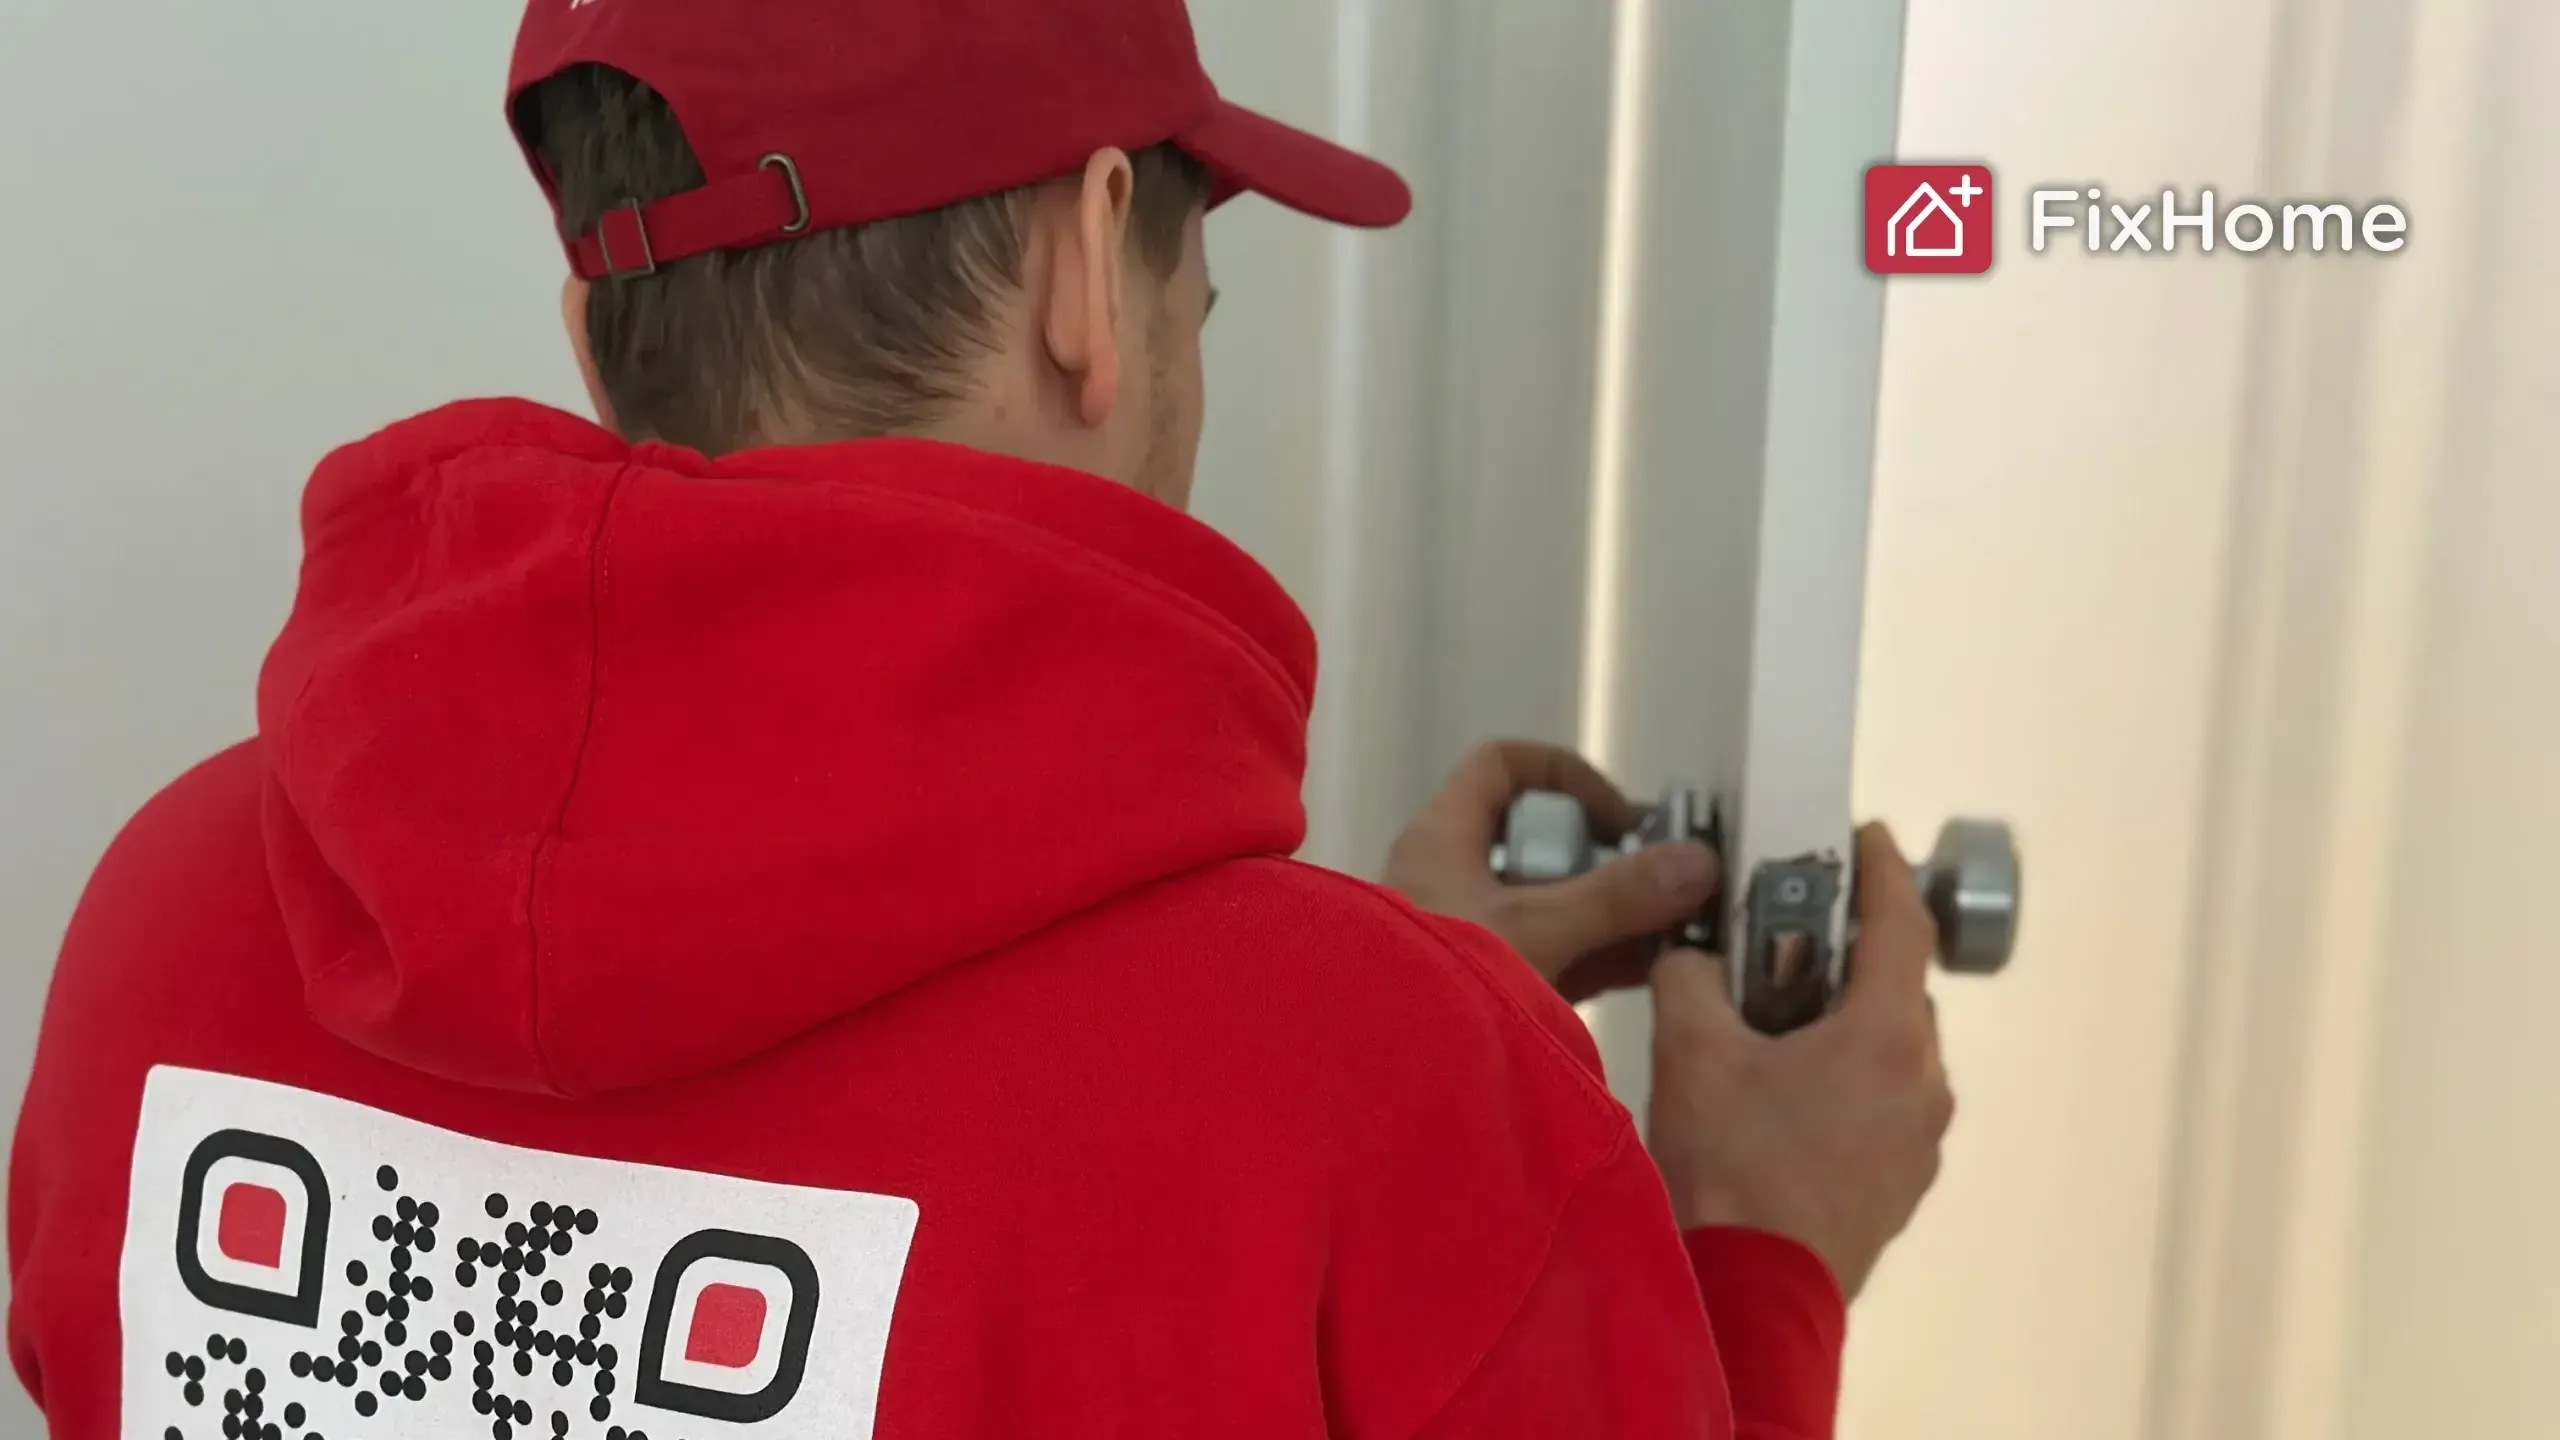
FixHome+ Handyman Is a Great Idea
Even with this thorough guide, you might want to leave the replacement work to experts. With the FixHome+ handyman service, you don’t need to compromise – get professional-grade home repairs and installations, including doorknob replacement, at your convenience and with a satisfaction guarantee.
FixHome+ Subscription Benefits
- Quality Control: Each FixHome+ handyman is a skilled specialist. The reassurance of having a professional handle the situation is invaluable.
- Reliable Service: Through a subscription program, your repairs receive expedited attention. Say goodbye to lengthy waits for overwhelmed contractors, just a few taps and you're set.
- Ease: Avoid disrupting your routine. FixHome+ caters to your schedule, freeing up time for more significant life projects.
- Financial Management: A set subscription fee enables increased savings in the long run.
A FixHome+ subscription rolls out convenience like no other. Regular maintenance checks and priority bookings make home improvement a breeze. From door and doorknob adjustments to broader home improvement projects, FixHome+ has you covered.
More from our blog.
Discover more insightful and engaging content from our blog.