Electricity can be pretty risky, so it’s always a good idea to call an electrician, even for simple jobs like replacing outlets or switches.
Common electrical problems include broken light bulbs, faulty wiring, old or malfunctioning outlets, power surges, tripped circuit breakers, buzzing sounds, and switches that feel warm or hot to the touch. These issues often lead to partial or complete power outages in a home.
It’s important to note that most of these problems SHOULD NOT be fixed on your own unless you have experience with electrical work. Electricity is dangerous and should be handled carefully. The safest option is to call a qualified professional, even for something that seems simple, like replacing a plug socket. It’s always better to rely on an experienced electrician.
Tips for Working with Electricity
FixHome+ specialists always strive to provide helpful advice that comes in handy. When it comes to working with wiring and electricity, following these tips helps prevent potential hazards.
- Turn Off the Power: Always switch off the circuit breaker before working on any electrical wiring.
- Wear Protective Gear: Use insulated gloves, and safety goggles, and ensure the workspace is dry.
- Inspect for Damage: Look for burnt wires, loose connections, or physical damage.
- Check Moisture and Corrosion: Verify that wiring and outlets are free from moisture, overheating, or corrosion.
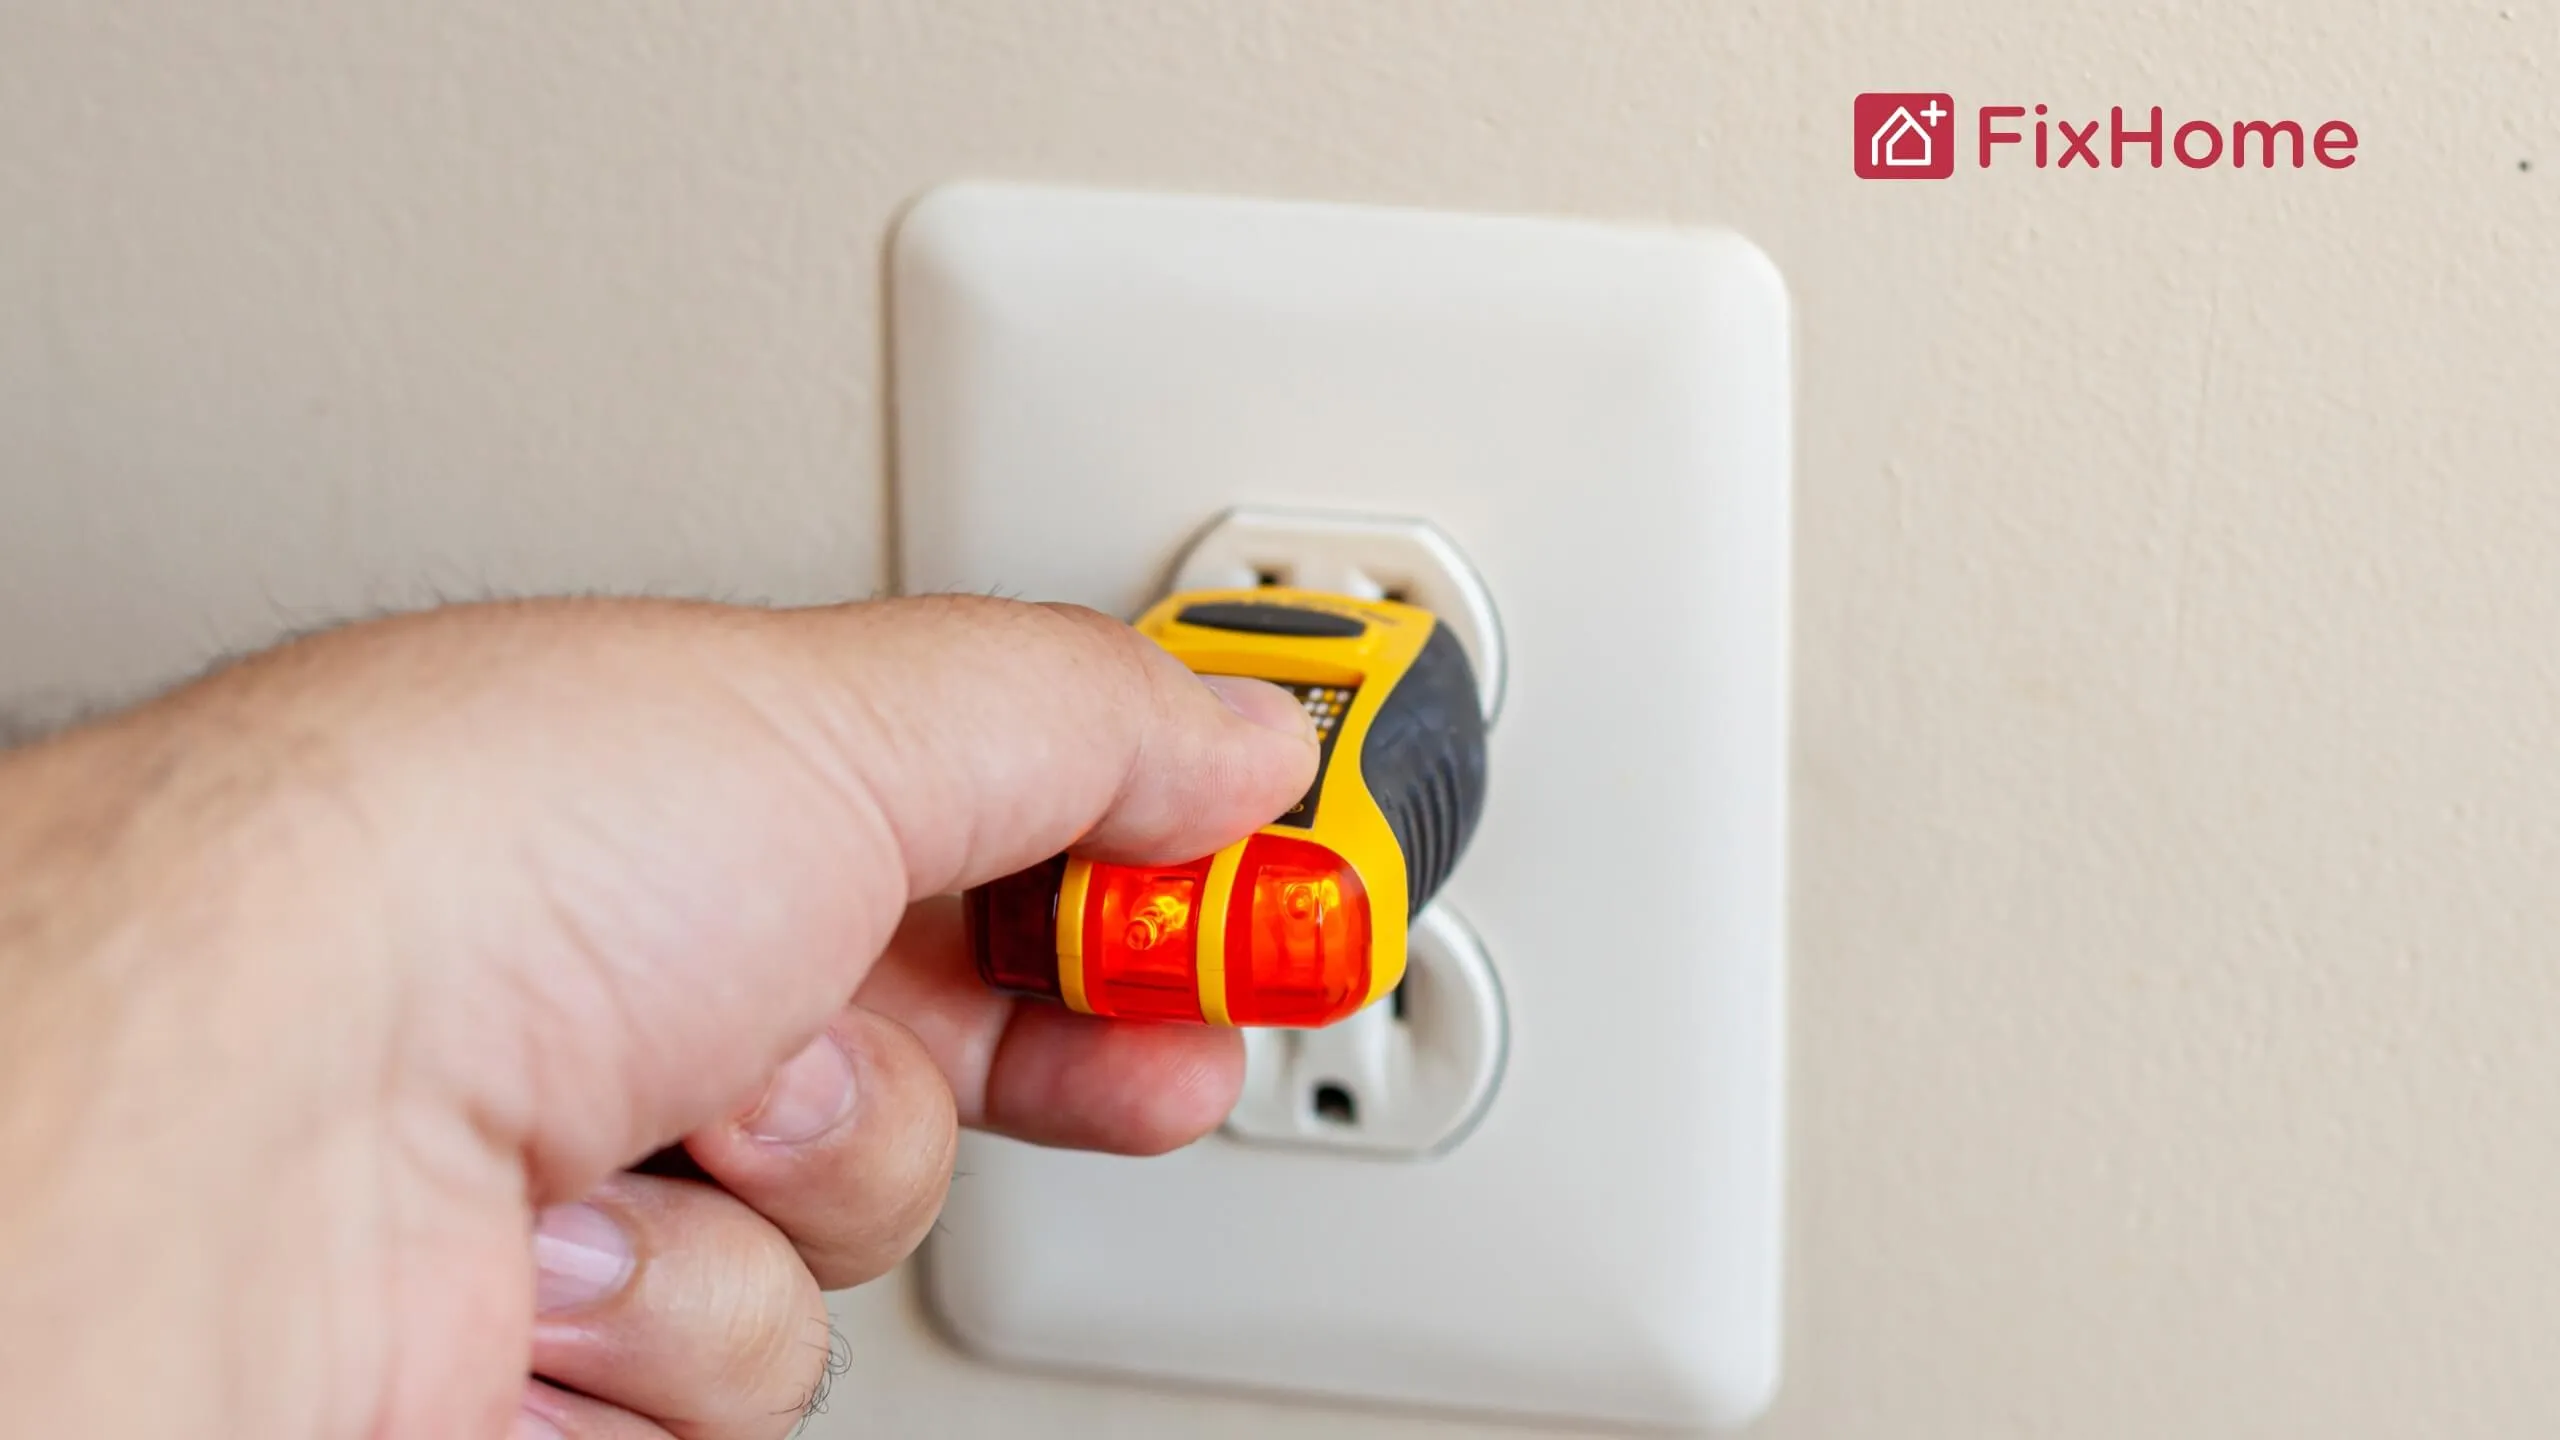
- Use a Voltage Tester: Confirm the absence of electrical current in outlets or switches before beginning work.
- Test Outlets and Switches: Use a multimeter to measure voltage and ensure proper functionality.
- GFCI Outlets: Regularly test ground fault circuit interrupters to ensure they are operating correctly.
- Call a Professional: For complex issues or if you’re unsure, contact a skilled electrician to avoid safety risks.
Always prioritize safety even for minor issues!
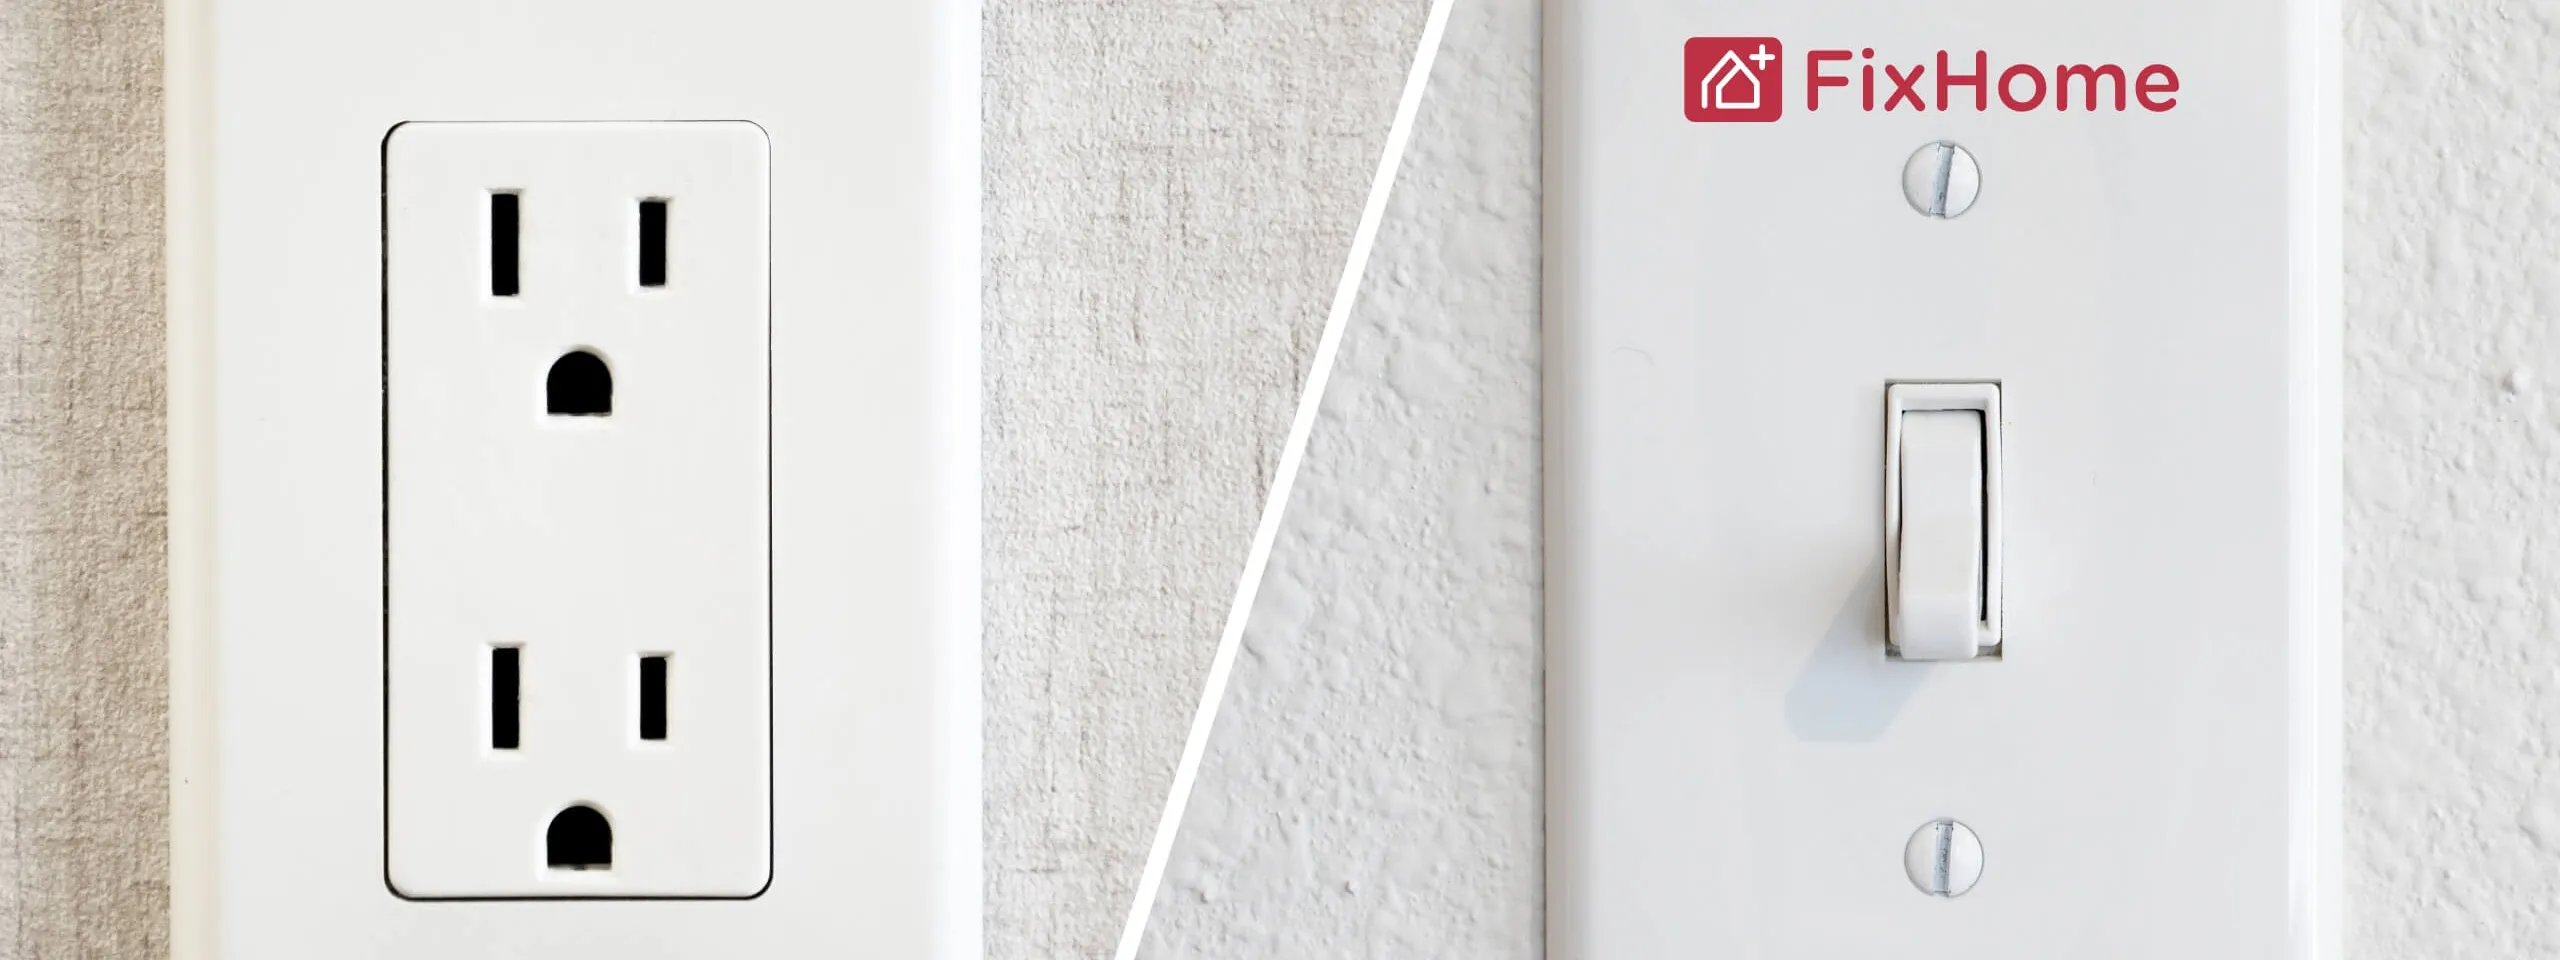
How to Replace Old Outlets or Switches
So, you’re reading this article, which means you’ve decided to change old non-grounded outlets to grounded ones or switches on your own. We recommend following this detailed guide.
We will never tire of repeating: first and foremost, follow basic safety rules
- Turn Off the Power: Locate the circuit breaker for the outlet or switch you’re replacing and switch it off. Double-check that there’s no power using a voltage tester on the outlet or switch.
- Use Insulated Tools: Ensure all tools you use are insulated to protect against electrical shock.
- Work in a Dry Environment: Avoid repairing electrical components in rooms with moisture or standing water.
Tools You’ll Need
- Screwdrivers (flathead and Phillips)
- Voltage tester or multimeter
- Needle-nose pliers
- Wire stripper/cutter
- Electrical tape
- Replacement outlet or switch
- Wall plate cover
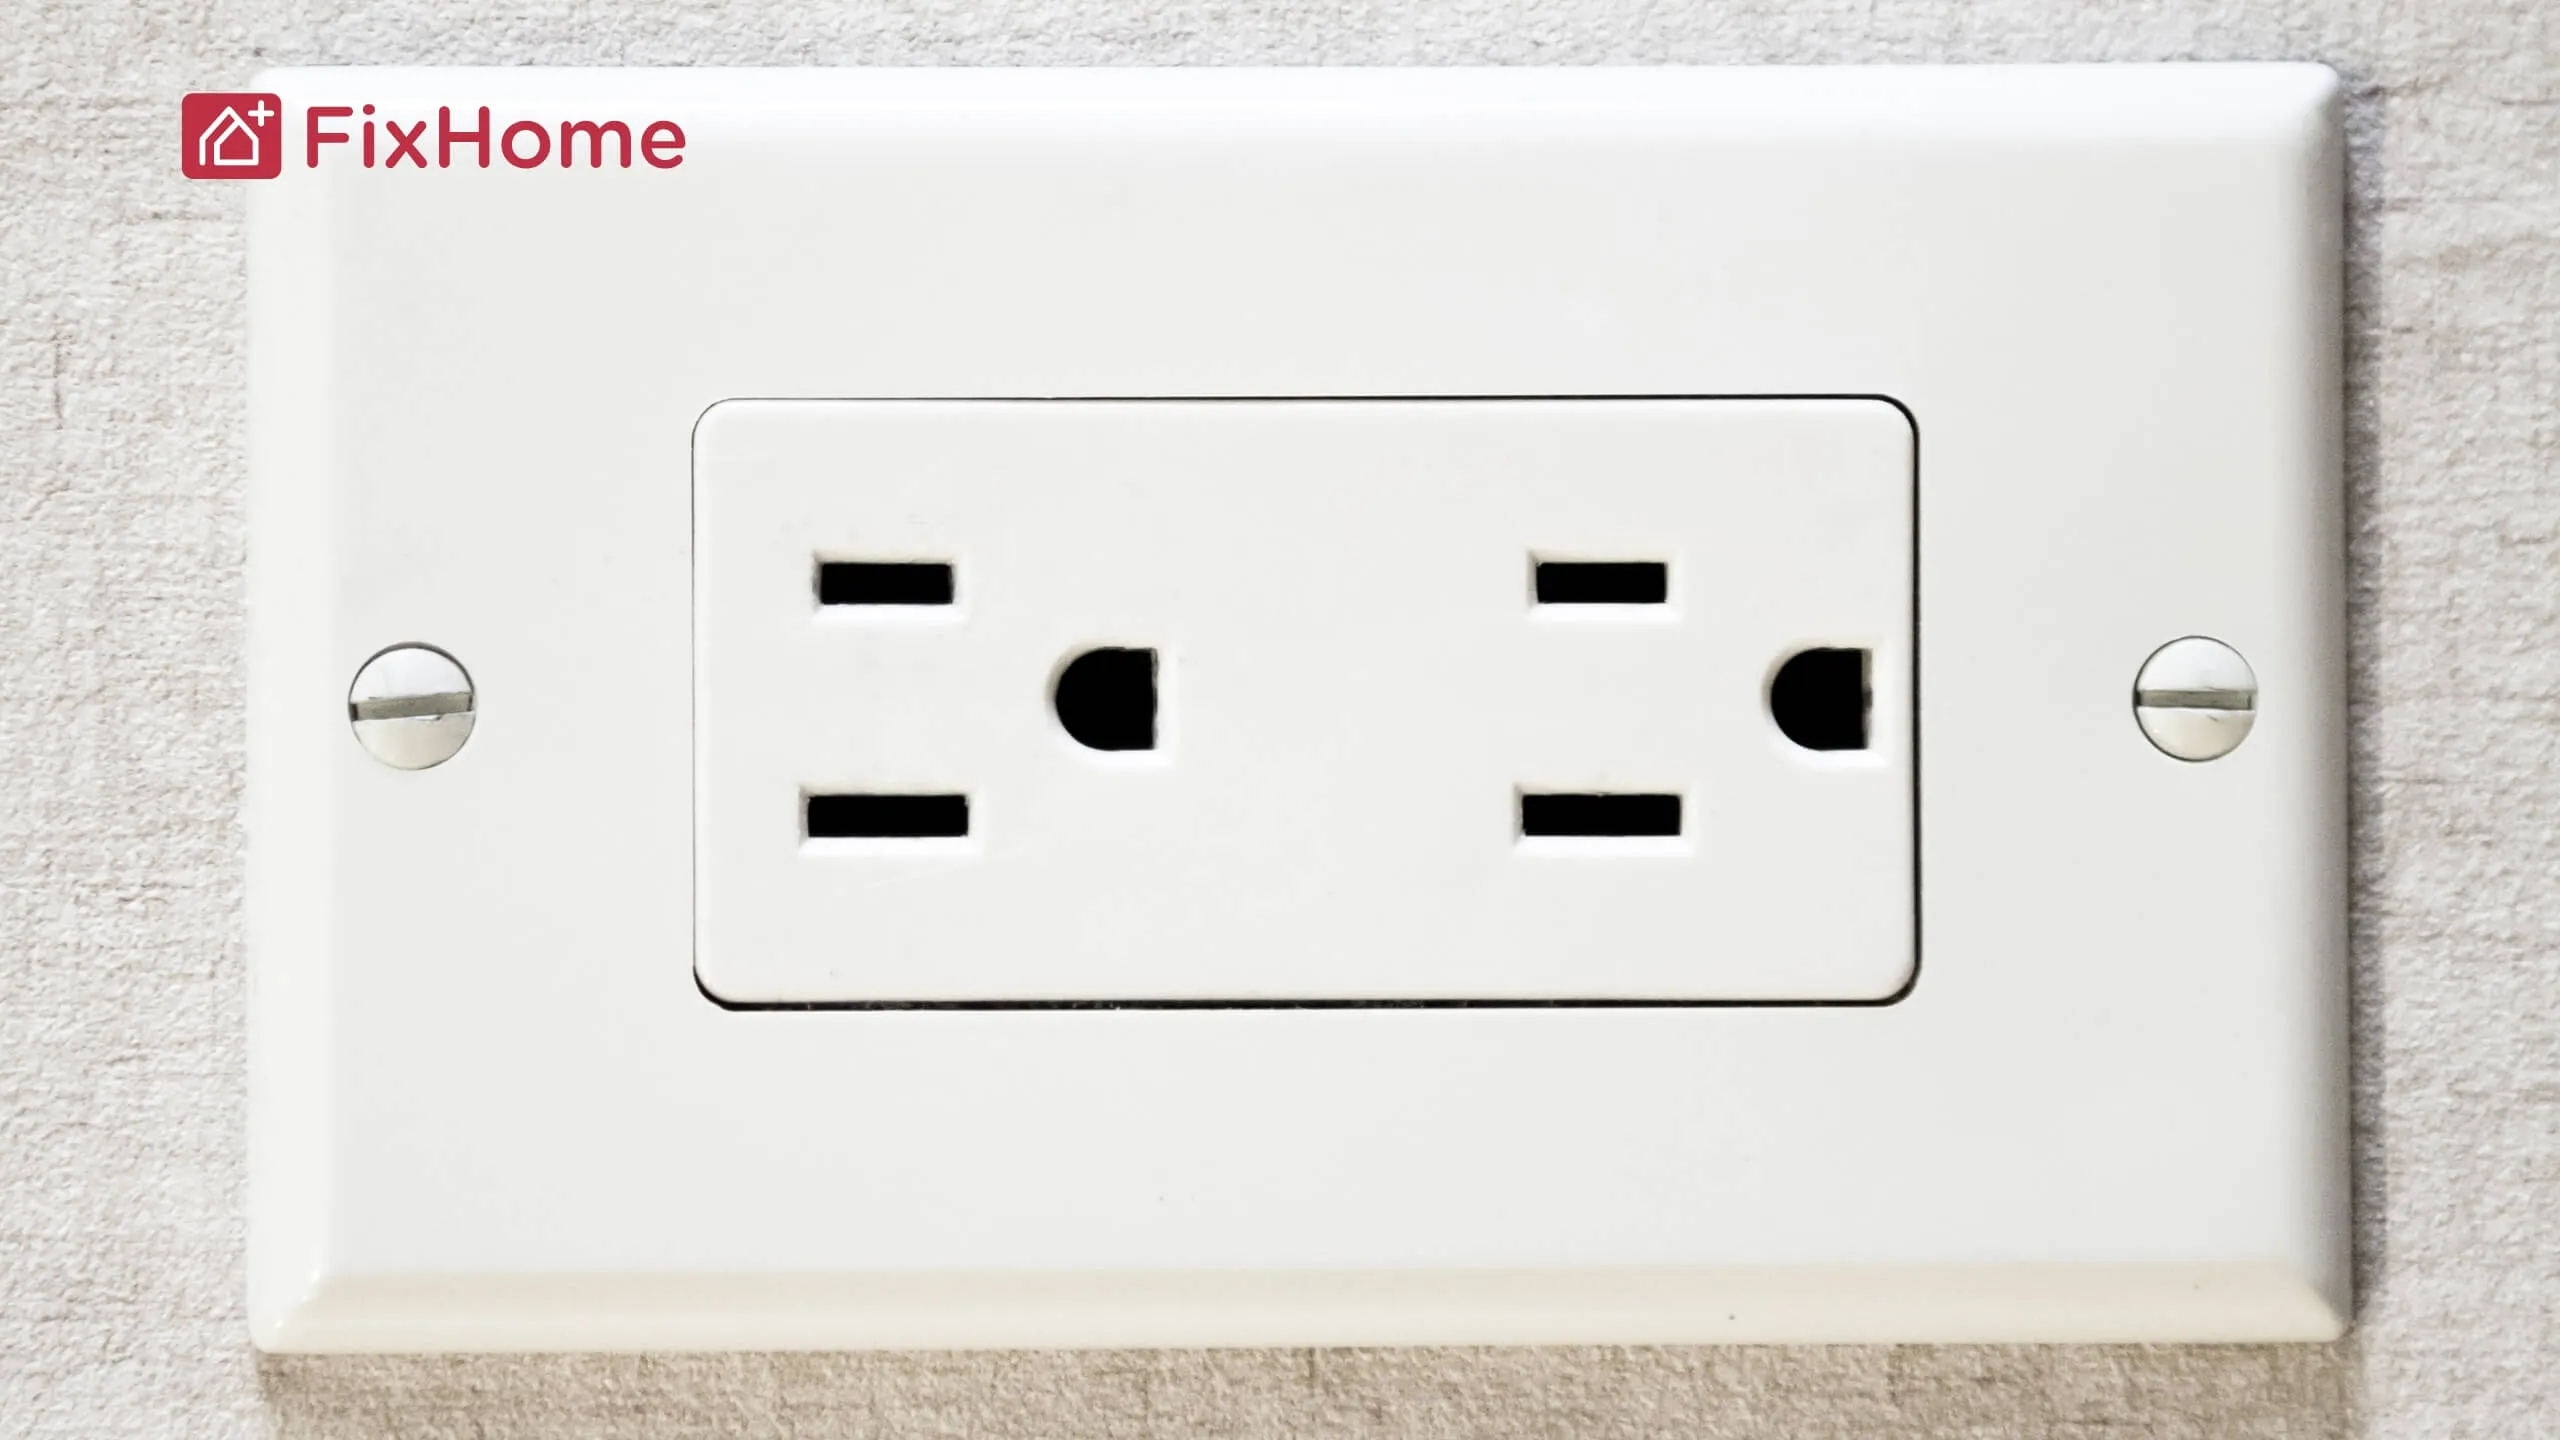
Replacing an Outlet Step-by-Step
- Turn Off Power & Test: Use your voltage tester to confirm the outlet has no power after you shut off the breaker.
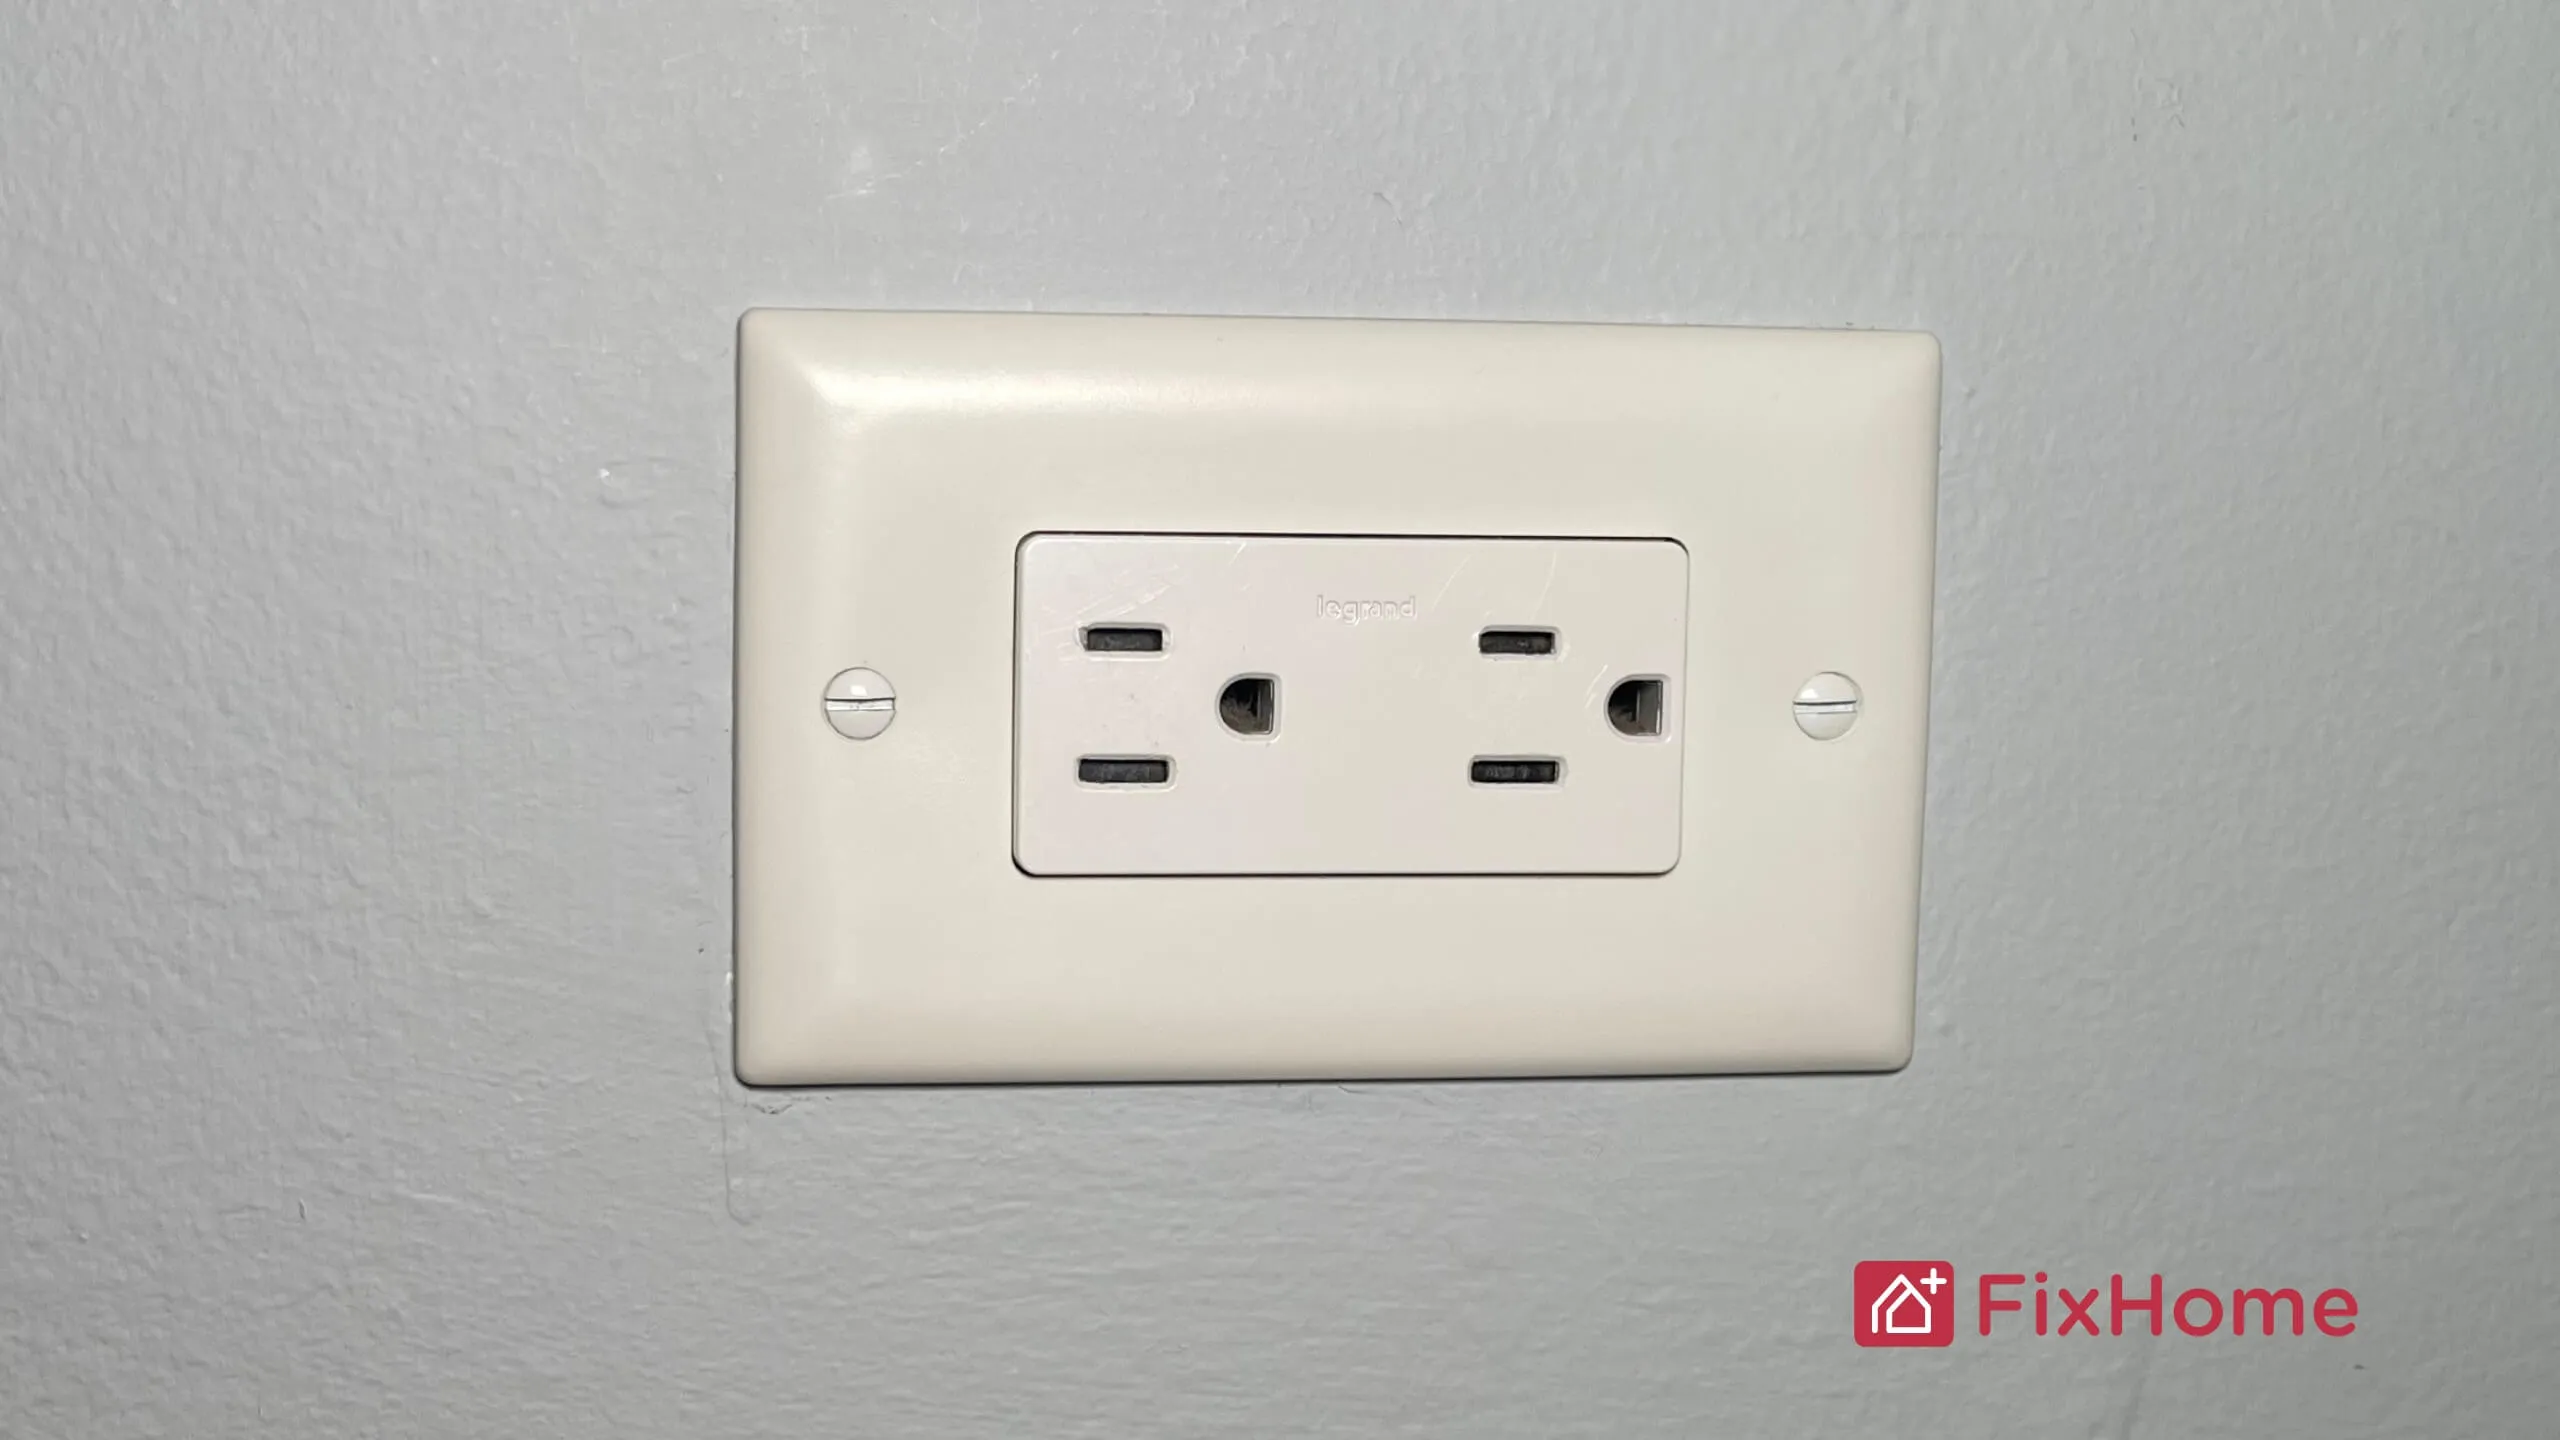
- Remove Outlet Cover: Use a screwdriver to remove the screws holding the faceplate. Set the faceplate aside.
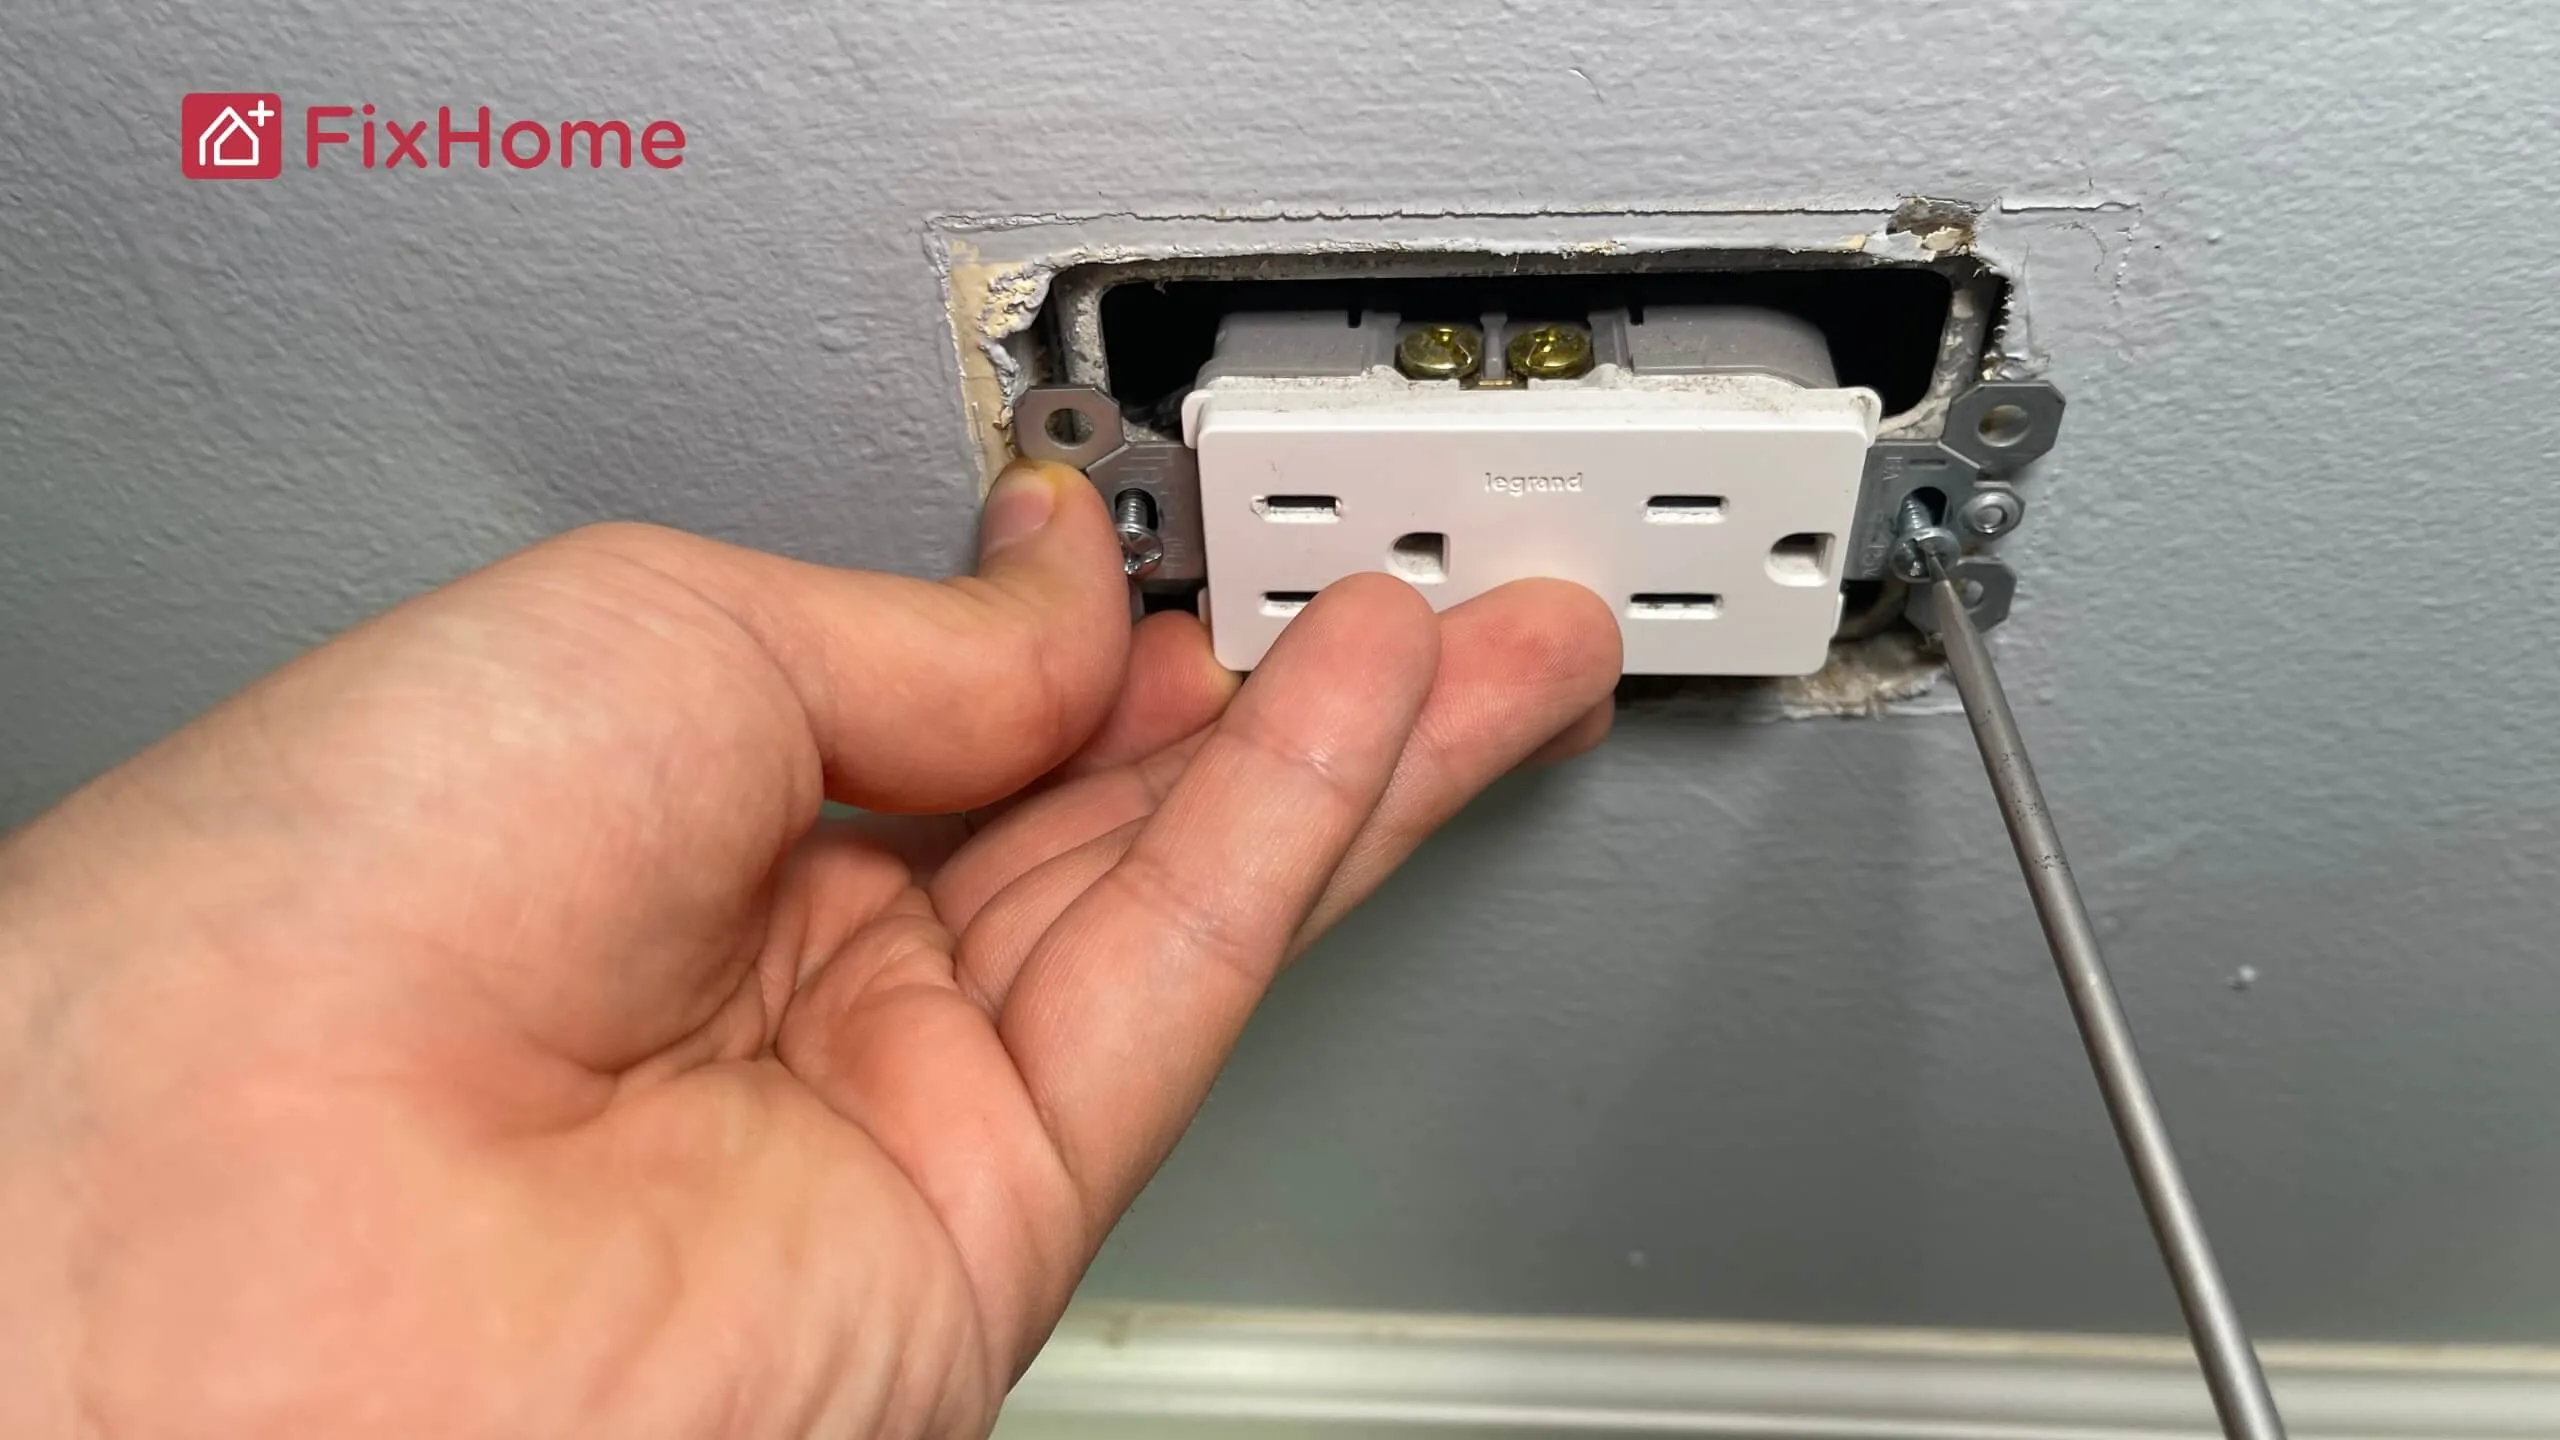
- Disconnect the Old Outlet: Unscrew the mounting screws and pull the outlet slightly out of the wall. Loosen the screws connecting the wires to the outlet. Take note of how the wires are connected for later reference.
- Prepare the Wires: If the exposed wire ends are damaged, use your wire stripper to cut and strip the insulation back to reveal fresh wire.
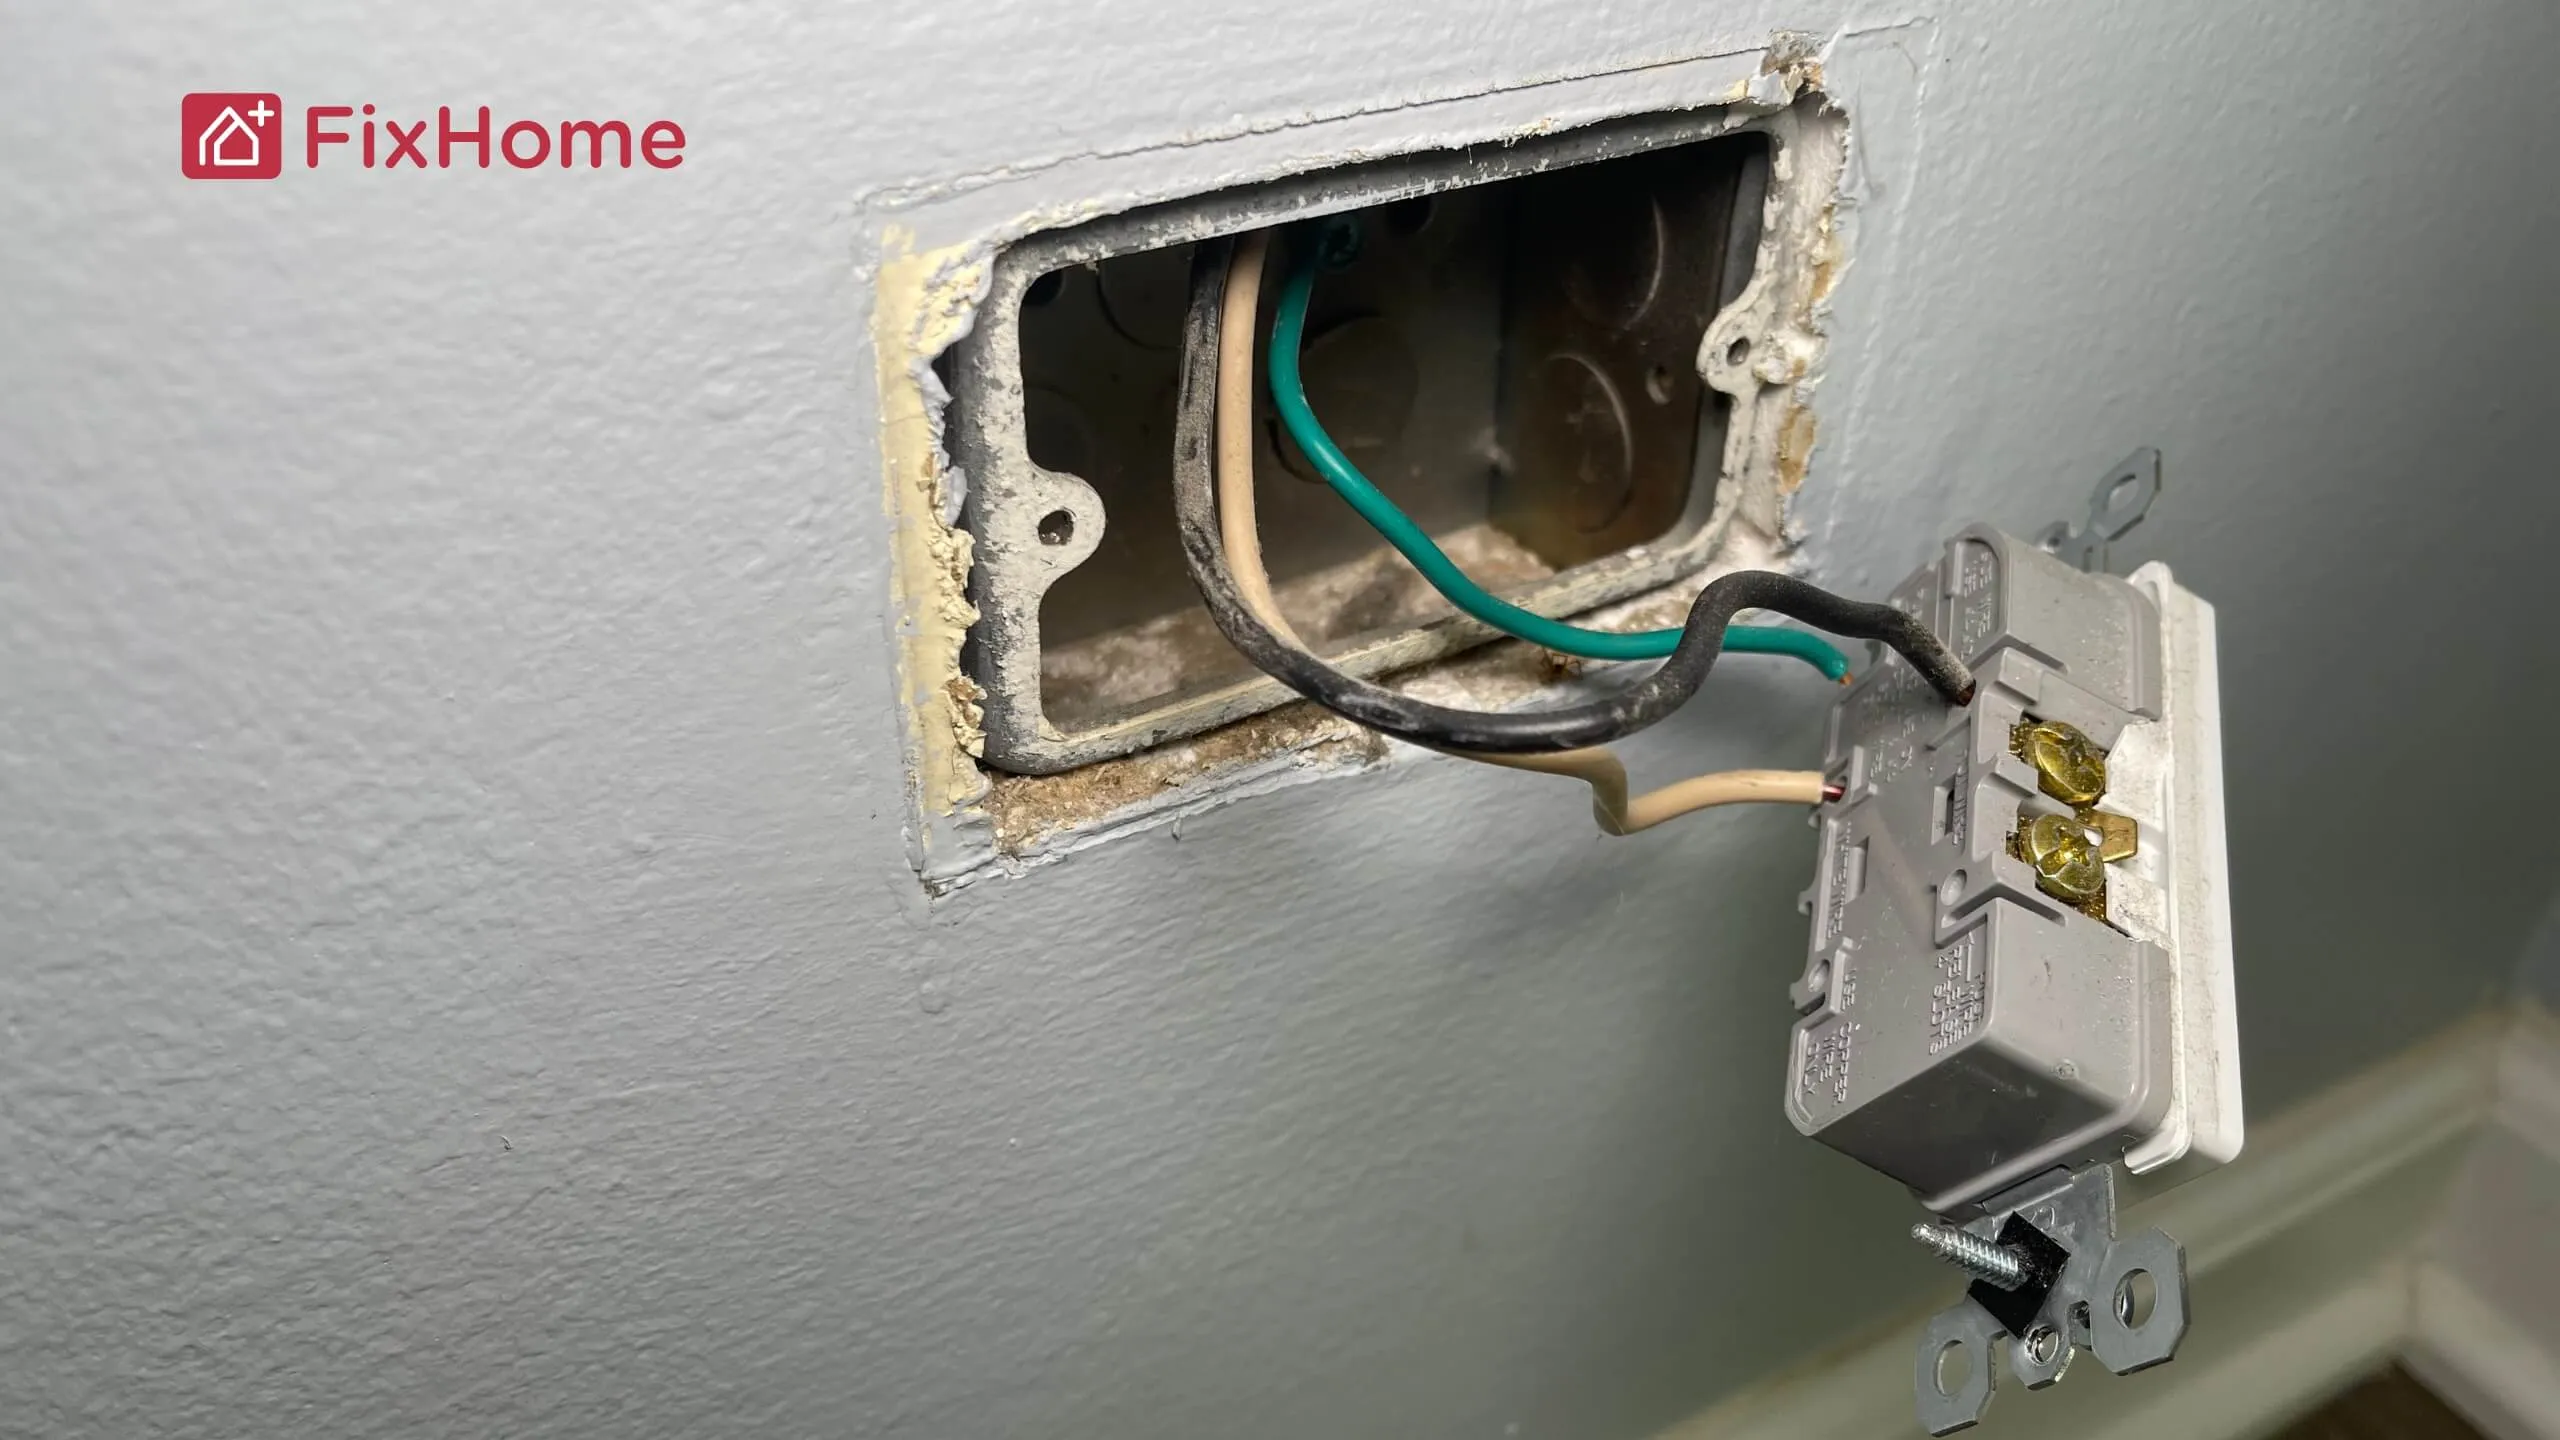
- Connect the New Outlet: Attach the wires to the corresponding terminals on the new outlet. The black (hot) wire goes to the brass screw, the white (neutral) wire to the silver screw, and the green or bare wire (ground) to the green screw. Tighten all screws securely.
- Secure the Outlet: Push the outlet back into the box carefully and fasten it with the mounting screws.
- Attach the Faceplate & Test the Power: Screw the faceplate back on, restore power via the breaker, and test the outlet with a device to ensure functionality.
Note! GFCI outlets are installed using the same wiring scheme but come with an additional safety feature. Ensure proper installation by following the markings on the device. If you try changing a two-prong plug to three, it’s important to know that this can involve grounding issues or rewiring. For safety and compliance with electrical codes, it’s best to subscribe to FixHome+ handymen who can do electrical work to handle the job properly.
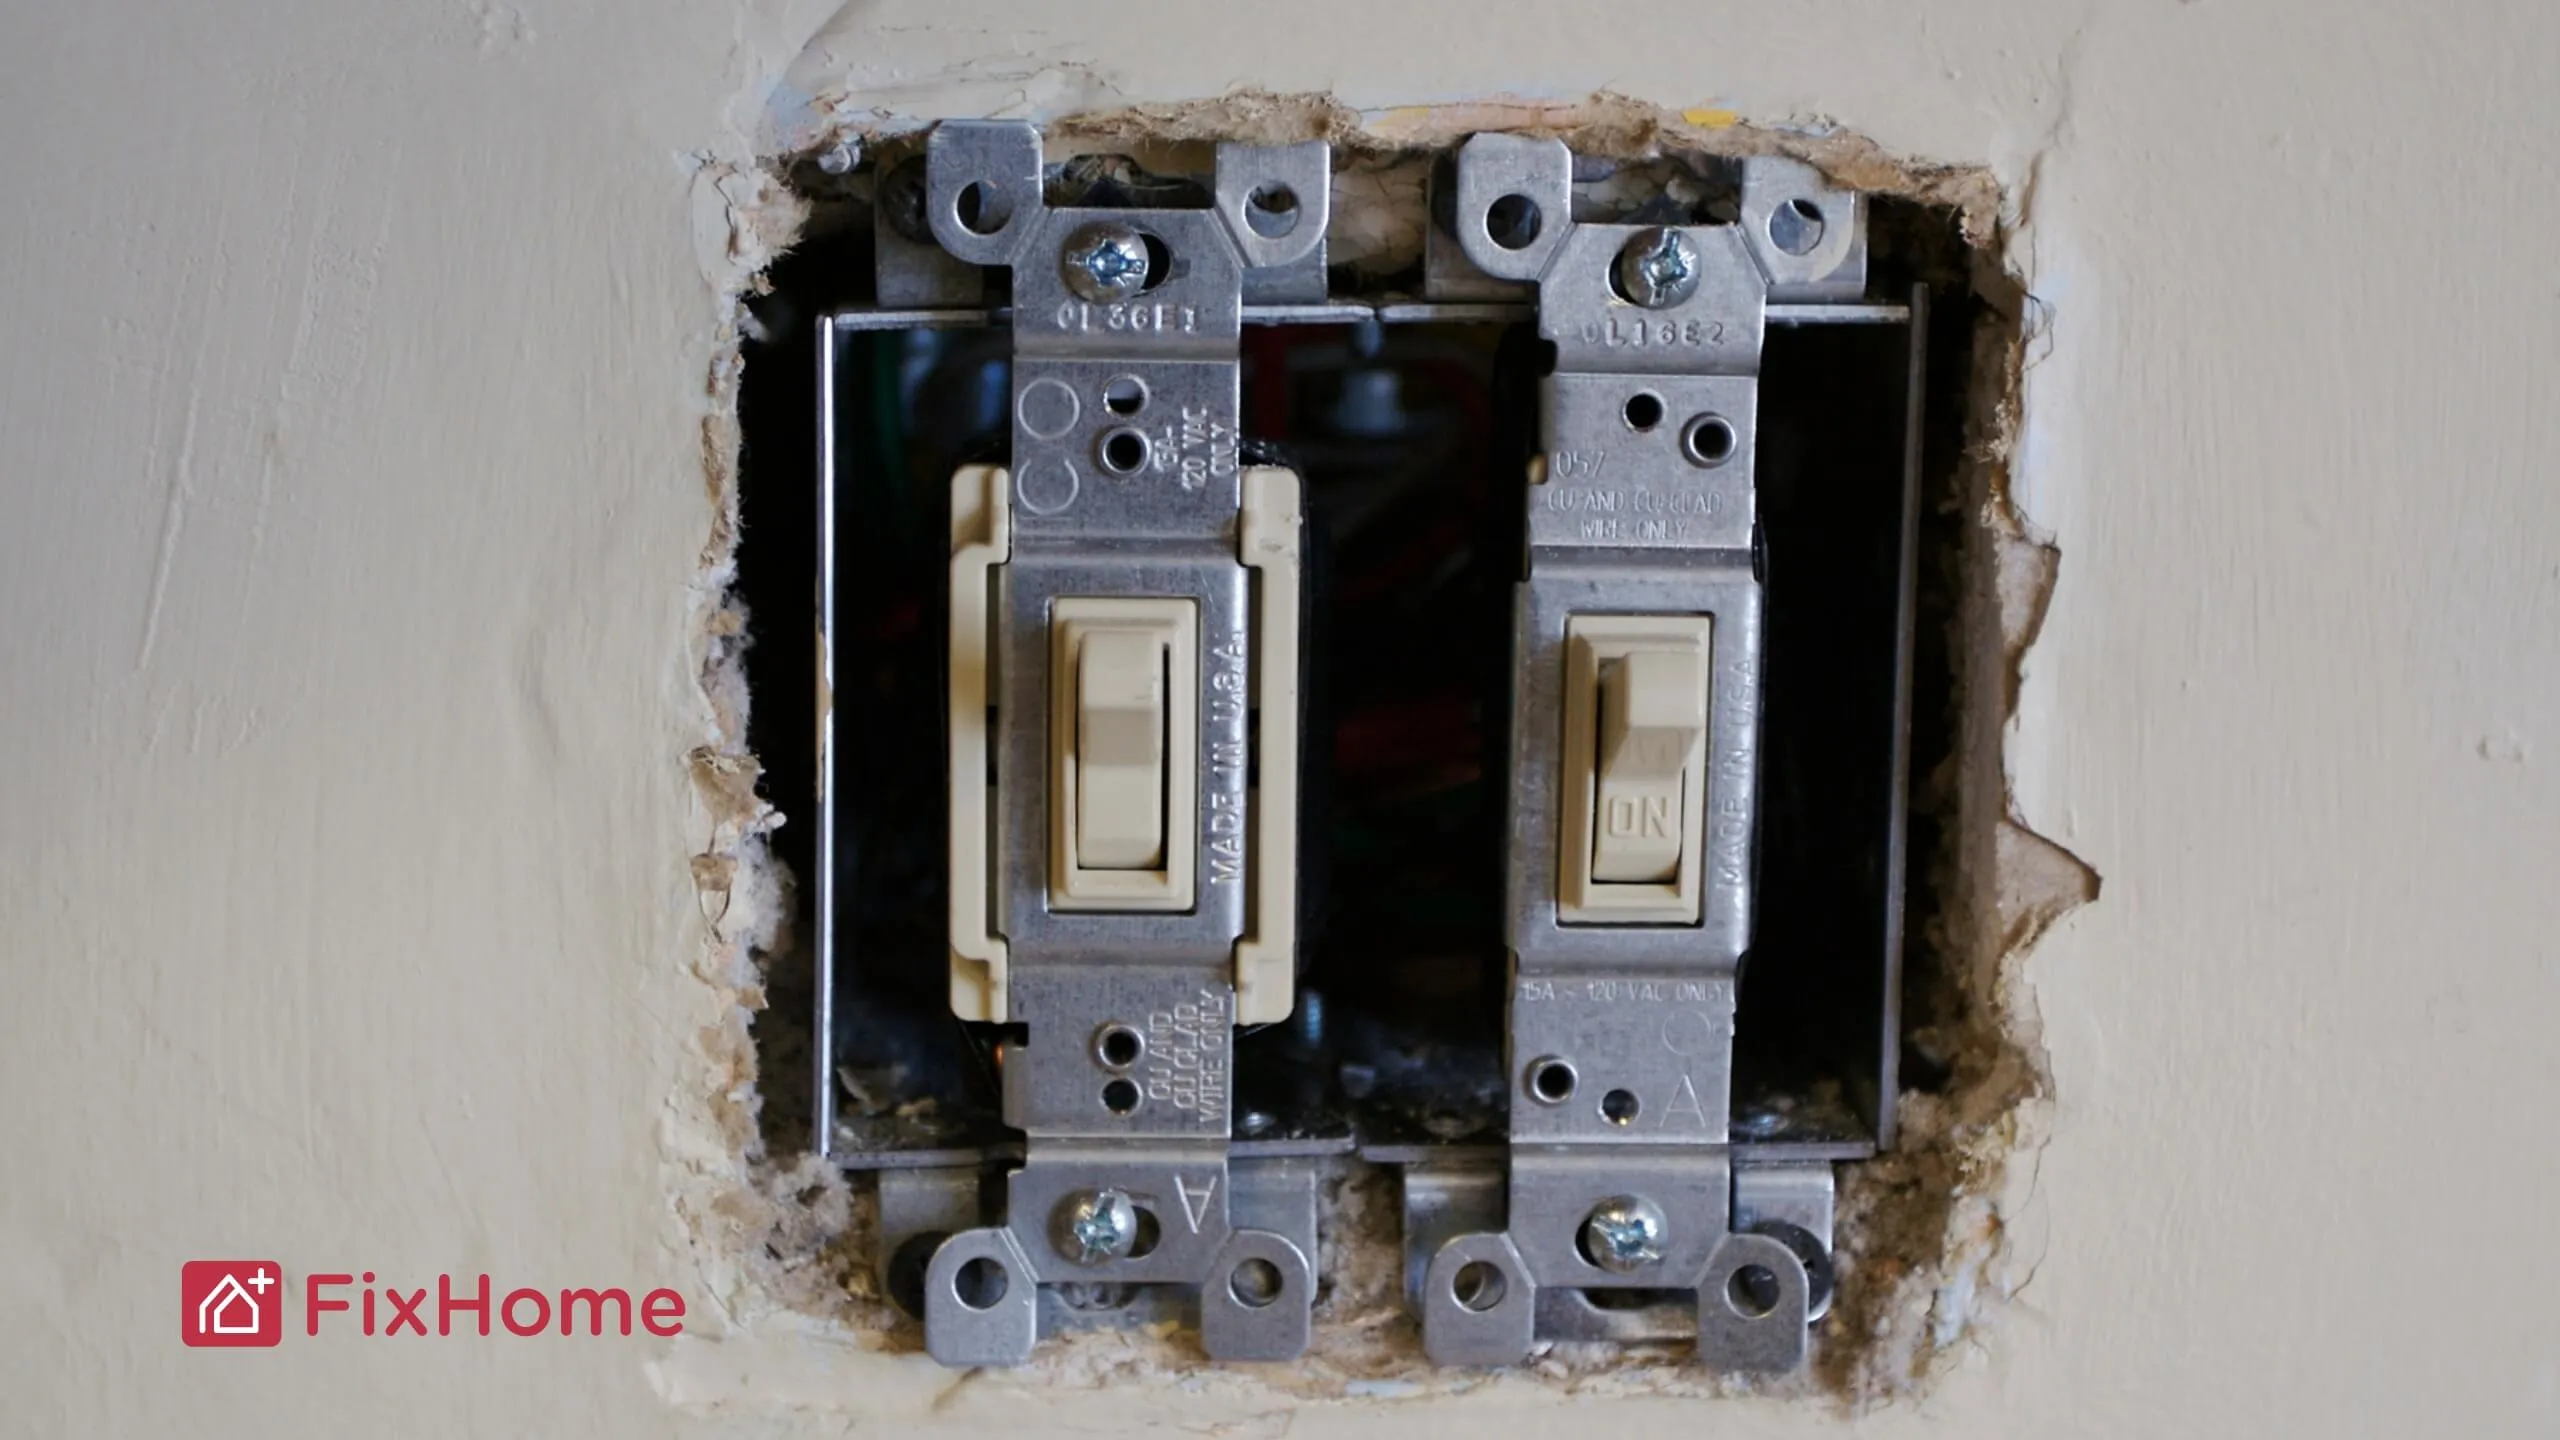
Replacing a Light Switch Step-By-Step

- Shut Off Power & Test: Turn off the power from the circuit breaker and verify the switch isn’t live using a voltage tester.
- Remove the Switch Plate: Unscrew the faceplate to expose the switch.
- Disconnect the Old Switch: Unscrew the mounting screws and gently pull the switch out. Use your screwdriver to loosen the screws holding the wires in place. Take note of which wires are attached to each terminal.
- Prepare the Wires: Inspect and strip the wires if needed to ensure solid, clean connections.
- Install the New Switch: Attach each wire to the matching terminal on your new switch. Black wires go to the brass screws, ground wires connect to the green screw, etc. Follow the labeling on the switch as a guide.
- Secure the Switch in Place: Push the switch back into the box and tighten the screws.
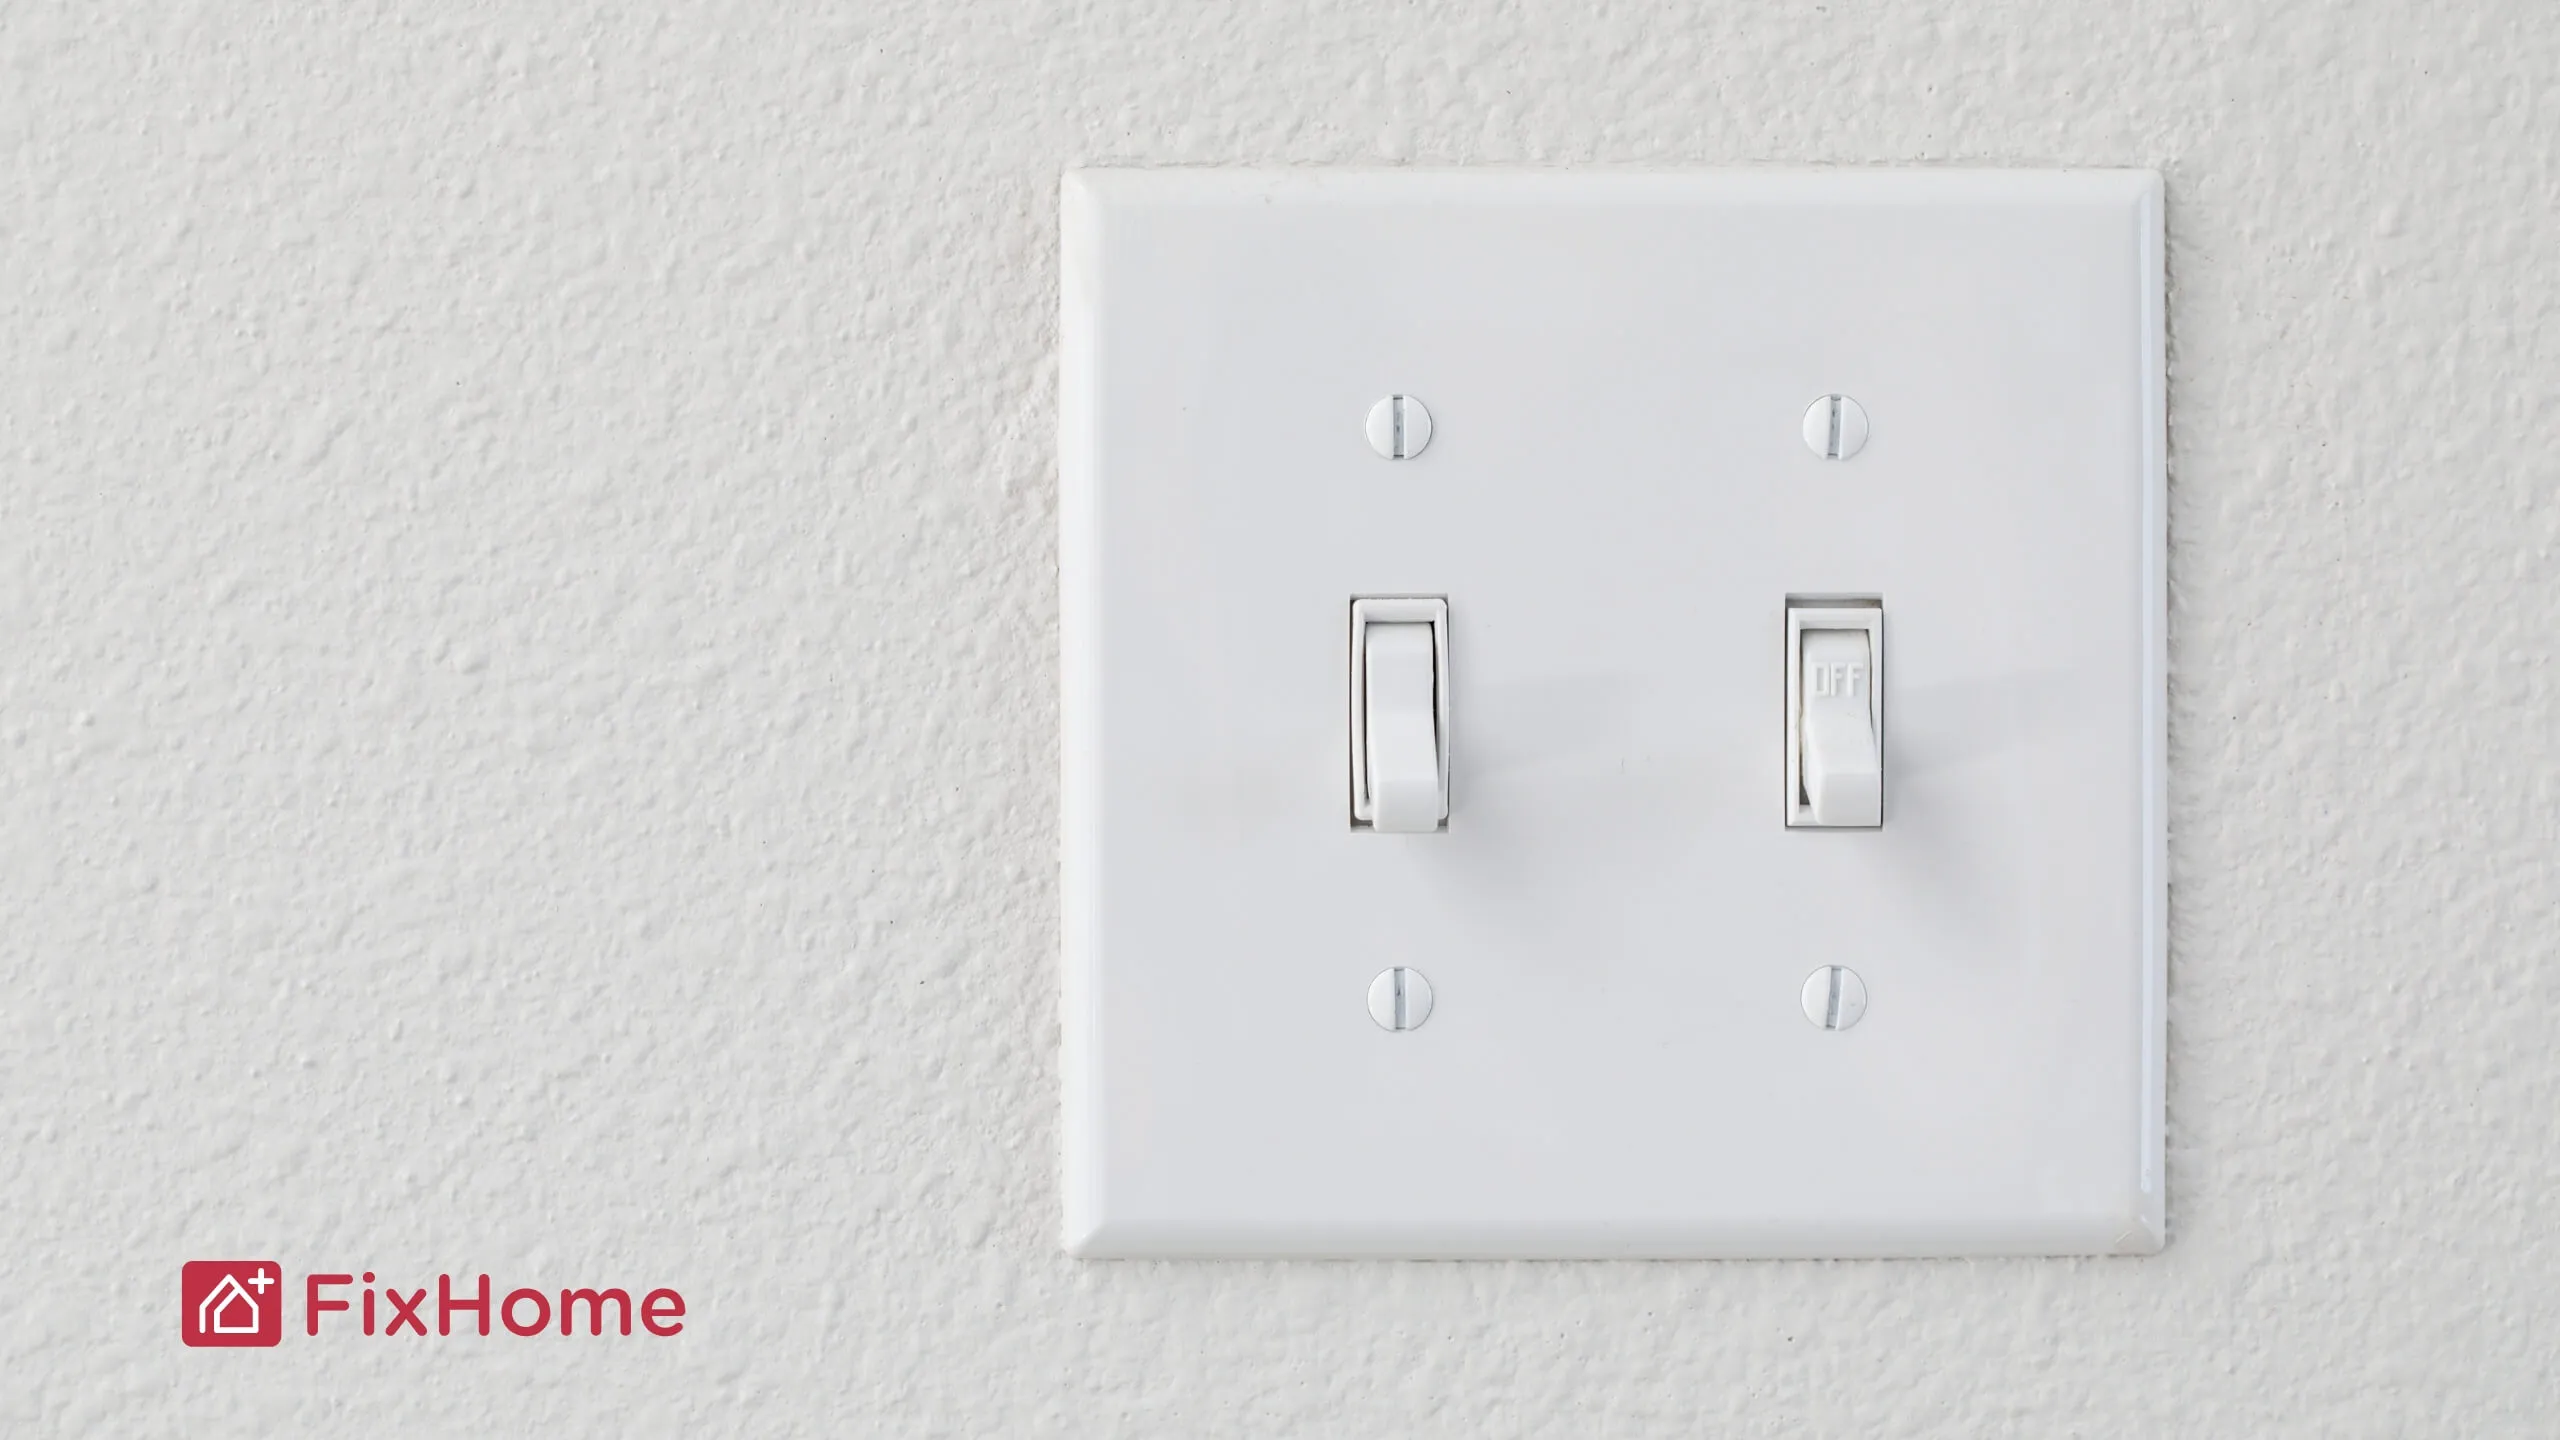
- Test the Switch: Screw the faceplate back on, restore power, and test your switch by flipping it on and off.
When to Stop and Call a Professional
If you encounter any of the following, don’t proceed further on your own:
- You find damaged or frayed wires.
- You’re unsure about the wiring connections.
- The breaker trips immediately after turning the power back on.
Electrical work may seem daunting, and it’s essential to prioritize safety above all else. Always defer to an expert electrician for more complex problems or uncertainty at any step.
Conclusion
If you can't wait for a professional, stick to our guide. By following these detailed steps and working carefully, you can confidently handle the most common minor issues such as replacement outlets and switches.
Working with electricity requires caution and expertise. However, the best way to save time and minimize risks is to subscribe to the FixHome+ handyman service. Our experts not only handle the replacement of electrical components but can also resolve any home repair issues in Chicago and its suburbs.
The monthly subscription, which includes two specialist visits, is highly cost-effective. Start improving your home today with the FixHome+ app!
More from our blog.
Discover more insightful and engaging content from our blog.