Need to install or replace a chandelier? This guide takes you through each main step, including safety tips and clear instructions.
Replacing a chandelier can update a room, providing light and adding style. If you have DIY skills or want to try a new project, this guide will show you how to safely and easily replace your chandelier.
Note: We remind you that any work with electricity at home or outdoors can be dangerous, so treat this guide as a general outline of actions.
Chandelier Place in Lighting & Décor
Chandeliers are more than just light fixtures; they are often the focal point of a space. With multiple arms and bulbs, a chandelier provides adequate lighting for larger rooms while adding charm and elegance to the aesthetic. Whether you’re replacing an outdated fixture during a home renovation or upgrading to a more modern design, installing a new chandelier can make a big impact.
However, not every home improvement project is as simple as it might seem. Electrical work always comes with risks. If you’re uncomfortable working with wiring, enlisting the help of a professional is always the safest route.
Tools You Need
To replace a chandelier, gather these tools:
- Voltage Tester - Checks that electricity is off.
- Screwdrivers - Removes and attaches screws.
- Pliers - Twists wires together.
- Wire Nuts - Connects wires securely.
- Electrical Tape - Covers bare wires.
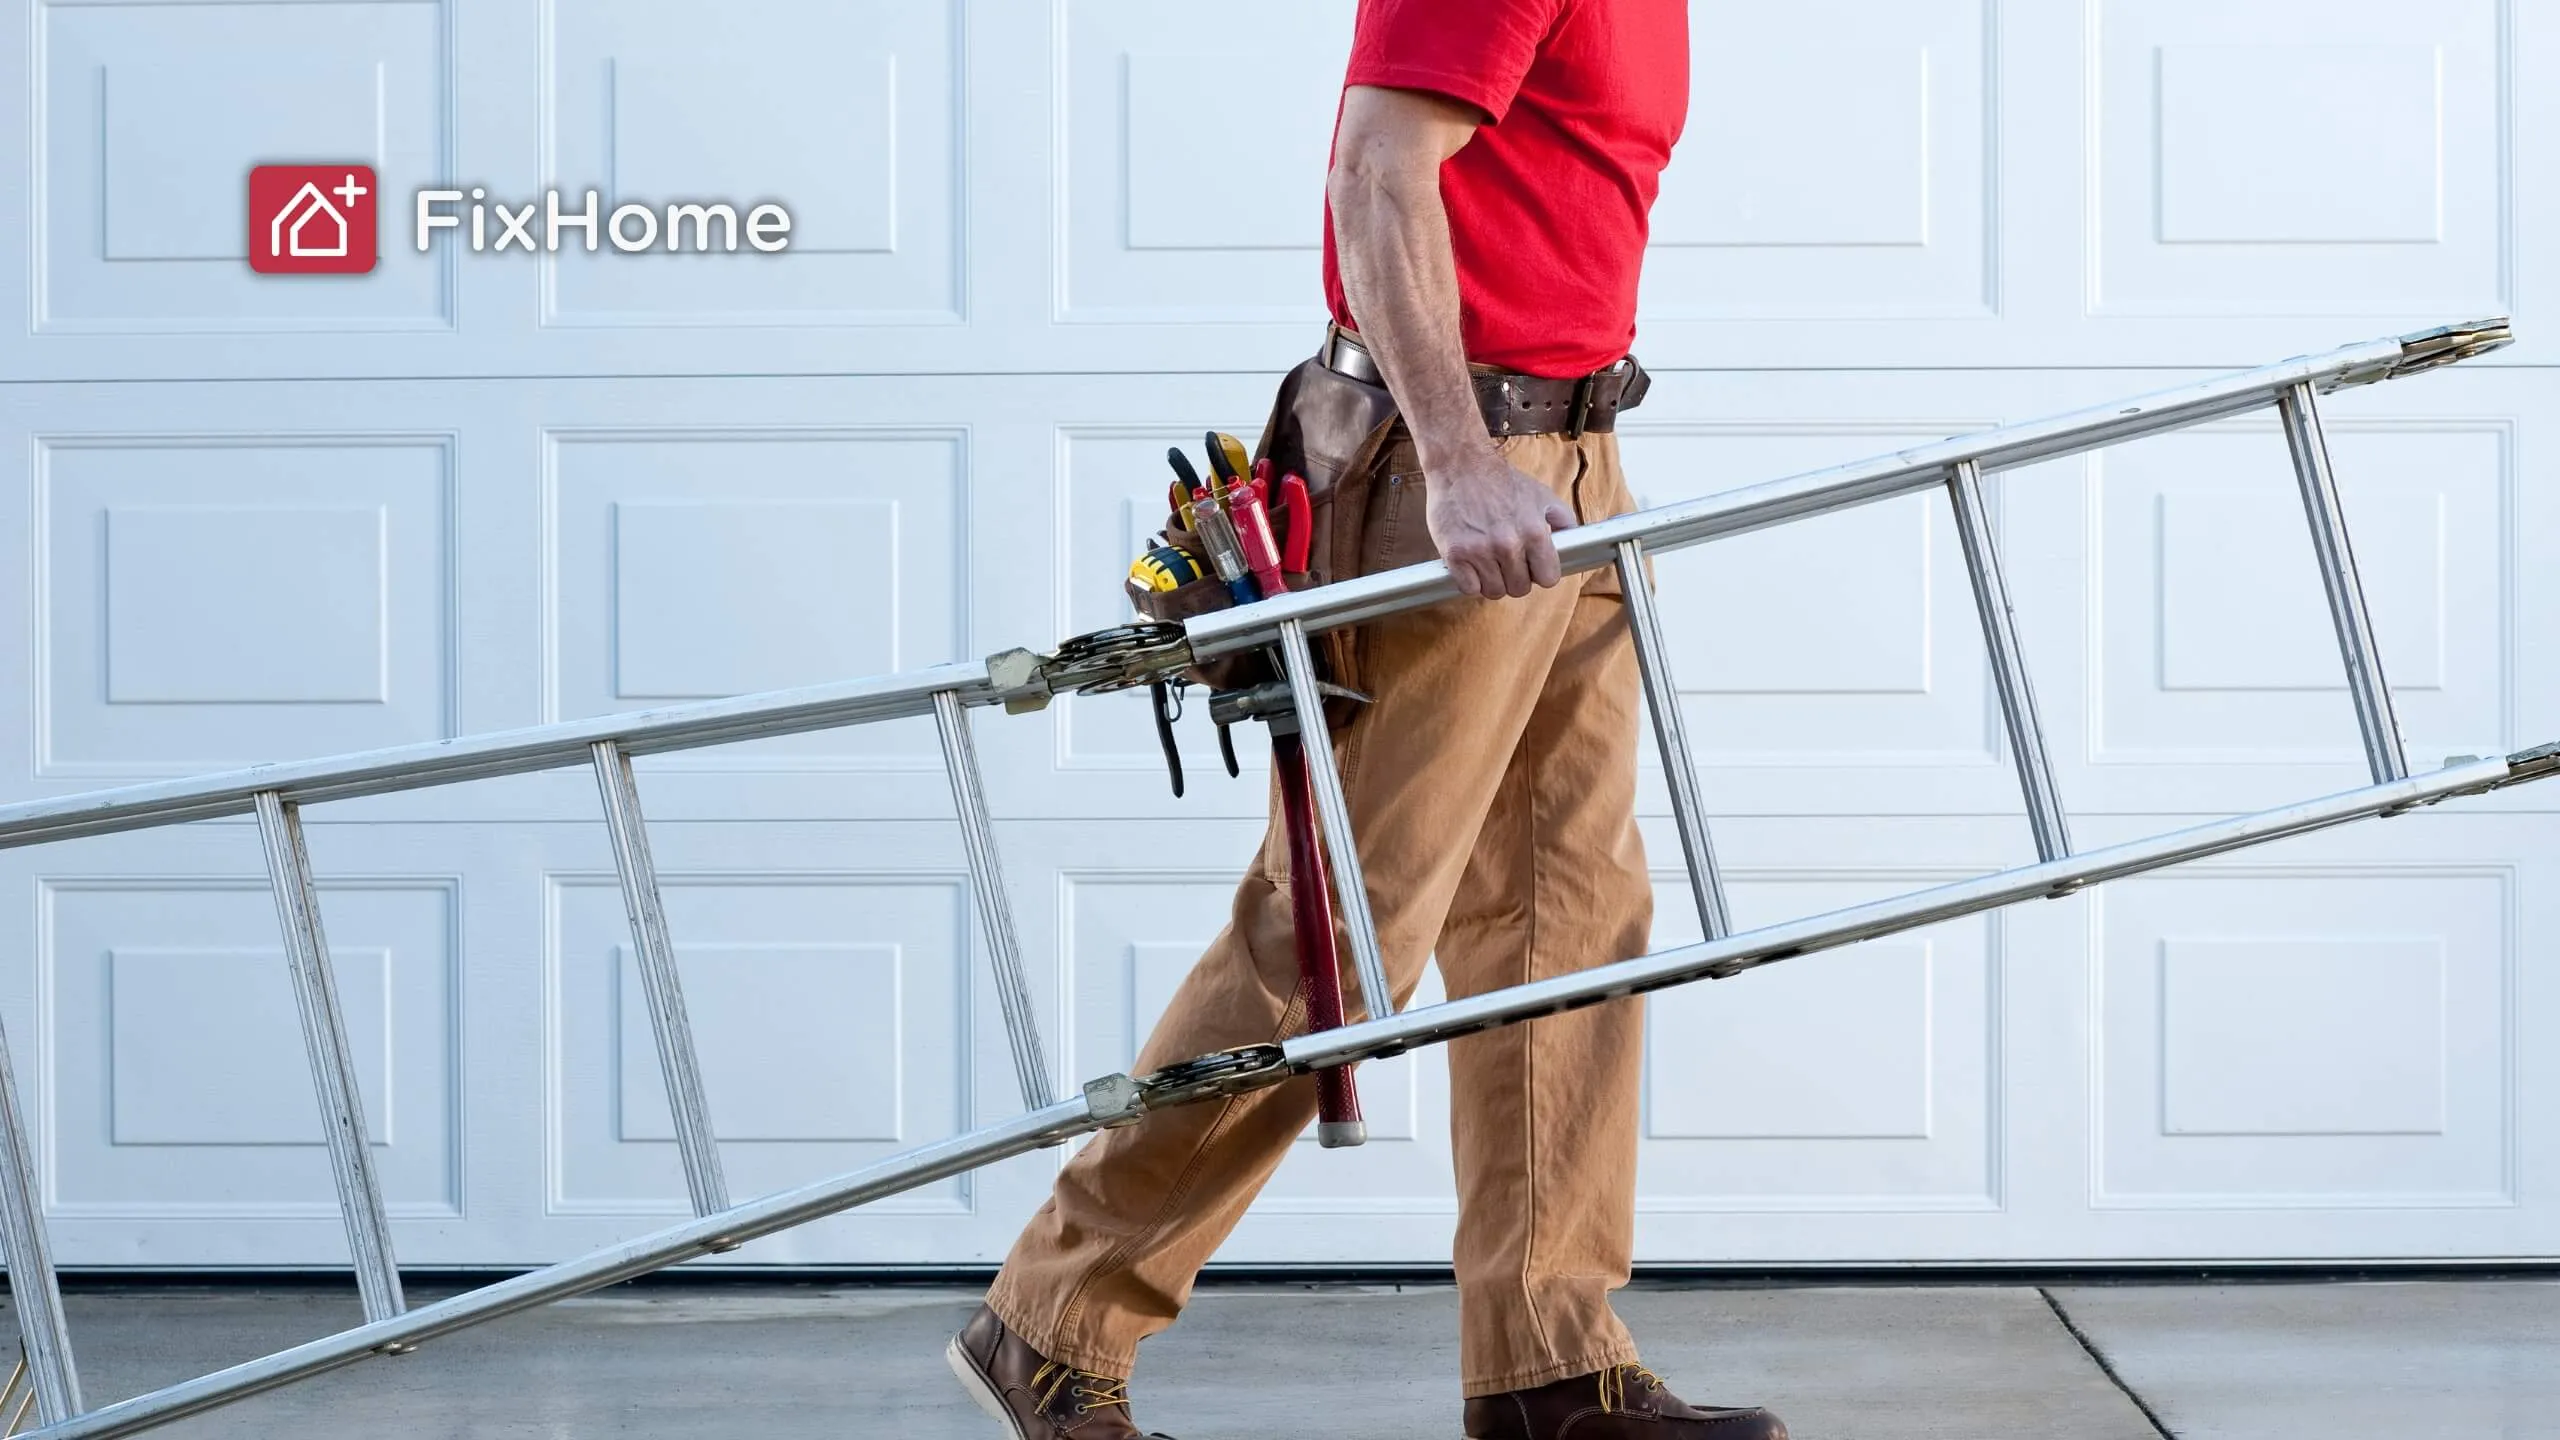
- Ladder - Helps you reach the ceiling.
Safety Precautions You Need to Follow
Before you grab your toolbox, remember that this is not your average DIY project. Working with electricity can be risky, so take the following safety precautions seriously before starting:
- Turn Off Power at the wall switch and also at the main circuit breaker for your room.
- Use Insulated Tools to avoid electric shocks.
- Check for Live Wires using a voltage tester to ensure everything is safe.
- Have a Partner Help You since most chandeliers are heavy and tricky to manage alone.
If you’re unfamiliar with wiring and electrical systems, consider bringing in professionals, who can safely handle the more technical steps.
How to Remove an Old Chandelier
Follow these steps to remove your old chandelier:
- Turn Off the Power
Turn off the light using the wall switch. Then, turn off the circuit breaker for the room to cut all power to the fixture. Use a voltage tester to ensure no electricity is running to the wires. - Remove Decorative Parts
Detach any glass shades, crystals, or covers. This makes the chandelier lighter and easier to handle. Place the pieces in a safe spot. - Unscrew the Chandelier
Check how the chandelier is attached. If it uses a mounting bracket, unscrew it carefully. If it hangs from a ceiling hook, loosen the retaining nut and unhook it. Have someone hold the chandelier steady while you work. - Disconnect the Wires
Find the wires connecting the chandelier to the ceiling. These may be joined with wire nuts or push connectors. Disconnect each wire slowly. Do not let the chandelier hang by the wires. If you aren’t installing a new chandelier right away, cover the wires with electrical tape for safety.
Preparing for the New Chandelier
Here’s how to prepare for installation.
- Check the Chandelier Parts
Make sure you have all the parts before you begin. Look at the manual to confirm you have everything, including brackets, screws, and decorative pieces. - Assemble the Chandelier
Follow the manual to put the chandelier together. Some come pre-assembled, but others may need you to attach parts like arms or decorations. Work on a sturdy surface to keep parts from breaking. - Inspect the Ceiling Mount
Check the ceiling mount to ensure it fits the mounting bracket that came with the chandelier. If you have a plaster or drywall ceiling, use the right screws or anchors to support the weight.
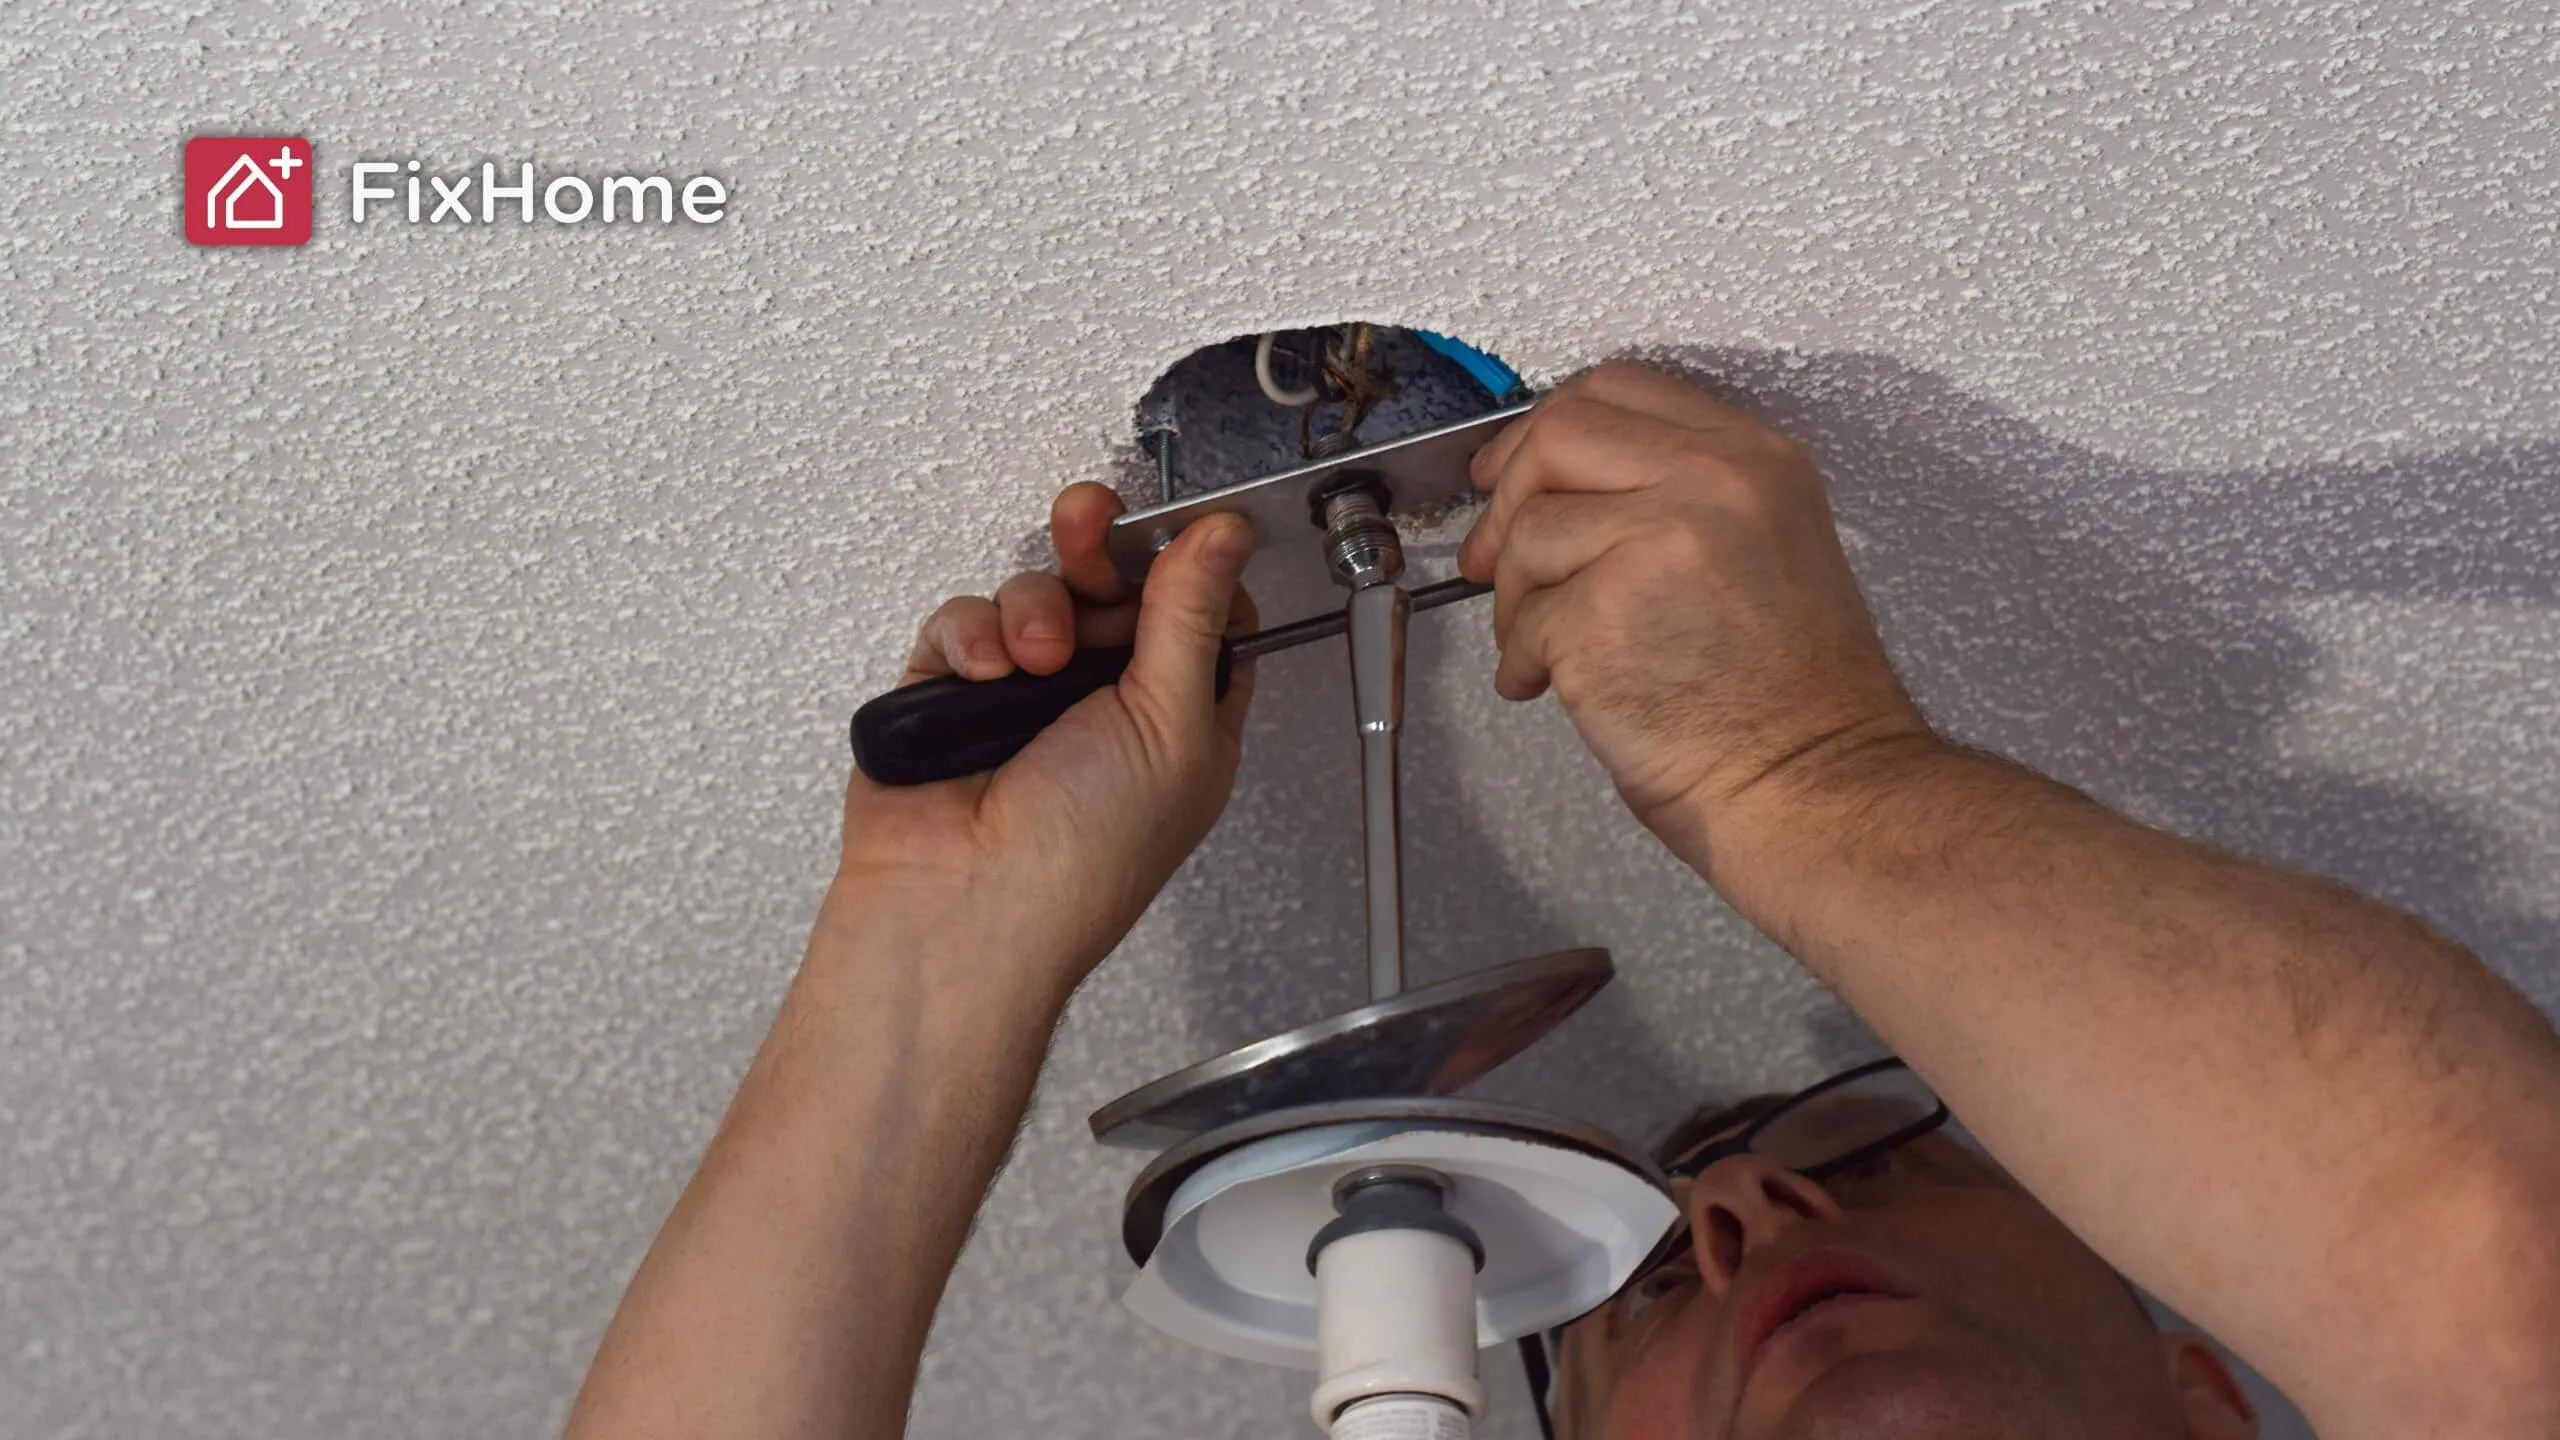
Installing the Chandelier
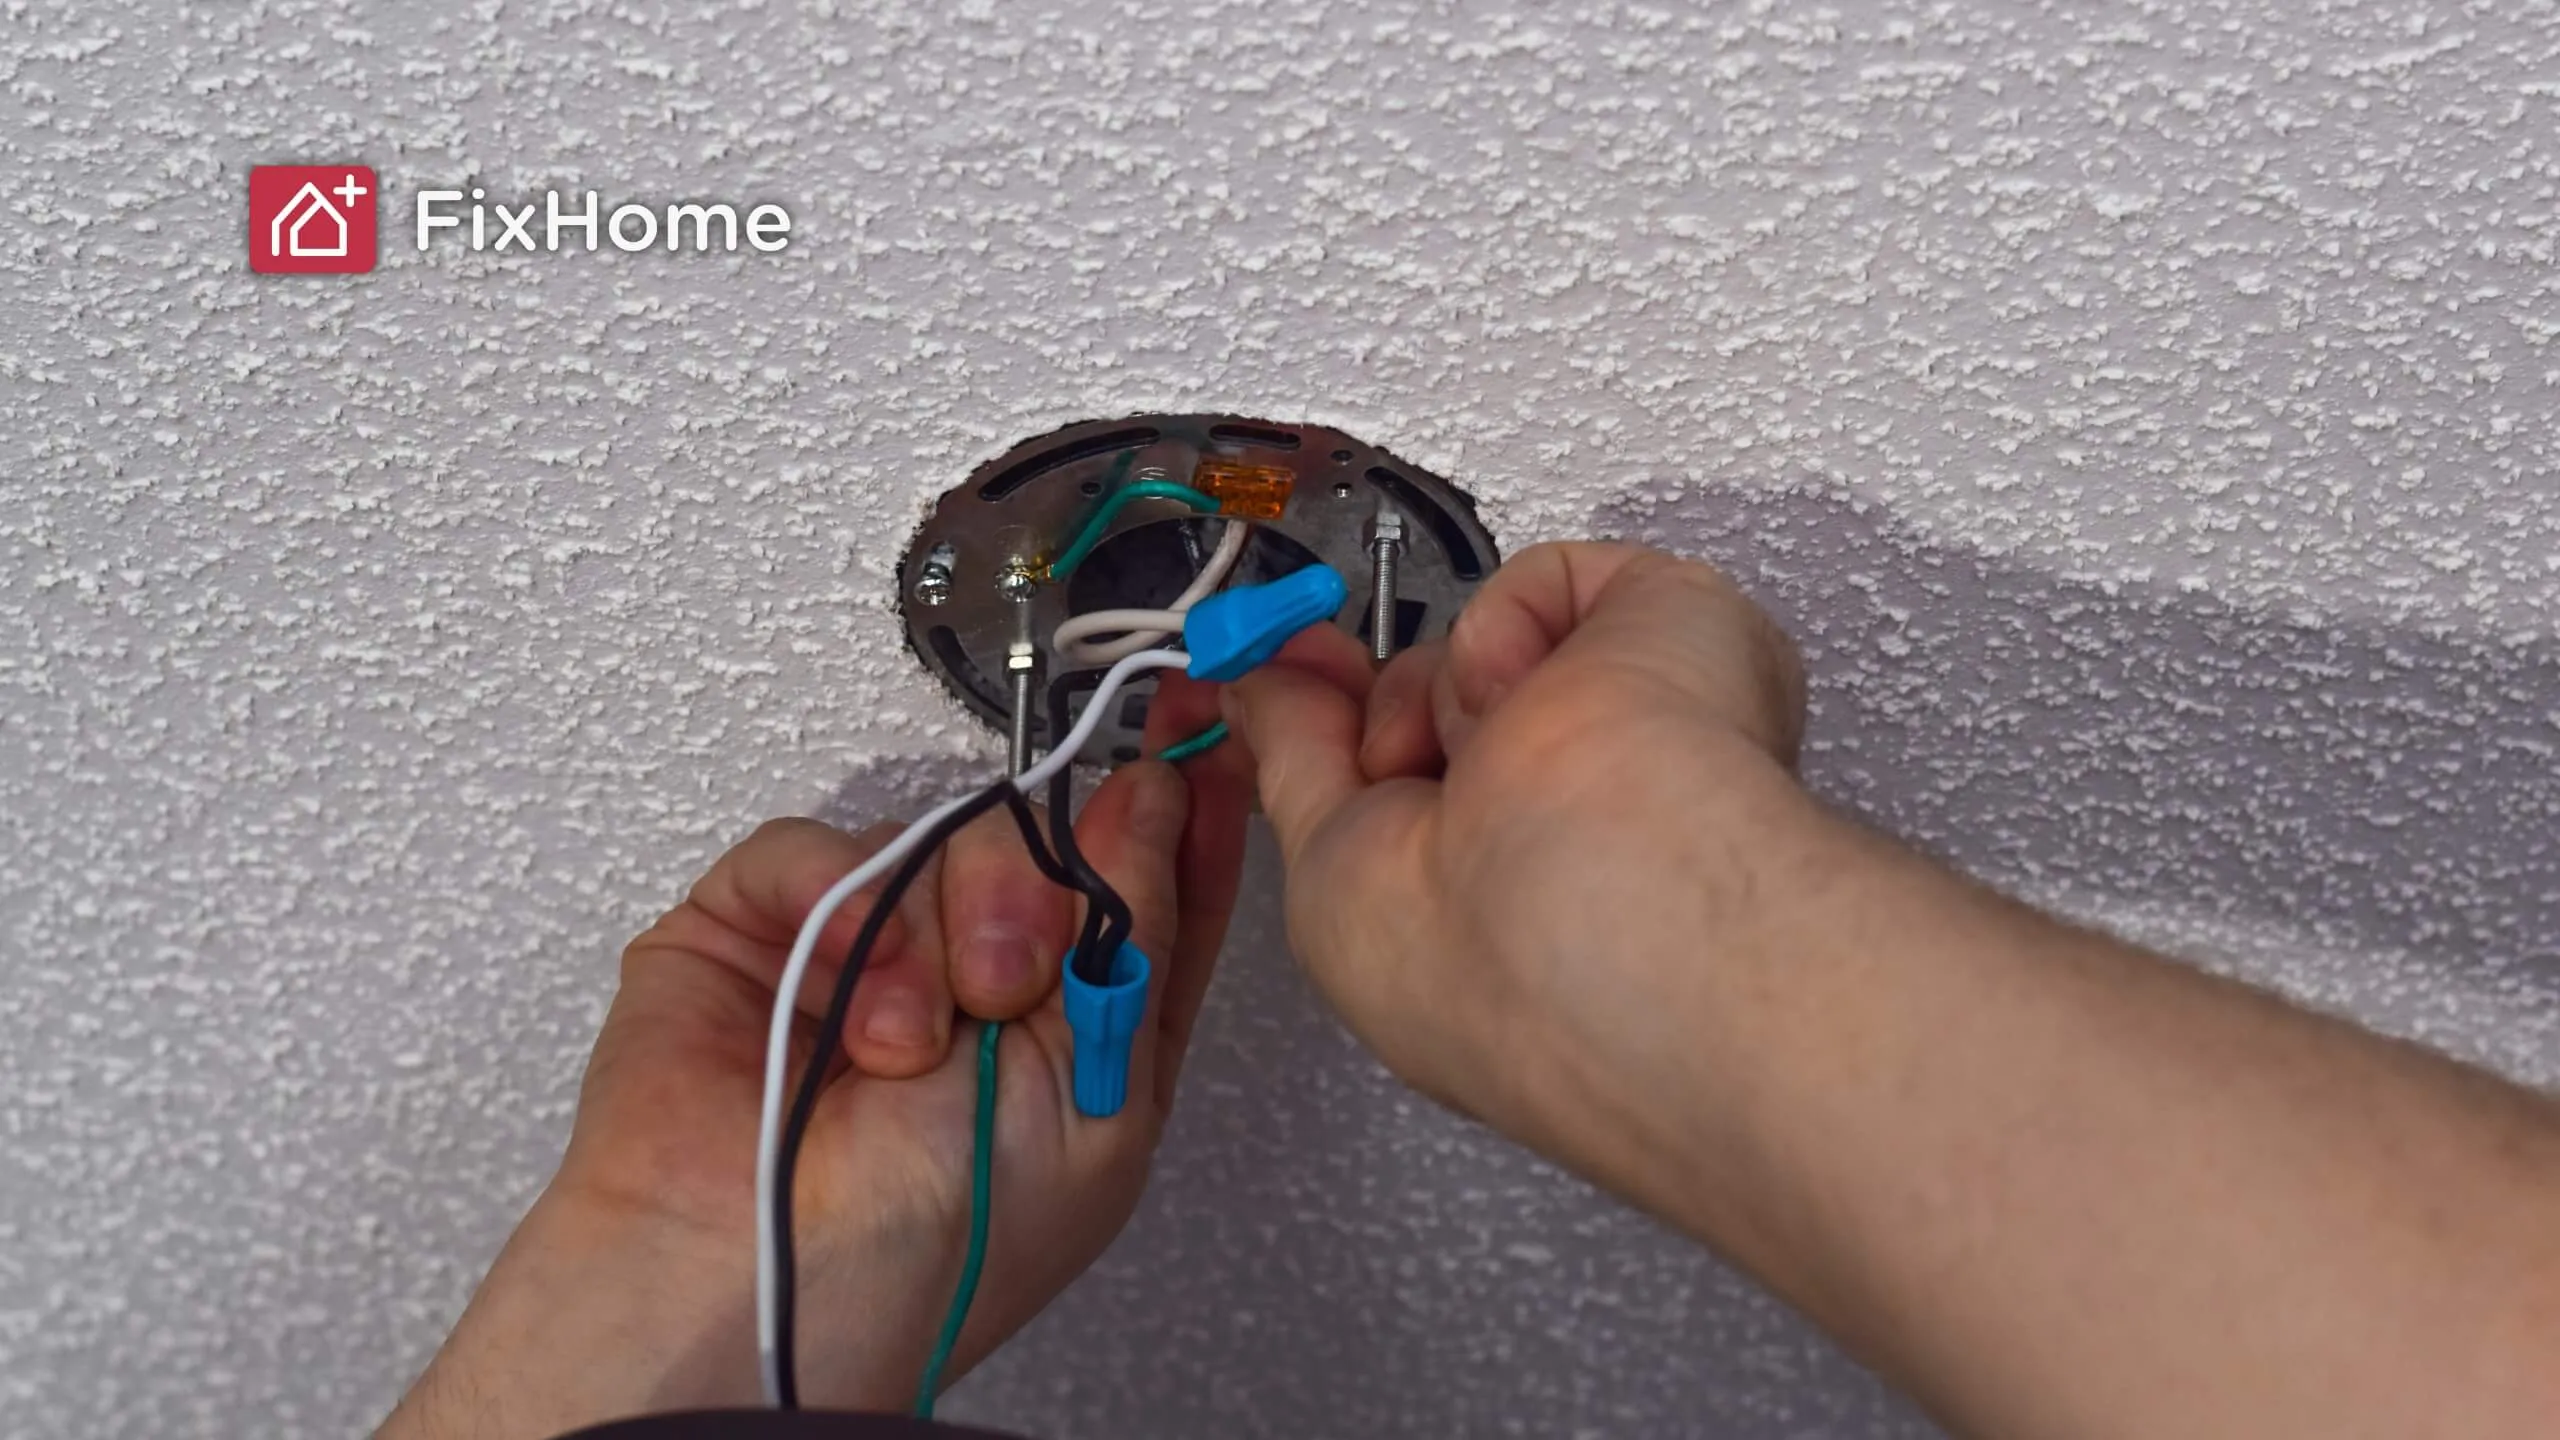
- Connect the Wires
- Match the Wires: Most chandeliers have three wires—Live (black or brown), Neutral (blue or white), and Ground (green or yellow-green). Match these to the ceiling wires.
- Secure the Connections: Twist matching wires together with wire nuts. Cover all exposed metal for safety.
- Ask for Help if Needed: If your chandelier needs a double-wall switch, consider calling an electrician.
Note: In older homes, wire colors may differ. Use a voltage tester to identify the wires.
- Attach the Chandelier
- Secure the ceiling plate to the mounting bracket.
- Lift the chandelier into place and attach it according to the manual.
- Having someone hold the chandelier steady makes this step easier.
Check that everything is tight before finishing.
Testing and Adjustments
- Turn the Power On
Turn the breaker back on and test the chandelier. If it doesn’t work, turn the power off again and check the wiring.
- Adjust the Fixture
Make sure the chandelier hangs level. Adjust it as needed to ensure it looks right in the room. Attach any decorative pieces, like glass covers or crystals, now.

Final Checks
After this guide replacing a chandelier may seem hard, but with the right tools and steps, you can handle it yourself. Focus on safety, follow the instructions, and call a professional if you are unsure at any point.
For extra help, you can use services like FixHome+. Our handymen operate in Chicago and nearby areas. We assist with home maintenance projects like this.
More from our blog.
Discover more insightful and engaging content from our blog.