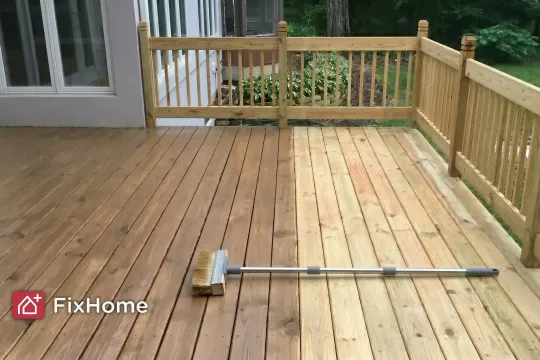
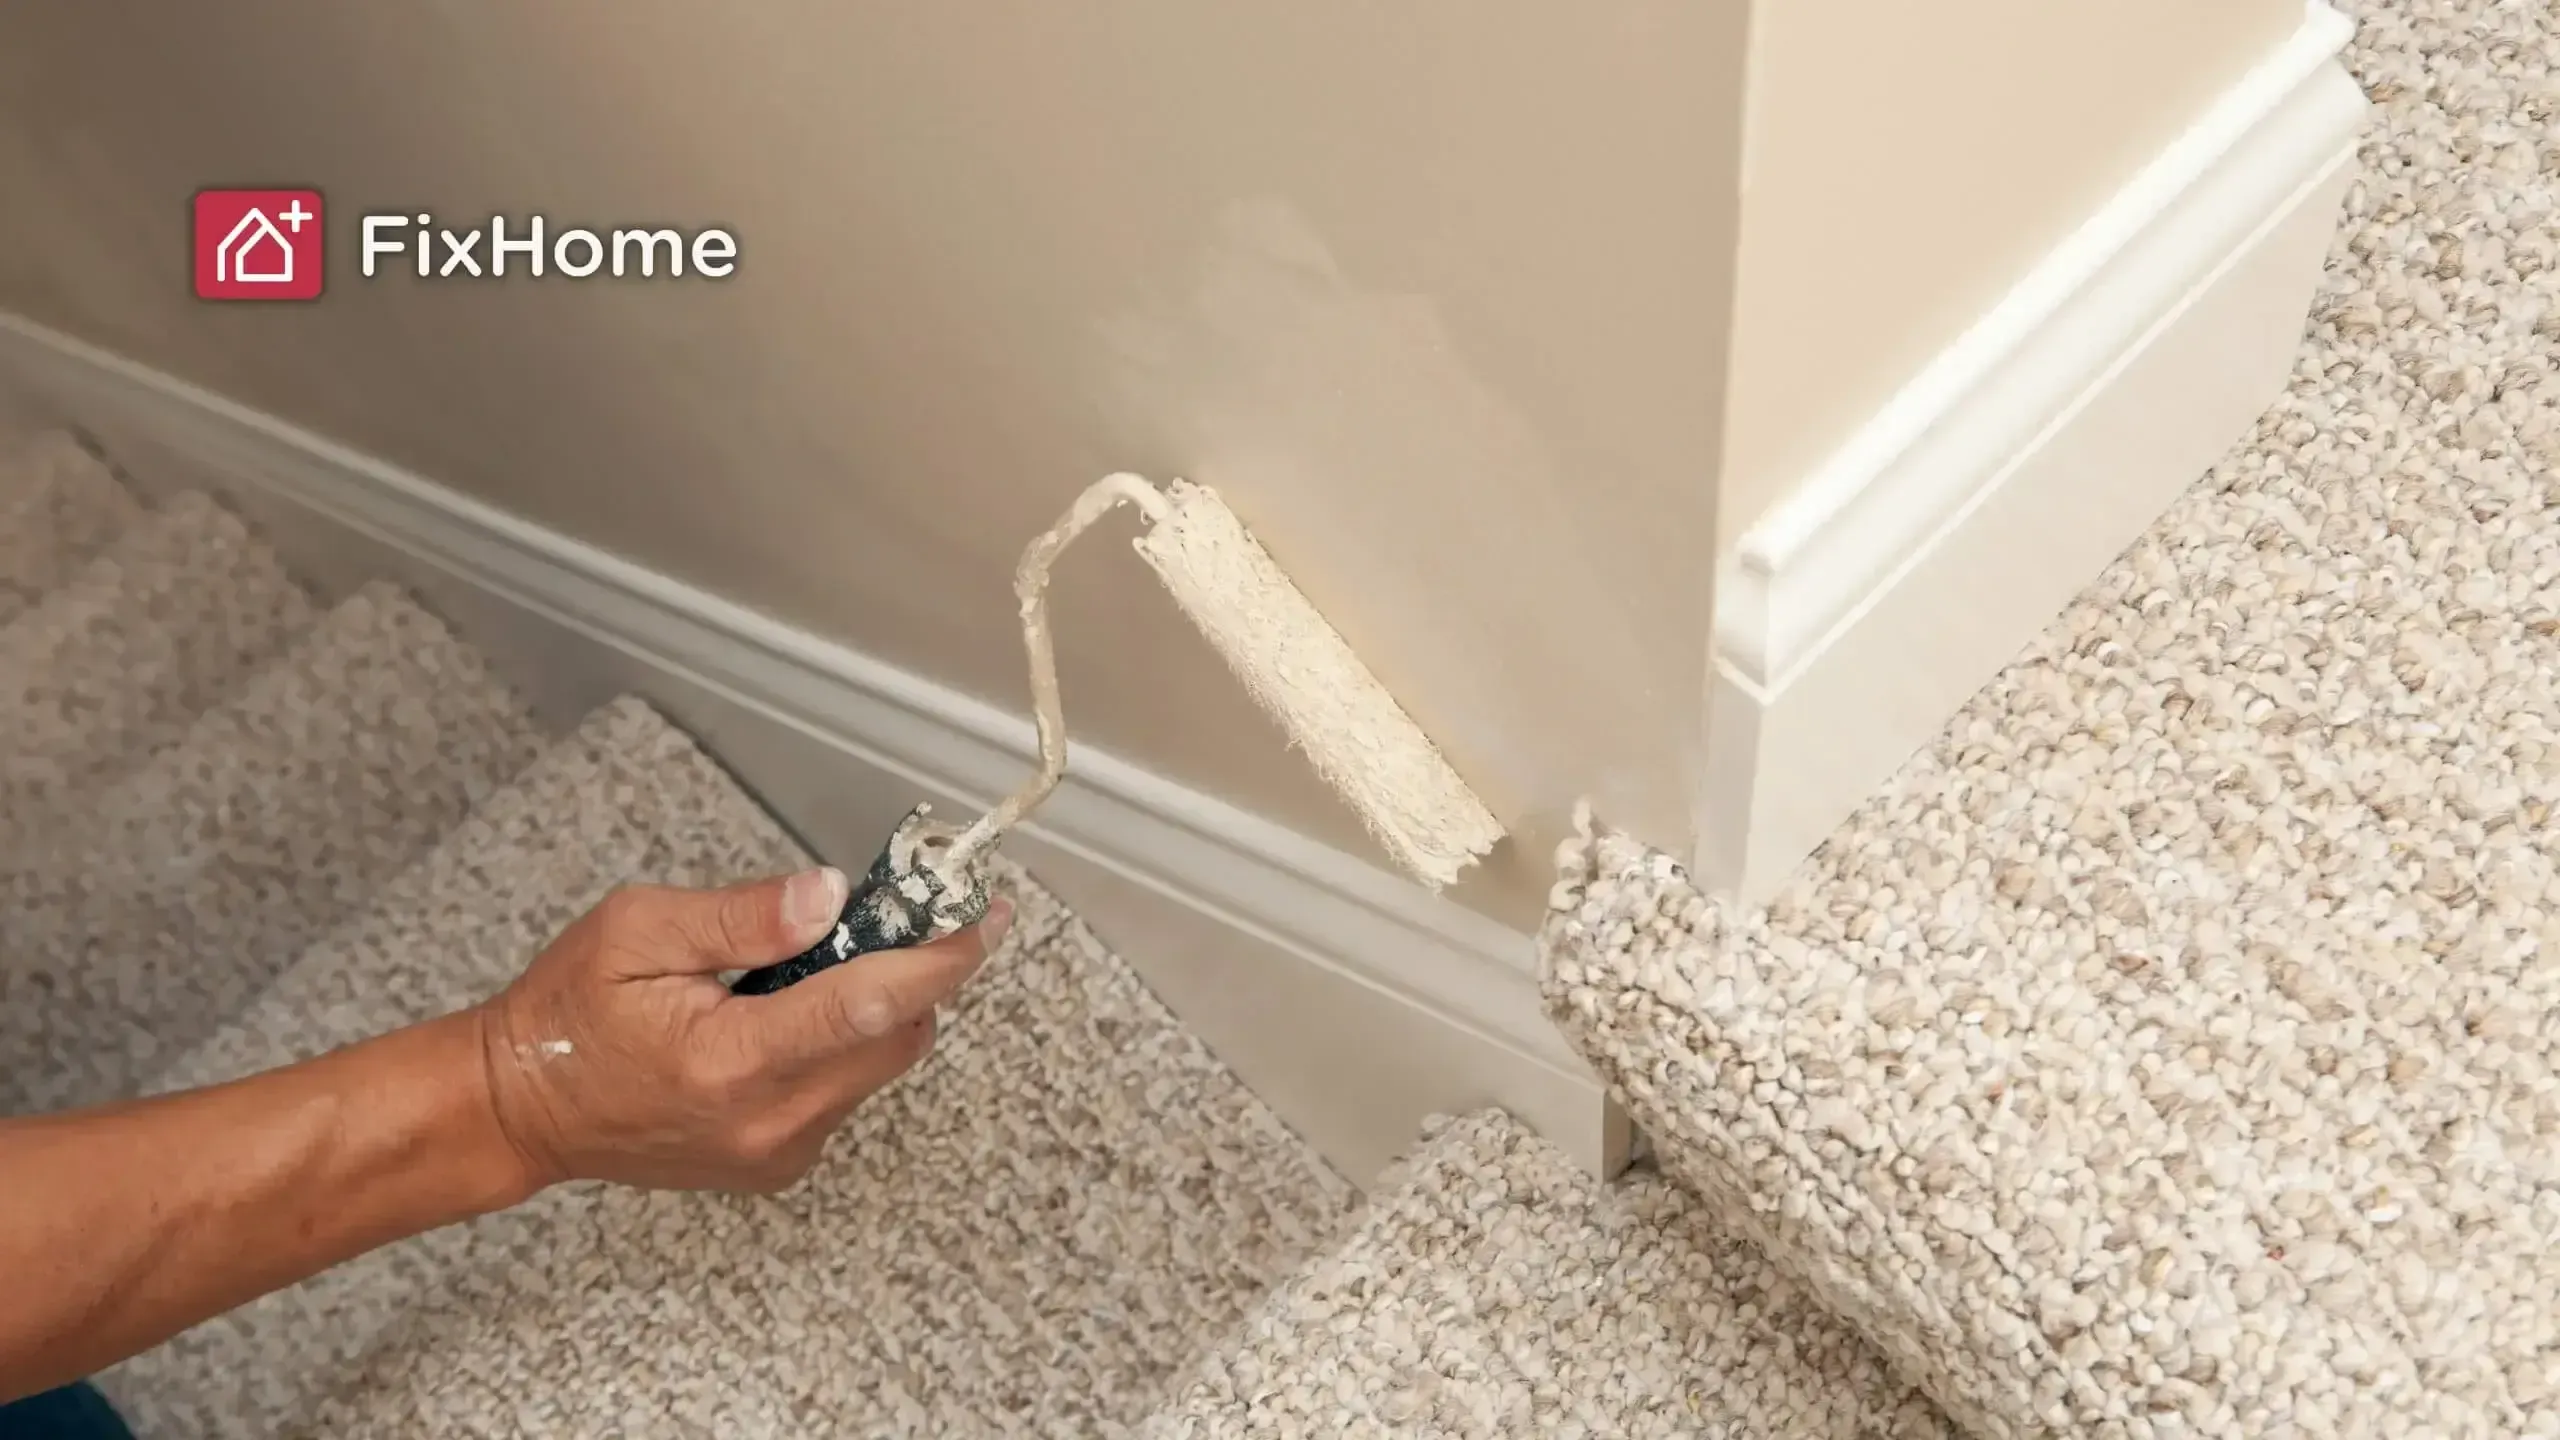
Perfect painting starts with proper preparation. Smooth surfaces and durable coatings are what make the result truly elegant.
Painting is a simple way to update your home, but preparation matters for a good finish. Clean and smooth surfaces before painting to help the paint stick and last. Use a primer to create an even base. Whether you’re filling holes, touching up, or painting wood, walls, or metal, proper prep ensures better results.
Let's not spend too much time on the introduction and try our hand at being a handyman.
Skipping prep can lead to uneven paint or peeling later on. Why Surface Preparation Matters.
The first step in painting is surface preparation. Clean, patch, and sand the surface to make it smooth and ready for paint. For small jobs like touch-ups, good prep ensures new paint blends with the old. If you skip this, the flaws will stand out.
Think of painting over grease stains in your kitchen or cracks in the wall. Without cleaning or repairing these first, even high-quality paint won’t look good. Fix these problems upfront so you don’t have to redo anything.
Tip: Know what surface you’re working on. Wood, drywall, and metal all need different preparation methods. Sand wood to smooth it out, while metal needs a primer to stop rust
How to Prepare Different Surfaces
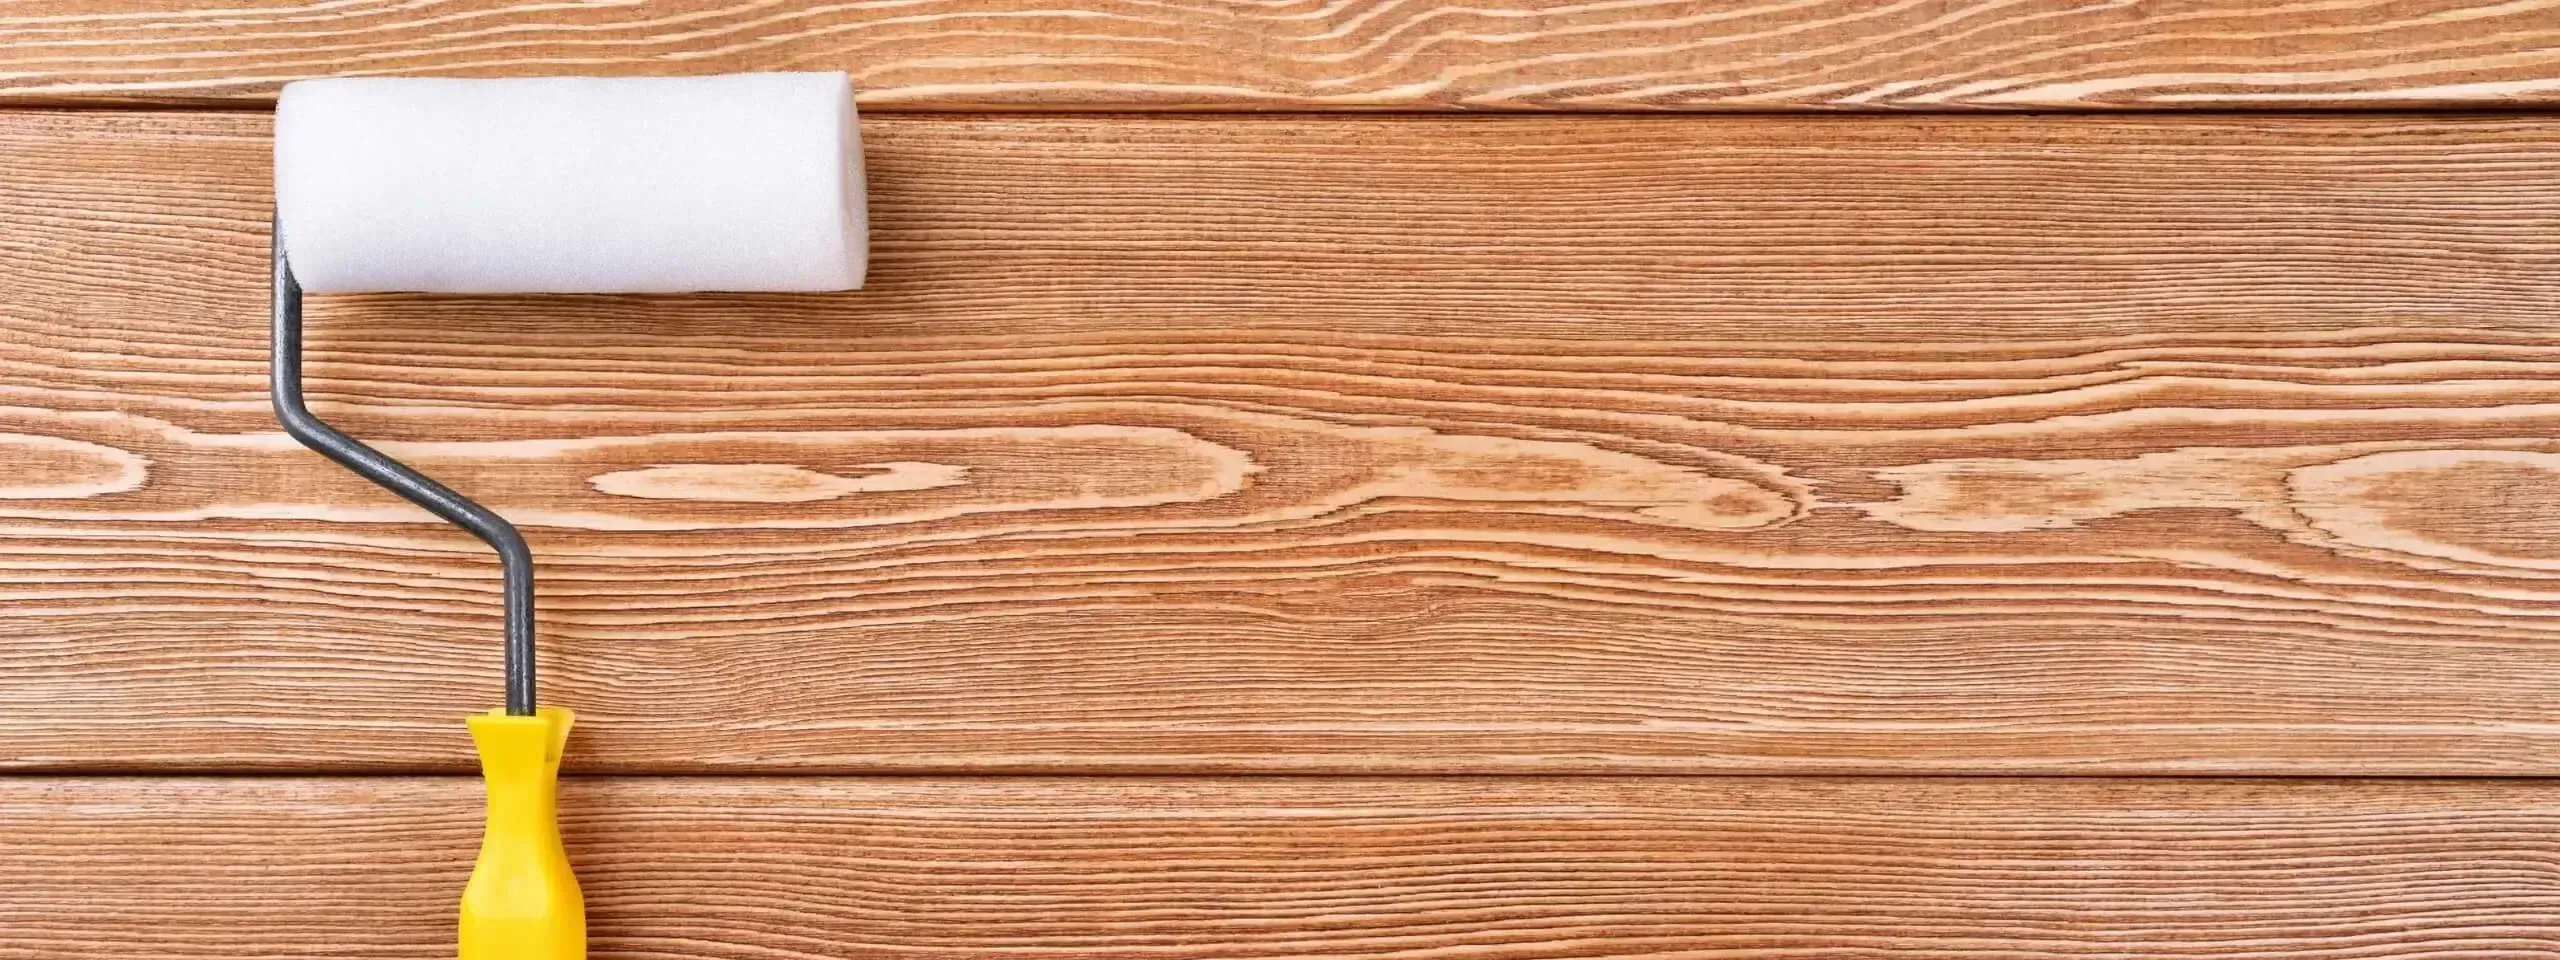
Preparing Wood for Painting
Sand wood surfaces, such as baseboards or furniture, to remove rough spots or old paint. Use sandpaper with a grit of 120 to 180 for smooth results. If the wood is outside, wash it to remove dirt or mold. For raw or patched wood, always use a primer. Primer keeps the wood from soaking up too much paint and ensures an even finish. Use a wood primer, such as an oil-based one, for durable results.
Preparing Walls for Painting
Fill holes, cracks, or dents with a lightweight spackle. After it dries, sand the area until it is smooth. Wipe the walls to remove dust and dirt before painting.
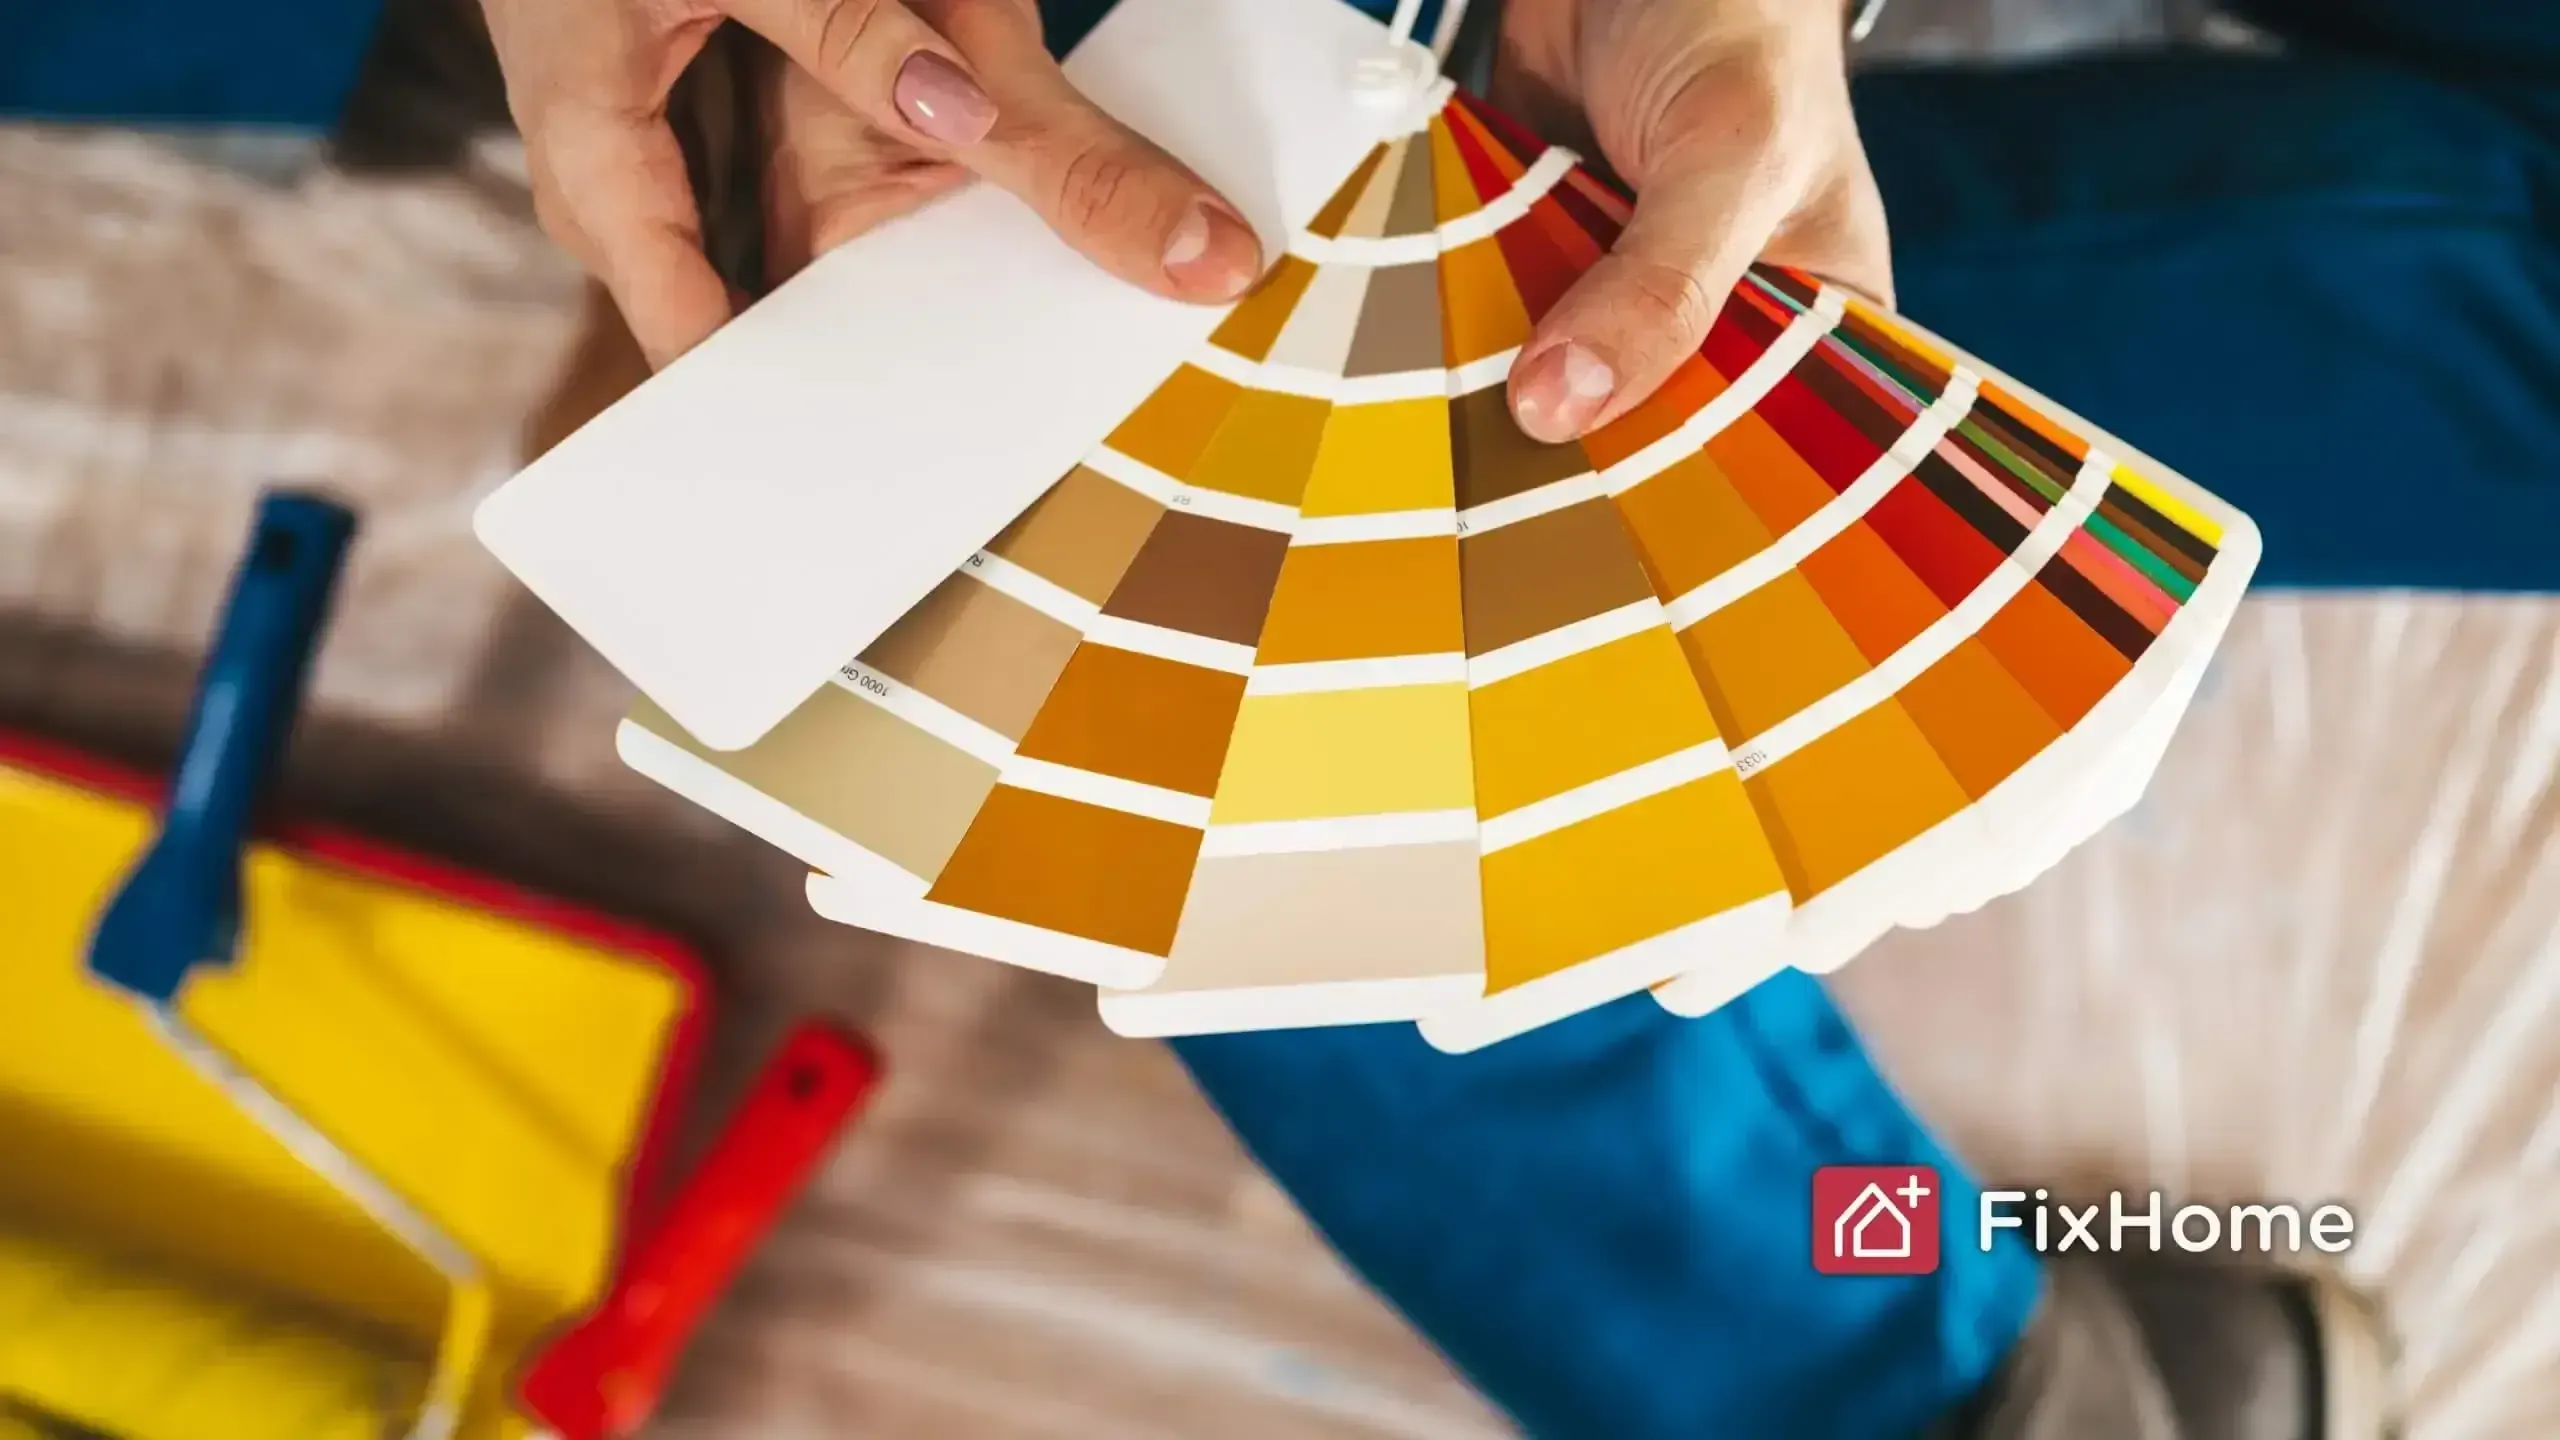
Tip for Touch-Ups: If you’re blending old and new paint, match the color carefully. Test a sample or bring a small piece of your wall color to the paint store for an exact match.
For glossy walls, lightly sand them to improve paint adhesion. This makes the primer and paint stick better.
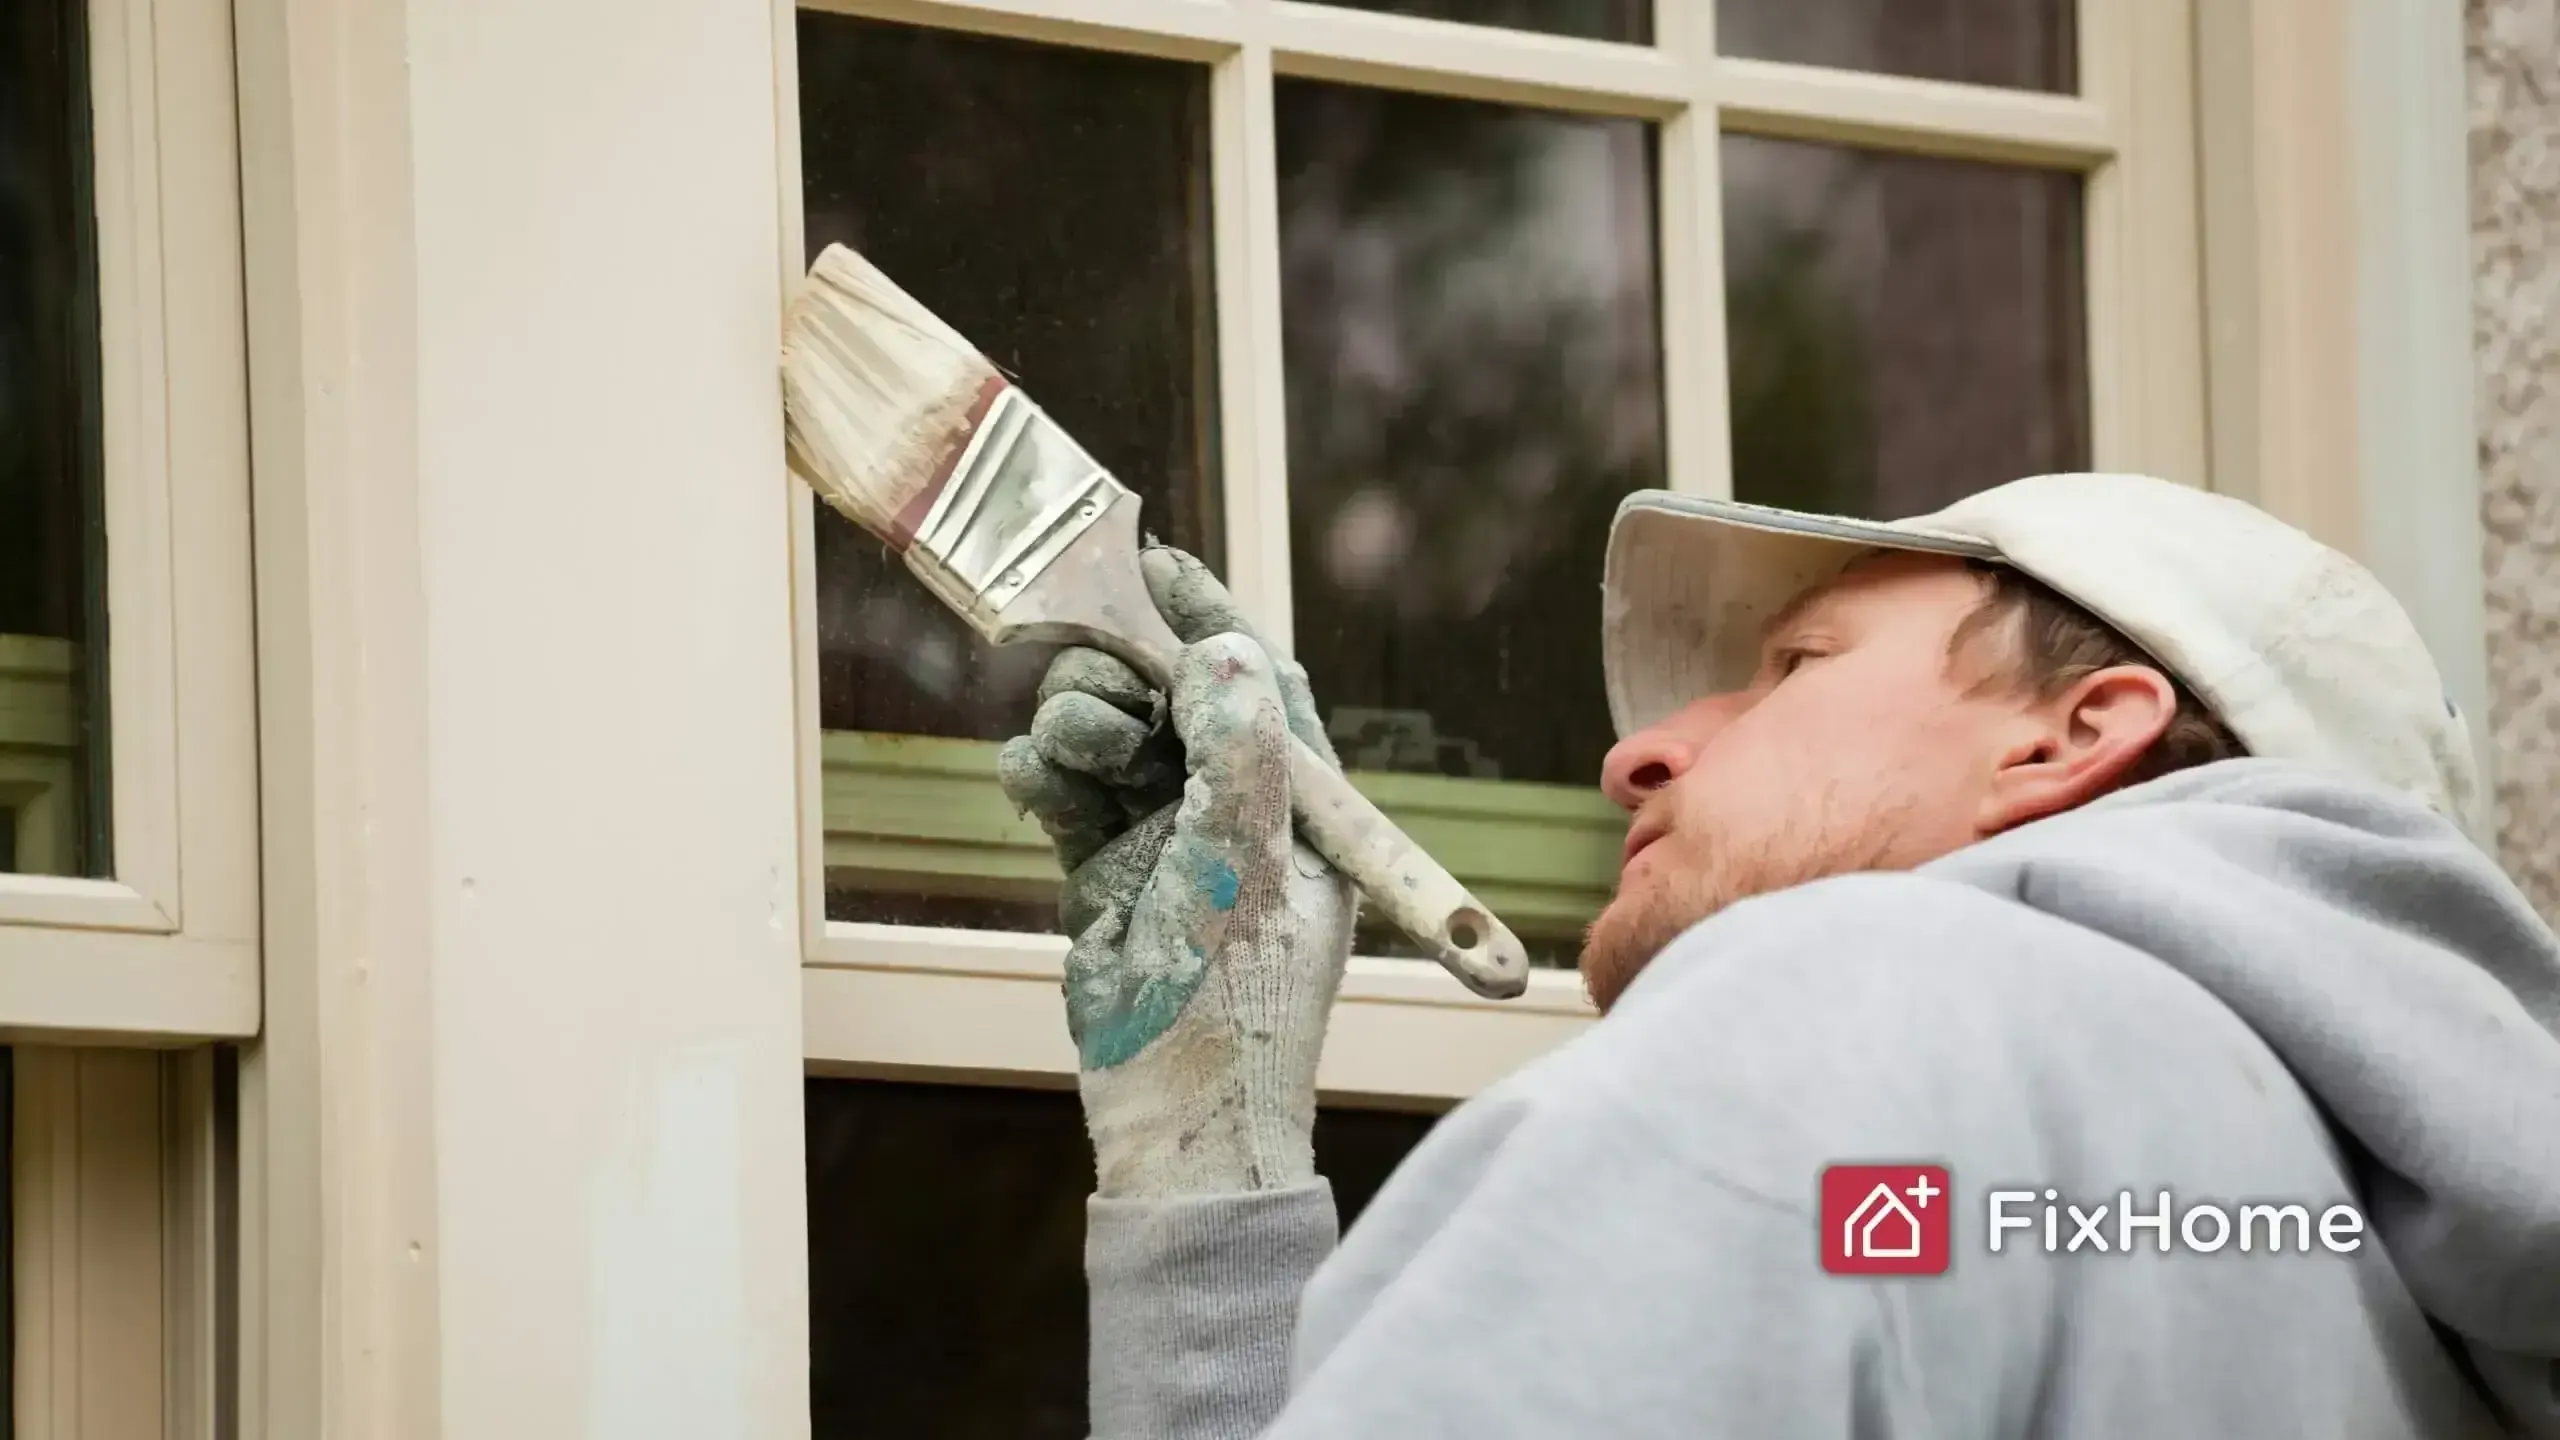
Preparing Metal for Painting
Metal needs extra preparation. Clean the surface well, removing any grease or dirt. Sand rough or rusty spots with fine sandpaper. Then, apply a primer made for metal. This stops rust and helps the paint stick.
What Is Primer For?
Primer blocks stains and helps paint go on evenly. Use it on walls, wood, or metal. If there’s a stain or bold color, primer prevents it from showing through the paint.
- On Walls: Primer works well when you’re changing from a dark to a light color or covering patches.
- On Wood: It creates an even finish and helps the paint last longer.
- On Metal: Primer stops rust and helps the paint stick to things like gates, railings, or tools.
What Color Is Primer?
Primer is typically white or light gray. These neutral colors work under any paint. Some primers can also be tinted to match your paint for fewer layers.

Steps for Touch-Ups and Patching
Paint touch-ups can be tricky, especially if the paint has faded or the surface isn’t prepared well. Follow these steps for better results:
- Clean the Spot: Dirt and dust can ruin touch-ups.
- Use the Right Tools: Brushes, mini rollers, or spray tools work well for touch-ups.
- Blend the Edges: Feather the new paint into the old for a smooth transition.
- Match the Color: Take your time to get the right shade.
Touch-ups often follow projects like fixing holes or scratches. These small updates help your paint job look clean and seamless.
When to Hire a Professional
Not everyone has time to paint. If that sounds like you, FixHome+ can help. They take care of prep, patching, and touch-ups to get the job done right. If you live in Chicago or the nearby suburbs, try them for home maintenance. Open the FixHome+ app, list your tasks, and get two handyman visits each month.
F.A.Q.s
Take a small paint sample to a store or use a color-matching tool. Apply the paint in thin layers and blend the edges.
You don’t need primer unless you’re covering stains, patches, or strong colors.
Lighting affects how paint colors and textures appear. Wait 24-48 hours for the paint to fully dry before judging.
Use a primer to seal the patch before painting.
Skipping cleaning, mismatching the color, or not blending the edges.
Paint changes over time, and lighting can make the difference stand out. Always test first.

Final Word
So, hope you understand that good painting starts with preparation. Clean the surface, fix any damage, and apply a primer. These steps make your home look better and increase its value.
Prepping and priming help your paint job last and look smooth, whether you're new to painting or have done it before.
If you need help in Chicago or nearby suburbs, FixHome+ can take care of your home.
More from our blog.
Discover more insightful and engaging content from our blog.